Installing esata – Dell OptiPlex 755 User Manual
Page 109
8.
Before you close the card retention mechanism, ensure that:
l
The tops of all cards and filler brackets are flush with the alignment bar.
l
The notch in the top of the card or filler bracket fits around the alignment guide.
9.
Secure the card(s) by closing the card retention latch and snapping it into place.
10.
Replace the computer cover (see
Replacing the Computer Cover
).
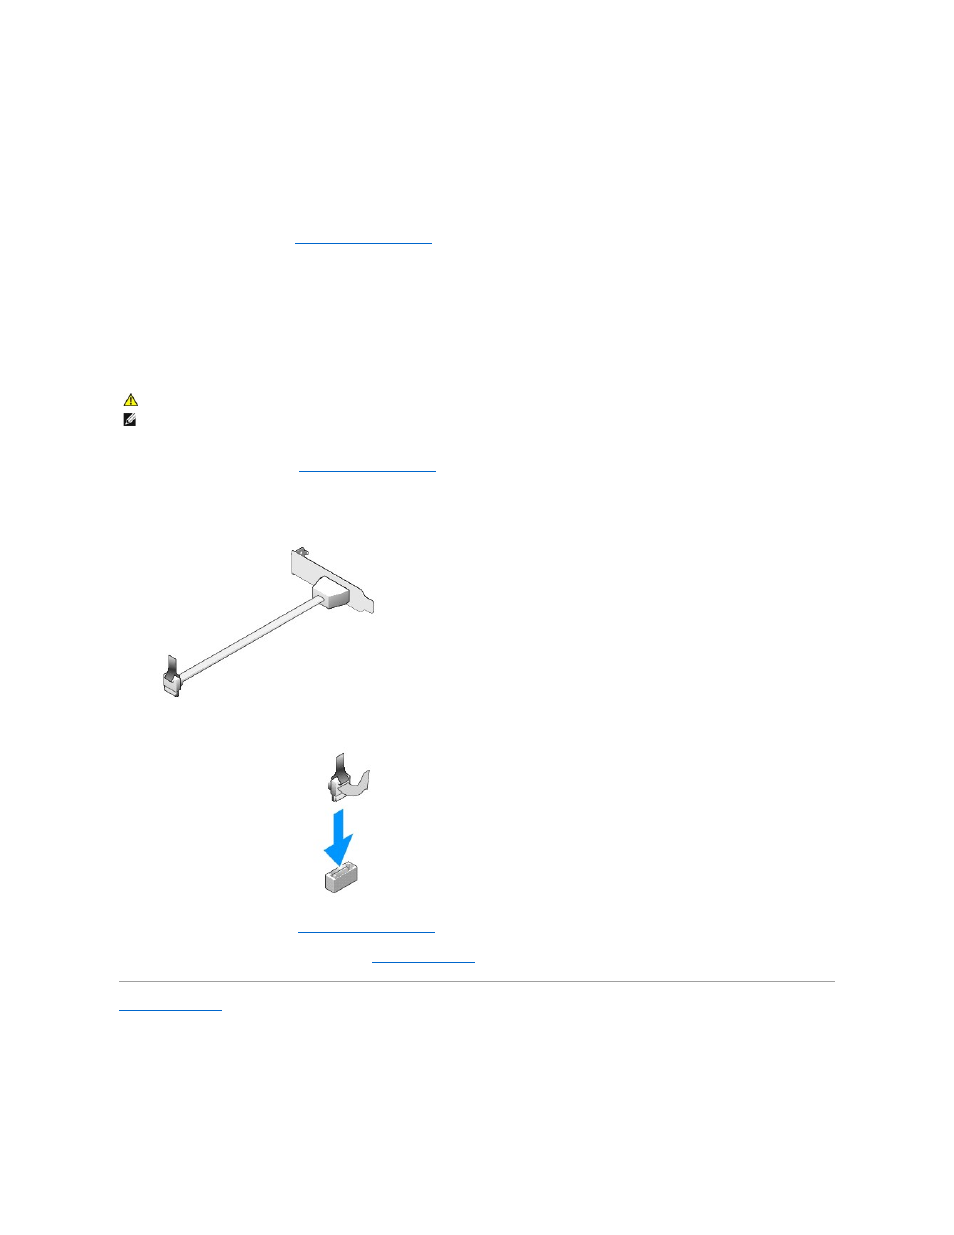
Installing eSATA
eSATA allows for full SATA data transfer rates (3 GB/sec) between a drive and the chipset, approximately six times the data throughput of USB.
eSATA on your computer also supports hot-plugging. Hot-plugging allows for device detection without powering down your computer prior to connecting the
device to your computer. When a device is connected, the operating system automatically recognizes the change. However, the computer must be powered
down before removal and/or replacement.
1.
Remove the computer cover (see
Removing the Computer Cover
).
2.
Remove the filler panel for the card slot you are using for the eSATA connector.
3.
Mount the bracket into the desired card slot opening.
4.
Plug the free end of the eSATA cable into the eSATA connector on the system board.
5.
Replace the computer cover (see
Replacing the Computer Cover
).
6.
Boot your computer and enter system setup (see
Entering System Setup
). Use the esata option to enable the esata drive.
Back to Contents Page
CAUTION:
Before you begin any of the procedures in this section, follow the safety instructions located in the Product Information Guide.
NOTE:
To prevent static damage to components inside your computer, discharge static electricity from your body before you touch any of your
computer's electronic components. You can do so by touching an unpainted metal surface on the computer chassis.