Floppy drive – Dell OptiPlex 755 User Manual
Page 118
9.
Replace the computer cover (see
Replacing the Computer Cover
).
10.
Enter system setup (see
System Setup
), and update the SATA port option under the Drives option list.
11.
Exit system setup, and reboot the computer.
12.
Partition and logically format your drive.
See the documentation for your operating system for instructions.
13.
Test the hard drive by running the Dell Diagnostics (see
Dell Diagnostics
).
14.
If the drive you just installed is the primary drive, install your operating system on the hard drive.
Floppy Drive
Removing the Floppy Drive
1.
Boot your computer and enter system setup (see
Entering System Setup
). Use the Diskette Drive option to disable the floppy drive.
2.
Follow the procedures in
Before You Begin
.
3.
Remove the computer cover (see
Removing the Computer Cover
).
4.
Remove the drive panel by sliding the drive release latch downward to open the panel, and then remove it from the hinges.
5.
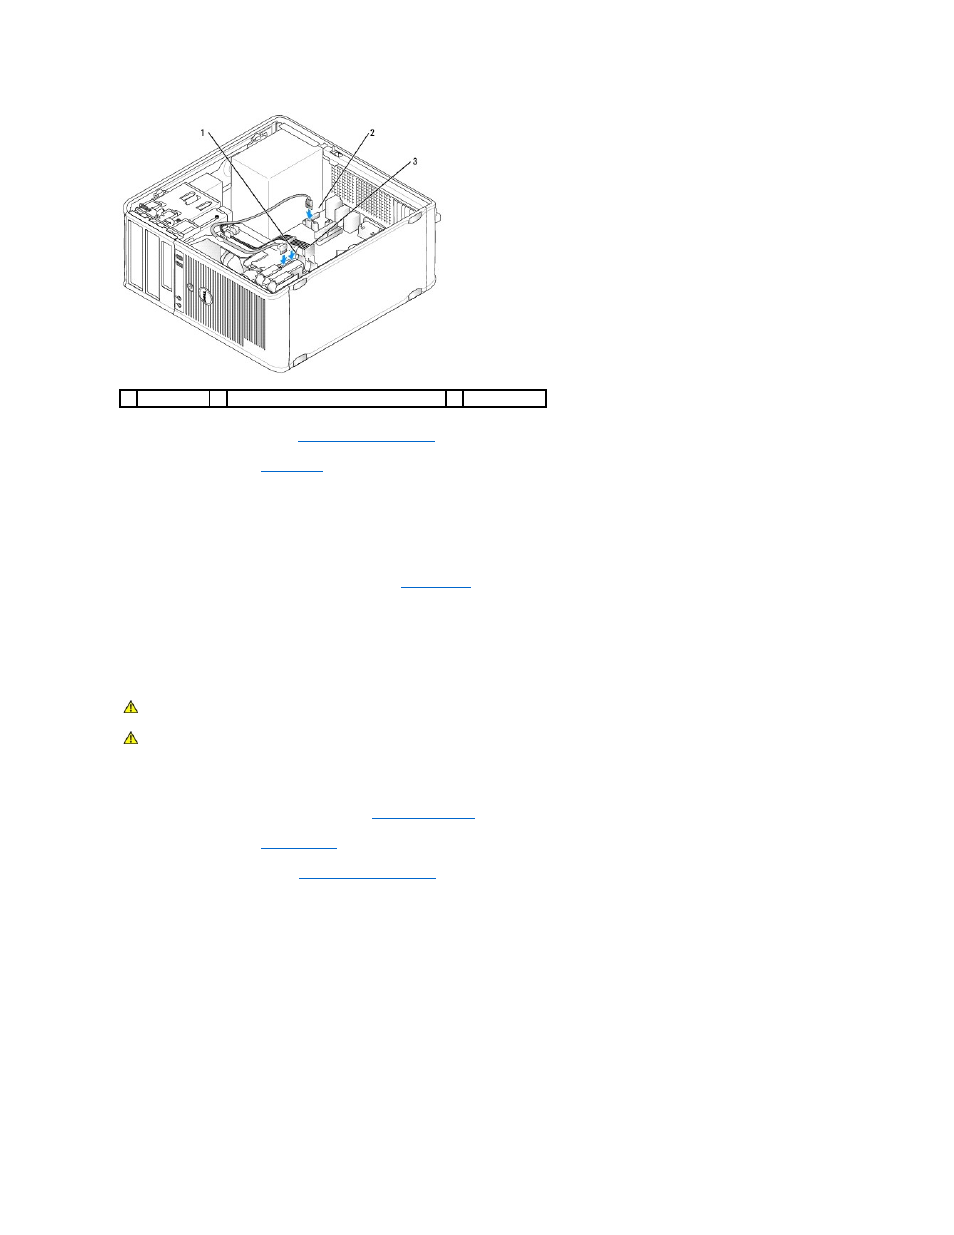
Disconnect the power and data cables from the back of the floppy drive.
1
data cable
2
hard drive system board connector
3
power cable
CAUTION:
Before you begin any of the procedures in this section, follow the safety instructions located in the Product Information Guide.
CAUTION:
To guard against electrical shock, always unplug your computer from the electrical outlet before removing the computer cover.