06 servicing hand torch components, Servicing hand torch components -7, And the type of operation. refer to section "7.06 – Tweco PAK 200i User Manual
Page 75: Pak 200i
PAK 200i
Manual 0-5335
TORCH INFORMATION
7-7
7.06 Servicing Hand Torch Components
A. Removing Torch Switch and Torch Head Assembly
Removing the torch control switch assembly requires gaining access to the switch wiring and partially disas-
sembling the torch handle, as follows:
1. Remove the shield cup, tip, gas distributor and electrode from the Torch Head assembly.
�. Roll the torch switch sheath back over the handle to expose the tape covering the torch switch connectors.
NOTE
Use a soap and water solution on the sheath to assist in rolling.
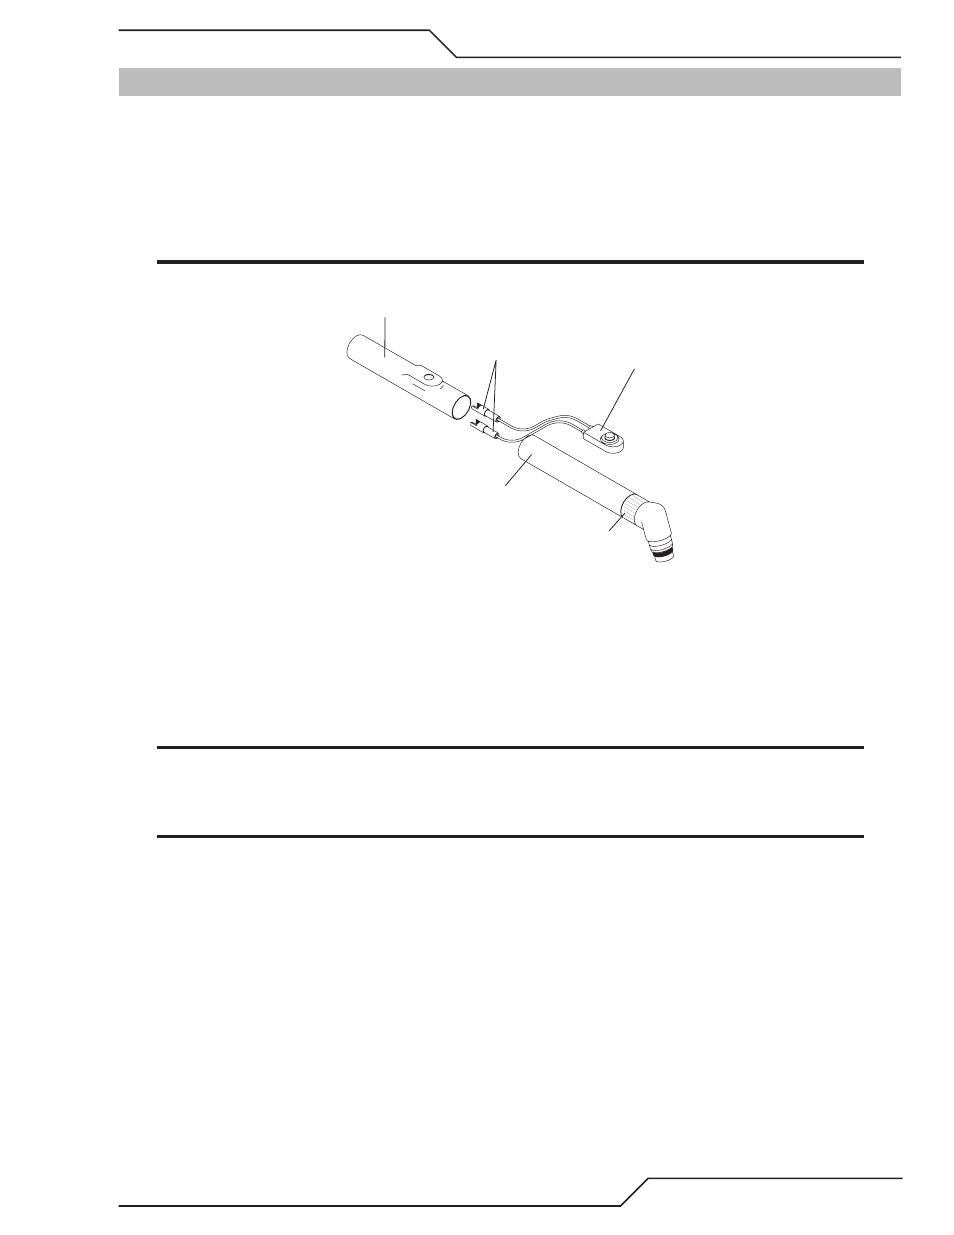
Sheath
Connectors From
Torch Switch
Torch Handle
Torch Control
Switch
A-02196
Threaded Locking Nut
Figure 7-5: Switch Wiring
3. Carefully cut and remove the tape from the leads and the end of the leads sheathing.
4. Slide the sheathing back to expose the torch switch connectors.
5. Remove the tape securing the two connectors together.
6. Disconnect the torch switch leads.
NOTE
The torch switch connectors are made to fit into the matching connectors.
7. Remove torch from handle.
NOTE
Keep the lock nut threaded on the Torch Head.
8. Disconnect all four leads to disconnect the Torch Head.
9. Remove Torch Head assembly.