Warning, Construction options, Fixed aileron linkage installation cl option – E-flite PT-19 450 ARF User Manual
Page 4
4
E-flite PT-19 ARF Assembly Manual
Warning
An RC aircraft is not a toy! If misused, it can cause
serious bodily harm and damage to property. Fly
only in open areas, preferably at AMA (Academy of
Model Aeronautics) approved flying sites, following all
instructions included with your radio.
Keep loose items that can get entangled in the
propeller away from the prop, including loose clothing,
or other objects such as pencils and screwdrivers.
Especially keep your hands away from the propeller.
During the course of building your PT-19 ARF we
suggest that you use a soft base for the building
surface. Such things as a foam stand, large piece of
bedding foam or a thick bath towel will work well and
help protect the model from damage during assembly.
Construction Options
Your PT-19 can be built a variety of ways. The two
different options are either Radio Control (RC) or
Control Line (CL). The RC version has the ability to
be transformed from RC to CL and back to RC again
with only a few minutes of work. For those who would
like to built the model soley as a CL model, you will
find a section dedicated to this in the beginning of
construction when installing the aileron linkages. You
will find in bold print at each section, what version it
is for. Either RC or CL will determine what the step is
for. Please note that there is a section at the end of the
manual as to what is required to lock the ailerons in
place for CL flying if you have built the RC version.
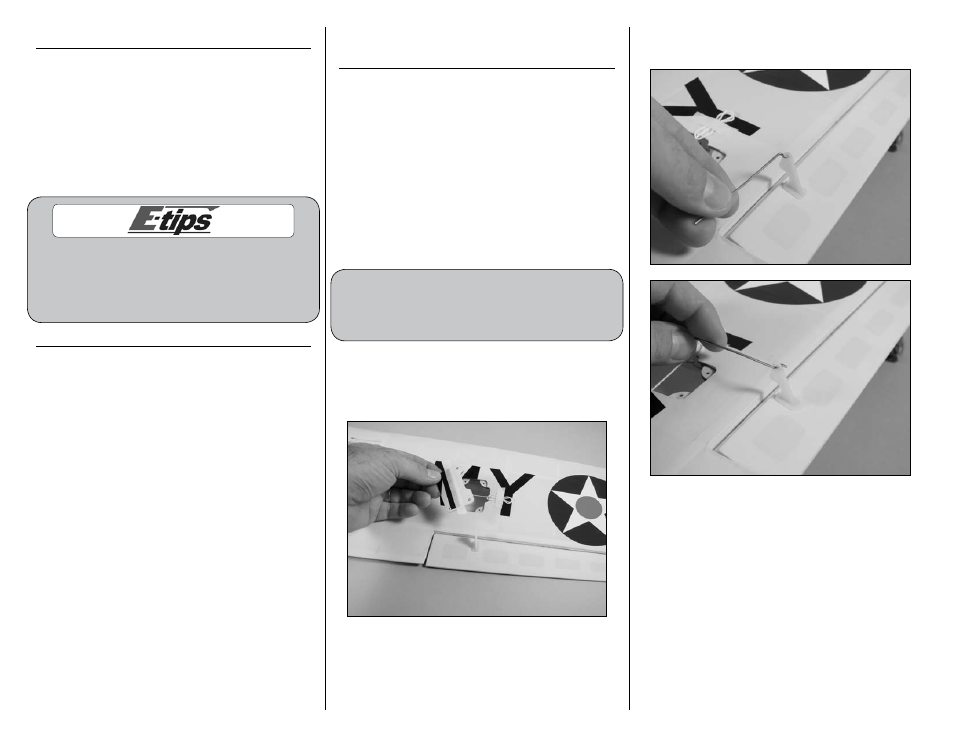
Fixed Aileron Linkage Installation
CL Option
Required Parts
Wing panel (left and right)
Aileron pushrod wire, 2
1
/
2
-inch (65mm) (2)
Control line servo cover (left and right)
Brass pushrod connector (2)
Pushrod connector backplate (2)
2mm x 4mm machine screw (2)
2mm x 8mm sheet metal screw (8)
Required Tools and Adhesives
Phillips screwdriver: #1
Pliers
Low-tack tape
This section details the installation of the aileron
linkage for the control line version of the
PT-19. If you are building the radio controlled
version, please skip to the next section.
1. Remove the aileron servo cover from the wing
and set it aside. You will be using a different cover,
but you may want to save this cover for use later if
you convert your aircraft to radio control.
2. Insert the end of the 2
1
/
2
-inch (65mm) aileron
linkage in the outside hole of the aileron control horn.