Range test your radio, Control line flying checklist – E-flite PT-19 450 ARF User Manual
Page 35
35
E-flite PT-19 ARF Assembly Manual
Range Test Your Radio
1. Before each flying session, be sure to range
check your radio. This is accomplished by turning
on your transmitter with the antenna collapsed.
Turn on the receiver in your airplane. With
your airplane on the ground and the engine
running, you should be able to walk 30 paces
(approximately 100 feet) away from your airplane
and still have complete control of all functions.
If not, don’t attempt to fly! Have your radio
equipment checked out by the manufacturer.
2. Double-check that all controls (aileron, elevator,
rudder and throttle) move in the correct direction.
3. Be sure that your transmitter batteries are
fully charged, per the instructions included with
your radio.
Control Line Flying Checklist
If you are planning to fly your PT-19 as a control line
model you will need to accomplish a few items first
to help ensure success during the first flight. With the
model having the ability to be built in two different
ways, Radio Control or Control Line, we have two
sections dedicated to help you prepare the model.
CONTROL LINE BUILT MODEL
If you have constructed your model with the sole intent
of flying it as a control line model, you need only add
tip weight for flight.
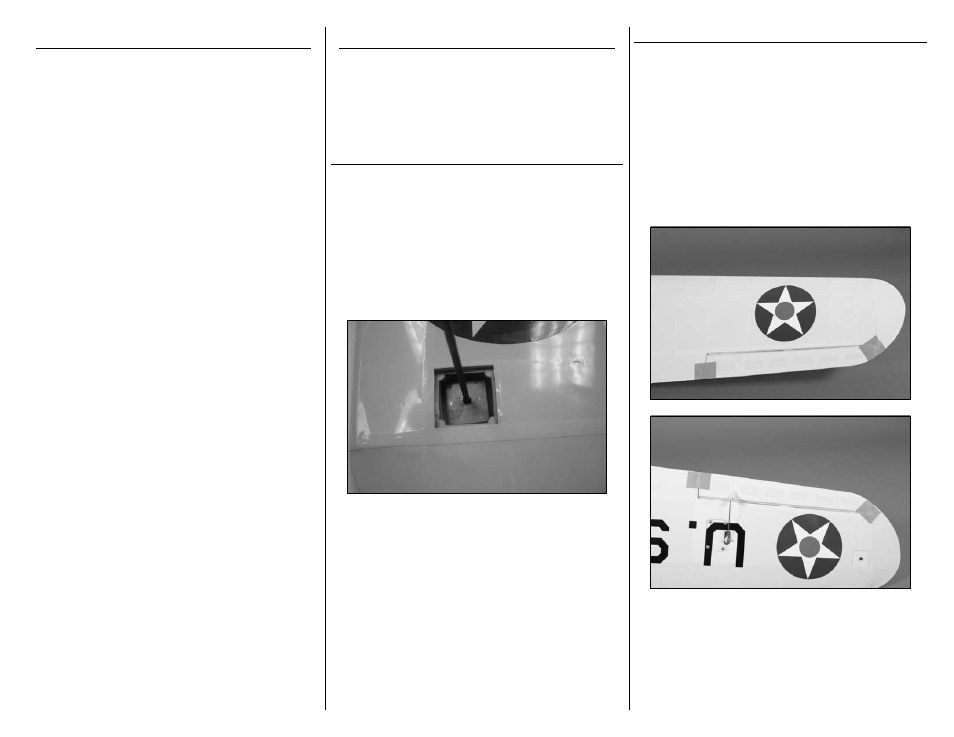
Be sure to place 3/4-ounce of tip weight in the tip
weight box located under the right wing tip. This will
help hold the model level and counter the weight of the
lines. We use Sig 1/4 ounce tip weights (SIGSH561).
These weights are available at your local hobby shop.
You may vary the amount of weight at your discretion
to fine-tune the flight qualities of your PT-19.
RADIO CONTROL BUILT MODEL
If you have constructed your model with the main
intent of RC flying, you can convert your model over to
Control Line flying in just a few short minutes. You will
need to lock the ailerons, set the rudder offset, add the
tip weights, and swap out the elevator control system.
To set the ailerons to a neutral position all that is
needed is a small piece of clear tape placed over the
trailing edge covering both the top and bottom of the
aileron. This will lock them in place and prepare the
ailerons for you.
Note: Colored tape was used in the photos so it could
be seen. Please use clear tape on your model.