Wing installation, rc/cl options – E-flite PT-19 450 ARF User Manual
Page 31
31
E-flite PT-19 ARF Assembly Manual
Wing Installation,
RC/CL Options
Required Parts
Fuselage assembly Wing assembly
4-40 x 1-inch socket head bolts (2)
#4 washer (2)
Y-harness (RC only)
Required Tools and Adhesives
Ball driver of hex wrench: 3/32-inch
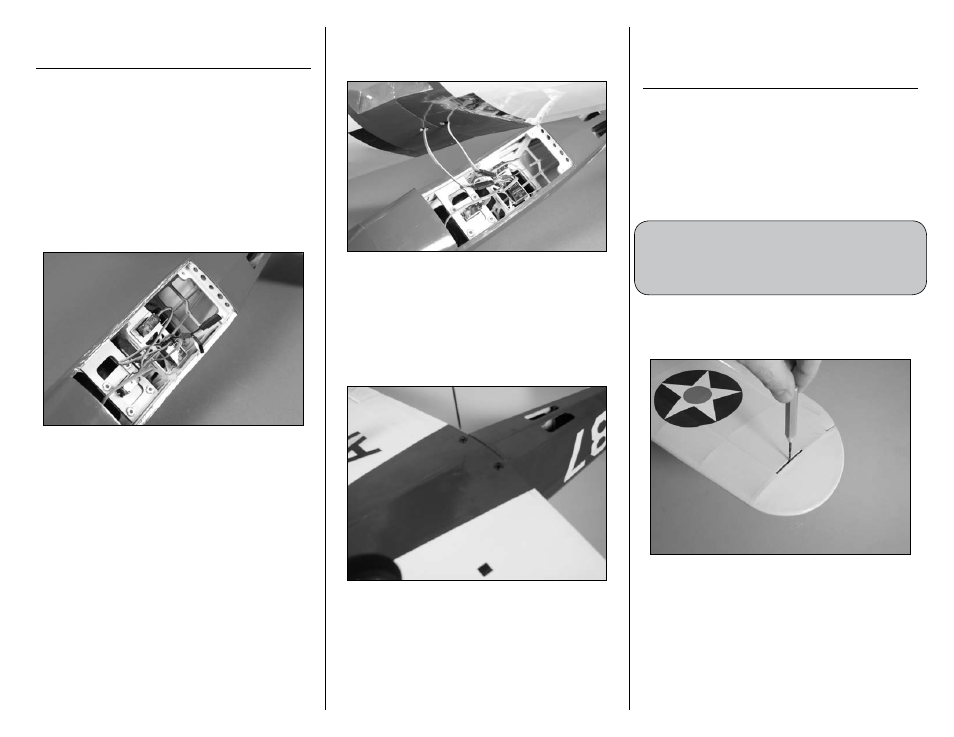
1. Plug the Y-harness into the aileron port of the
receiver if you are building the radio controlled
version of the PT-19.
2. Plug the leads from the aileron servos into the
Y-harness at this time when building the radio
controlled version of the PT-19.
3. Position the wing on the fuselage by inserting
the dowels at the leading edge of the wing into
the notches in the front of the wing saddle of
the fuselage. Use a 3/32-inch ball driver or hex
wrench to install the two 4-40 x 1-inch socket head
bolts and two #4 washers that secure the wing to
the fuselage.
Leadout Guide Installation and
Tip Weight Box
CL Option
Required Parts
Assembled airframe
#4 washer
4-40 locknut
Sig lead balancing weights, 1/4-ounce (3–4)
Required Tools and Adhesives
Pin drill
Drill bit: 1/8-inch (3mm)
Nut driver: 1/4-inch
This section details the installation of the leadout
guide and tip weight for the control line version.
If you have built the radio controlled version
you can skip this section of the manual.
1. Use a pin drill and 1/8-inch (3mm) drill bit to
drill the hole necessary to accept the threaded stud
on the leadout guide.