Receiver installation rc option – E-flite PT-19 450 ARF User Manual
Page 24
24
E-flite PT-19 ARF Assembly Manual
8. Use a ruler placed against the stabilizer and
elevator to align the stabilizer with the elevator.
9. Check to make sure the elevator servo is
centered using the radio system. Use a #1
Phillips screwdriver and 2mm x 4mm machine
screw to secure the elevator pushrod in the brass
pushrod connector.
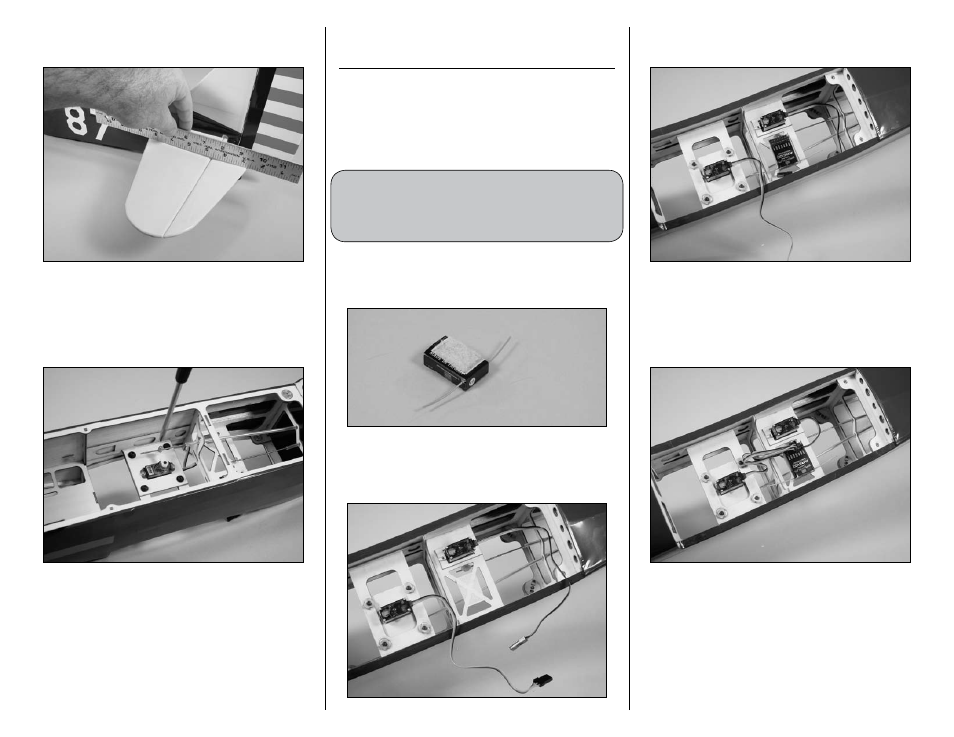
Receiver Installation
RC Option
Required Parts
Receiver
Fuselage assembly
Hook and loop tape
Required Tools and Adhesives
Scissors
This section details the installation of the receiver
for the radio controlled version of the PT-19. If you
are building the control line version, please skip
to the Motor Installation section of the manual.
1. Use scissors to cut a piece of hook and loop
tape the size of your receiver. Apply one side of the
tape to the receiver.
2. Apply the remaining side of the hook and loop
tape from Step 1 to the radio tray as shown. This is
done through the wing opening.
3. Position the receiver on the tray. The hook and
loop tape will keep it secure.
4. Plug the rudder and elevator servos into the
appropriate ports of the receiver. Tuck the servo
leads as necessary so they will not interfere with
the operation of the rudder and elevator functions
of your aircraft.