Installation instructions – Brandmotion 1013-9531-V2 User Manual
Page 15
INSTALLATION INSTRUCTIONS
9530 & 9531 Instructions 1-14-13.doc
Page 15 of 16
84. Route supplied Chassis Harness behind the lower C-
pillar trim using a plastic trim tool. (Figure 71)
Figure 71
85. Route Chassis Harness along rear sill plate. (Figure
72)
Figure 72
86. Route supplied Chassis Harness under B-pillar lower
trim.
87. Route the supplied Chassis Harness along the
driver’s side front sill plate. (Figure 73)
Figure 73
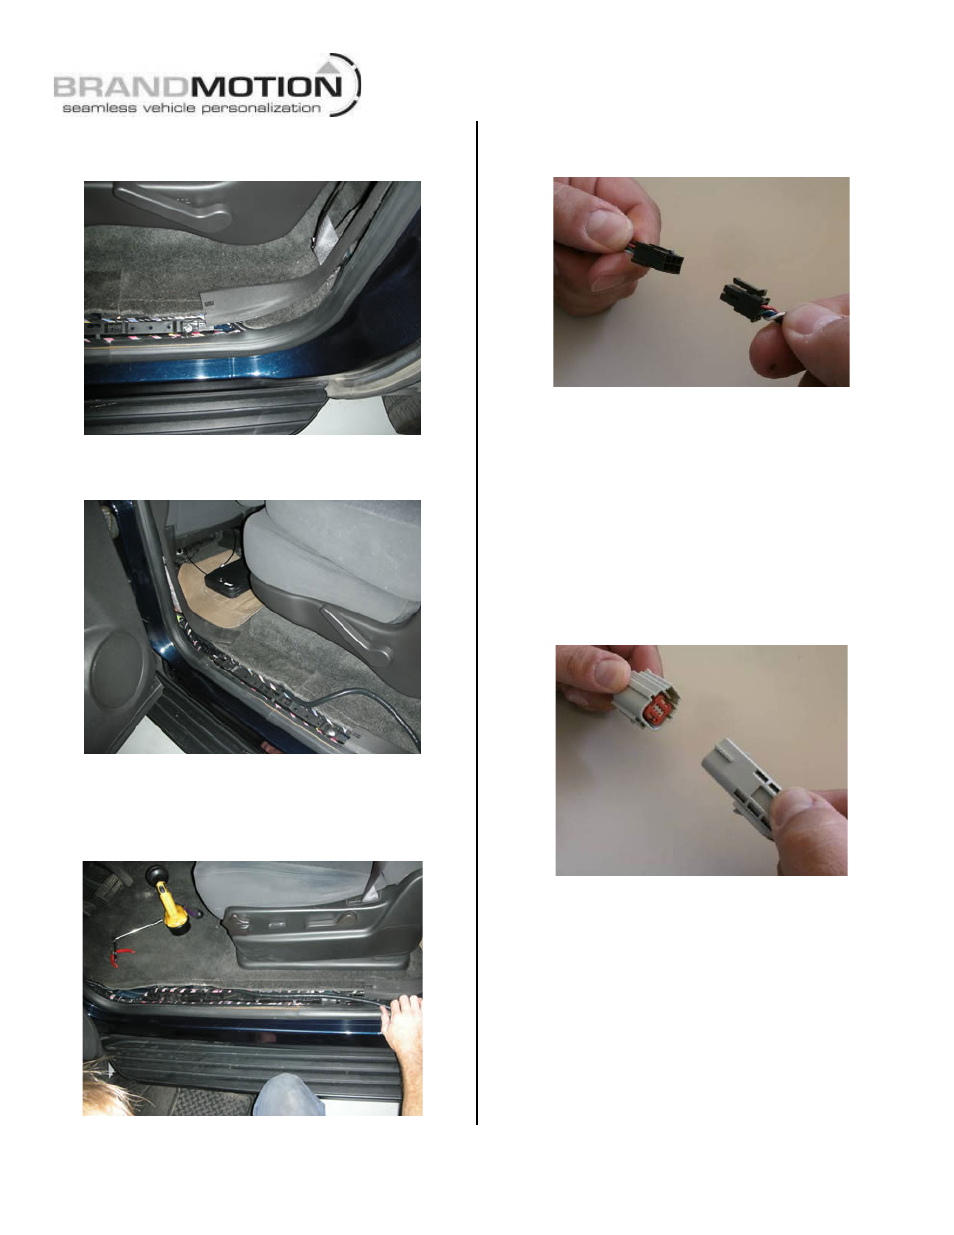
88. Connect the Chassis Harness and Mirror Harness.
(Figure 74)
Figure 74
89. Reinstall wiper motor to liftgate using existing nuts,
a 10mm open-end wrench, and flat blade
screwdriver and then reconnect wiper motor wiring
harness.
90. Reinstall wiper motor exterior nut using a 28mm
socket.
91. Reinstall rear wiper with existing nut using a 10mm
socket, and connect washer fluid line.
92. Secure supplied Camera Harness to washer fluid line
or existing liftgate wires using supplied Wire Ties.
93. Connect supplied Camera Harness to supplied
Chassis Harness. (Figure 75)
Figure 75
94. Reconnect negative battery terminal. Tighten
negative cable nut to 5 N·m (44 lb in).
95. Test system functionality.