Rockwell Automation 6155F-NPWEDC Compact Non-display Computer User Manual
Page 36
36
Rockwell Automation Publication 6155R-UM002E-EN-P - February 2014
Chapter 4
Component Replacement
10. Hold the new drive (HDD or SSD) by its edge and remove it from its
protective packaging.
11. Align the new drive on the carrier (G).
12. Connect the power and data cables to the new drive (F).
13. Secure the new drive to the carrier with the four screws (E).
Torque the screws to 0.452 N•m (4 lb•in).
14. Place the protective plate on top of the new drive (D).
15. Secure the protective plate with the fours screws (C).
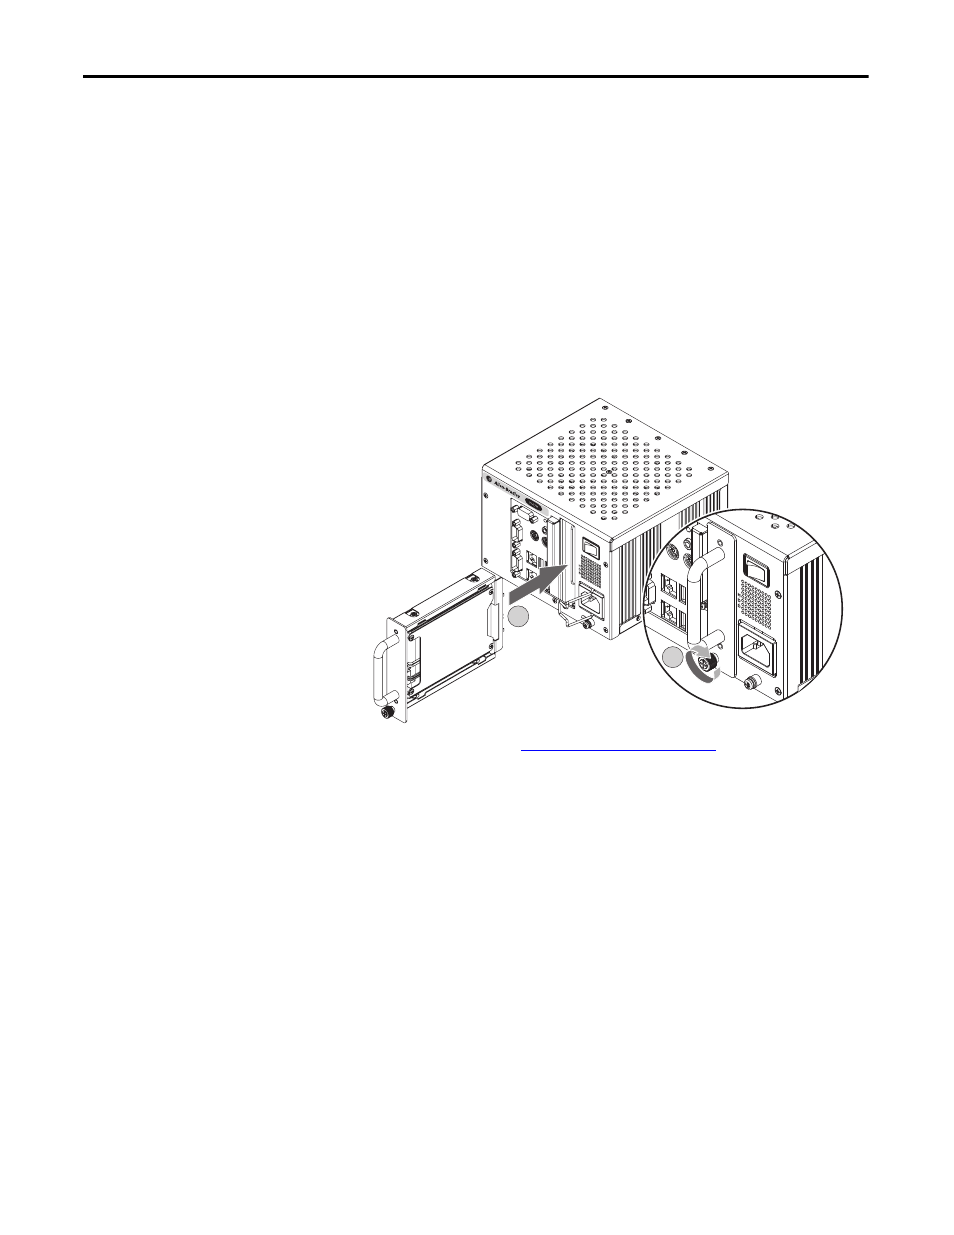
16. Gently slide the drive assembly into the enclosure (H).
17. Tighten the one captive thumbscrew to secure the drive assembly (I).
18. Follow the steps for
.
H
I