Step 8: configure the san, Step 8: configure the san – Apple Xsan 2 User Manual
Page 64
Step 8:
Configure the SAN
You use Xsan Admin to configure the SAN.
Configure the SAN:
1
Open Xsan Admin.
You can open Xsan Admin after you finish installing the Xsan software on your primary
metadata controller computer.
You can also open Xsan Admin on any computer with Mac OS X Lion Server and an
intranet or Internet connection to your SAN computers. (You can use Xsan Admin on
a computer that isn’t connected to the SAN’s private metadata network or its Fibre
Channel network.)
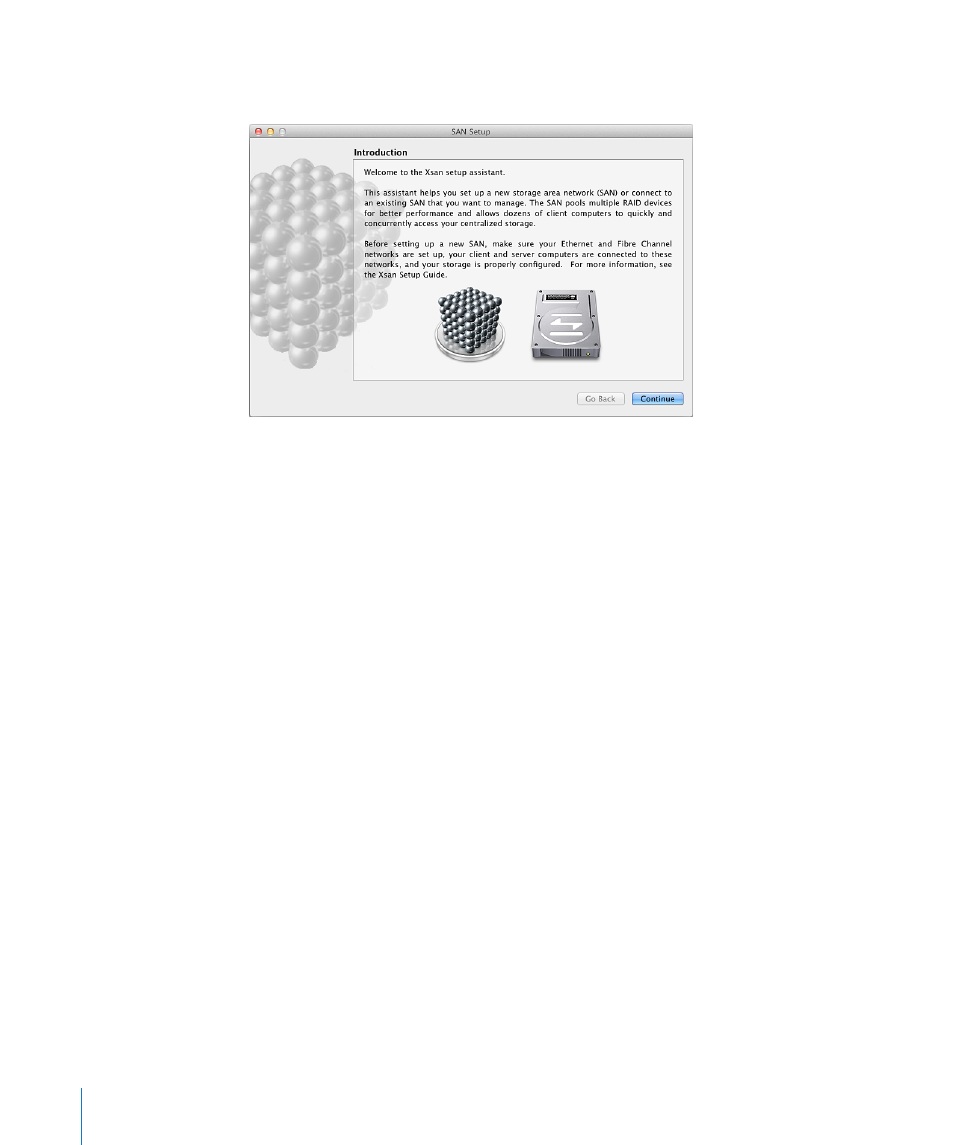
2
In the Introduction pane, click Continue.
3
In the Initial SAN Setup pane, select “Configure new SAN.”
For information about connecting to an existing SAN, see “Manage multiple SANs” on
page 69.
4
In the SAN Settings pane, enter a name for the SAN and then enter the SAN
administrator’s name and email address.
5
In the Add Computers pane, make sure all the computers that you want to include in
the SAN are selected.
If a computer you want to include isn’t listed, make sure Xsan is enabled in that
computer’s Xsan preferences (or you’ve installed Xsan, if the computer has Mac OS X
or Mac OS X Server v10.6). Check that the computer is connected to both Ethernet
networks—the public intranet and the private metadata network—and check the
network settings in the computer’s Network preferences.
You can also click Add Remote Computer to add computers manually.
64
Chapter 4
Set up a SAN