Installation instruc tio ns – Poison Spyder CJ-7 FULL CAGE KIT User Manual
Page 6
INSTALLATION INSTRUC
TIO
NS
Poison Spyder Customs • CJ-7 FULL CAGE KIT INSTALL
Page 6
©2011 POISON SPYDER CUSTOMS, INC. • 951-849-5911 • WWW.POISONSPYDER.COM
to ensure everything is still straight, square
and properly positioned.
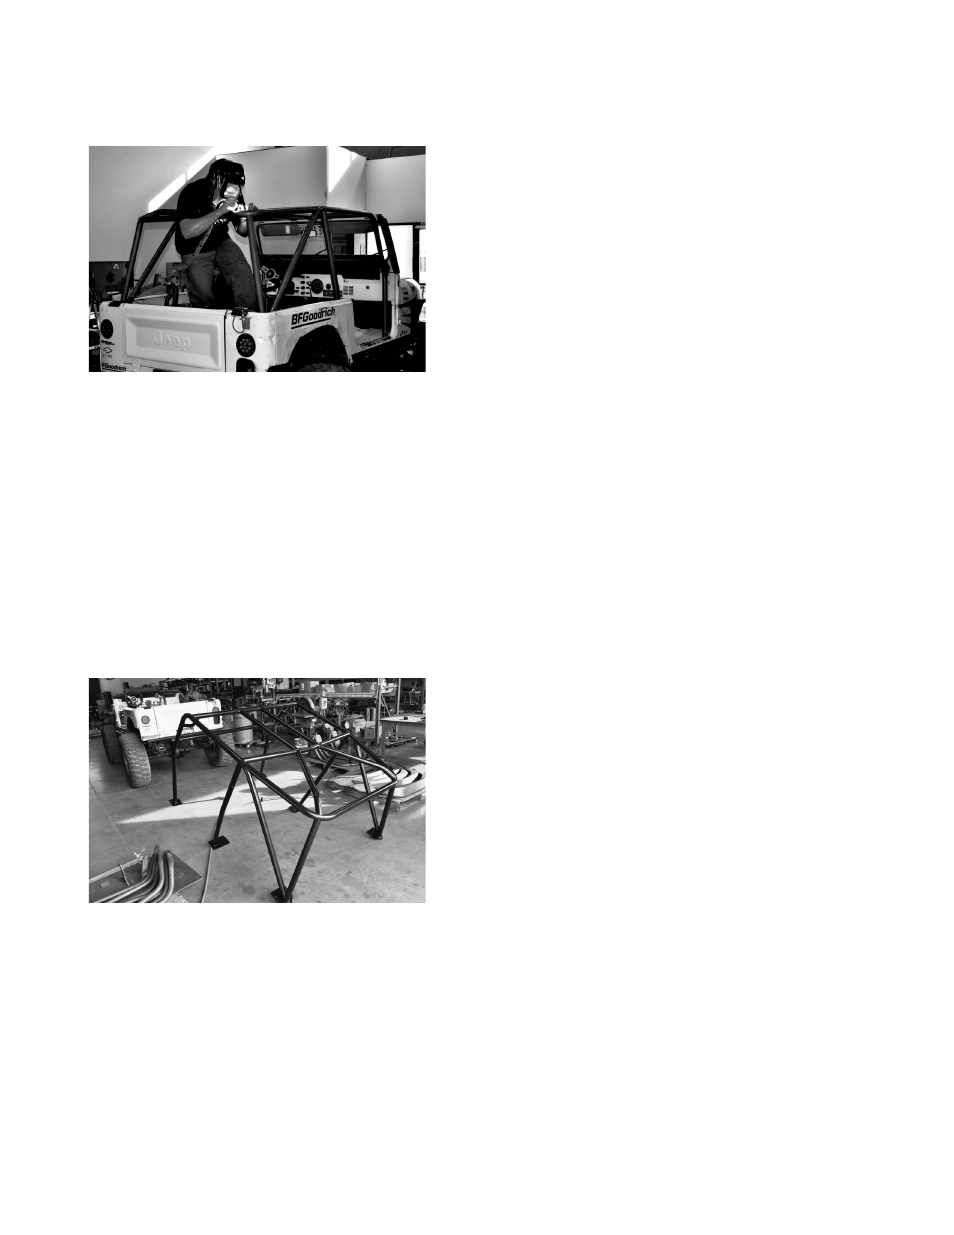
FIGURE 10
20. Begin finish-welding the cage. Make sure
that welding blankets protect any vulnerable
interior or dash components from weld sparks.
Weld as much of each joint as you can with
the cage mounted in the Jeep. Remove the
cage from the Jeep only to finish those welds
you can not reach with it installed. Remember
that welding tends to bend metal slightly, so
keeping everything bolted down for as much
of the welding process as possible will ensure
that the cage does not distort during welding.
21. Add any optional items to the cage, such as
gussets, grab handles, seat Belt bungs, etc.
FIGURE 10
22. Paint or powder-coat the cage. If painting
yourself, thoroughly clean the cage to remove
any residues, then start with a quality self-
etching primer, followed by the color paint of
you choice.
23. Re-install the cage into the Jeep and tighten
all hardware.
Congratulations, you have completed the
installation of your Poison Spyder Full Cage Kit!