Restart the printer, Change the language of the front panel – HP Designjet Z6100 Printer series User Manual
Page 34
Restart the printer
In some circumstances you may be advised to restart the printer. Please proceed as follows:
1
.
Press the
Power
button on the front panel to turn the printer off. Wait a few moments, and then press
the
Power
button again. This should restart the printer. If it does not, continue with step 2.
2
.
Use the
Reset
button on the front panel. You will need a non-conductive implement with a narrow tip
to press the
Reset
button. This normally has the same effect as pressing the Power button, but might
work if the Power button press does not.
3
.
If neither steps 1 nor 2 seems to have any effect, turn off the printer by using the power switch at the
rear of the printer.
4
.
Remove the power cord from the power socket.
5
.
Wait for 10 seconds.
6
.
Reinsert the power cord into the power socket and turn on the printer by using the power switch.
7
.
Make sure that the Power light on the front panel illuminates. If it does not, use the
Power
button to
turn on the printer.
Change the language of the front panel
Two methods are available to change the language that is used for the front-panel menus and messages.
●
If you can understand the current front panel language, go to the front panel and select the
icon, and then select Front panel options > Select language.
●
If you cannot understand the current front panel language, start with the printer powered off. At the
front panel, press the
OK
button and hold it down. While holding down the
OK
button, press the
Power
button and hold it down. Continue to hold down both buttons until the green light on the left
side of the front panel starts flashing, and then release both buttons. You can expect a delay of about
one second. If the green light starts flashing without any delay, you may need to start again.
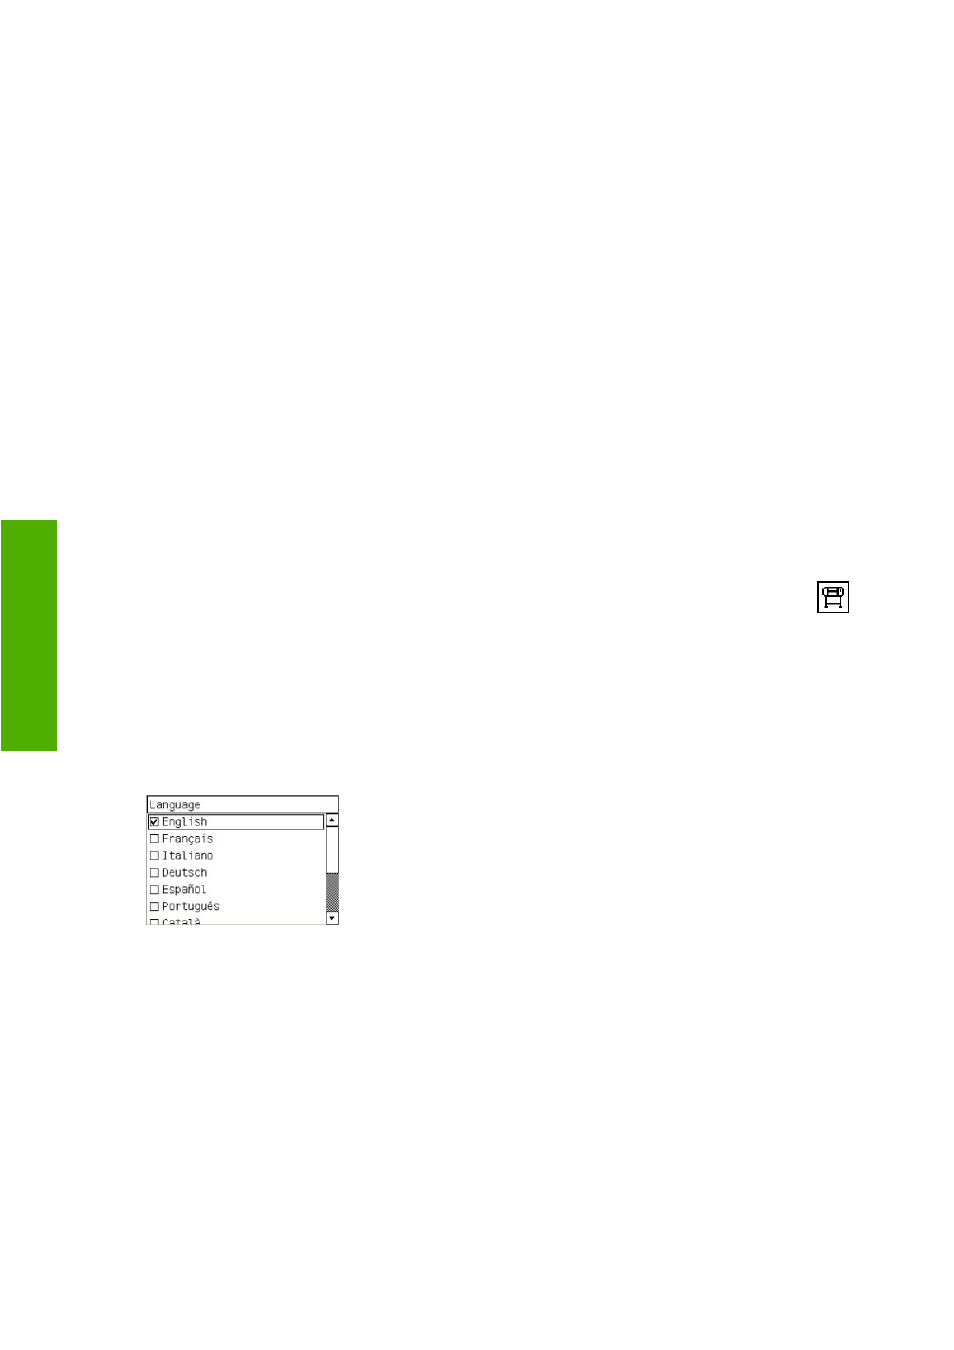
Whichever method you used, the language selection menu should now appear on the front panel.
Highlight your preferred language, and then press the
OK
button.
22 Chapter 3 Basic setup options
Bas
ic setu
p options