Creating hba-host map files, Hba-host map details window – HP SAN User Manual
Page 26
1.
Click Advanced Settings from the navigation area of the SAN Visibility GUI. The Advanced
Settings window is displayed.
2.
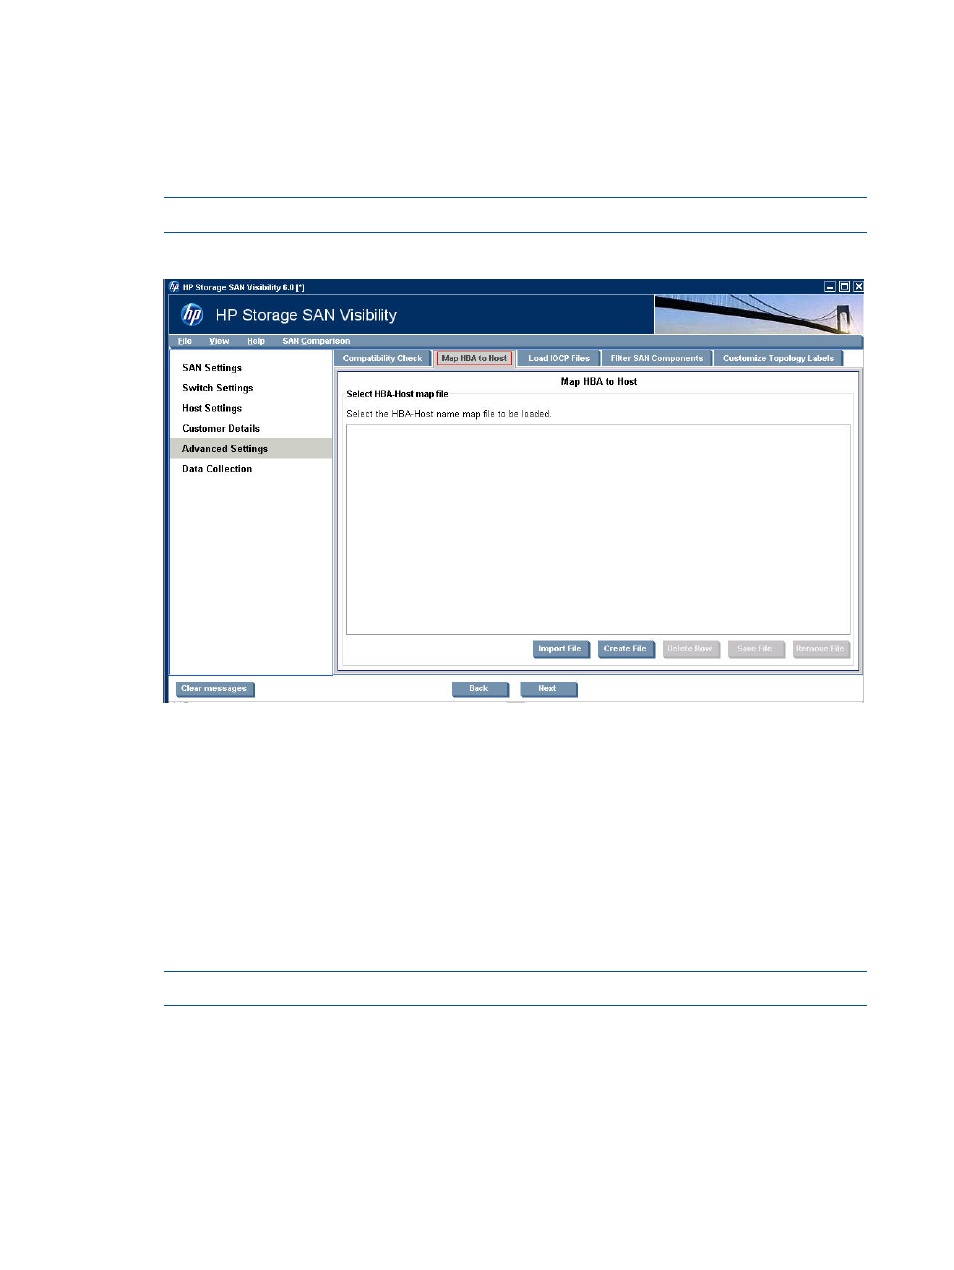
Click the Map HBA to Host tab.
3.
Click Import File to select a HBA-Host map file.
4.
Browse and select the HBA-Host map file that you want to load, and click Open.
displays the HBA-map details.
NOTE:
You can only load a .csv file or a Fnames.conf file.
Figure 14 HBA-Host map details window
You can also modify an imported host map file. Click Add Row to add content to the file and click
Delete Row to delete a row.
To save the modified file, click Save File. The host map file is saved as a <file_name>.csv file.
Creating HBA-Host map files
To create a HBA-Host map file, complete the following steps:
1.
Click Advanced Settings from the navigation area of the SAN Visibility GUI.
2.
Click the Map HBA to Host tab.
3.
Click Create File.
4.
Click Add Row to enter the HBA Node WWN, and Host Name details.
NOTE:
To delete a row, click Delete Row.
5.
Click Save File.
The created file is saved at the mentioned location.
If you want to remove the loaded HBA-Host map file, click Remove File.
Ensure that you provide the HBA-Node WWN and the host name details in the correct format.
You can also manually create the HBA-Host map file in a text editor, save it as .csv file and then
import it. For more information on importing HBA-Host map file see,
. The format of the .csv file is shown below:
26
Using SAN Visibility