Canon PIXMA PRO-1 User Manual
Page 29
2
1. Assicurarsi che la stampante sia spenta.
2. Accendere il computer.
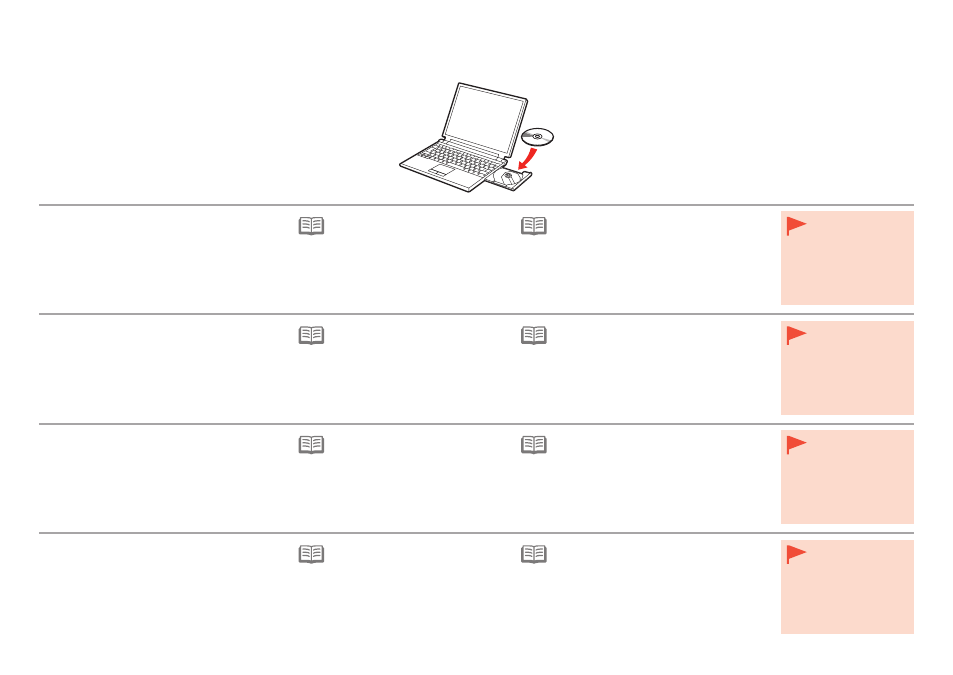
3. Inserire il
CD-ROM di installazione (Setup
CD-ROM) nell’unità CD-ROM.
Se si utilizza Windows, il programma di installazione
verrà avviato automaticamente.
Se il programma non viene avviato
automaticamente, fare doppio clic
sull’icona del CD-ROM in
Computer
o
Risorse del computer (My
Computer). Quando viene visualizzato
il contenuto del CD-ROM, fare doppio
clic sul file
MSETUP4.EXE.
•
Per Windows (diverso da Windows 8)
Se il “
CD-ROM di installazione (Setup CD-
ROM)” non viene avviato automaticamente,
inserire nuovamente il CD-ROM nel computer
e fare clic sul pulsante di selezione visualizzato
nella finestra. Quando si apre la finestra di
selezione, fare doppio clic su
MSETUP4.EXE.
Seguire le istruzioni a video per continuare.
•
Per Windows 8
Se è già collegato,
scollegare il cavo
USB. Se sul
computer viene
visualizzato un
messaggio, fare clic
su
Annulla (Cancel).
•
1. Stellen Sie sicher, dass der Drucker
ausgeschaltet ist.
2. Schalten Sie den Computer ein.
3. Legen Sie die
Installations-CD-ROM (Setup
CD-ROM) in das CD-ROM-Laufwerk ein.
Wenn Sie Windows verwenden, startet das Setup-
Programm automatisch.
Wenn das Programm nicht automatisch
startet, doppelklicken Sie auf das CD-
ROM-Symbol unter
Computer oder
Arbeitsplatz (My Computer). Wenn
der Inhalt der CD-ROM angezeigt wird,
doppelklicken Sie auf
MSETUP4.EXE.
•
Für Windows (andere als Windows 8)
Wenn die “
Installations-CD-ROM (Setup CD-
ROM)” nicht automatisch ausgeführt wird, legen
Sie die CD-ROM erneut in den Computer ein
und klicken Sie auf die Auswahlschaltfläche, die
im Fenster erscheint. Wenn das Auswahlfenster
erscheint, doppelklicken Sie auf
MSETUP4.
EXE. Befolgen Sie die Anweisungen auf dem
Bildschirm, um fortzufahren.
•
Für Windows 8
Wenn das USB-Kabel
bereits angeschlossen
ist, ziehen Sie es
ab. Falls auf dem
Computerbildschirm
eine Meldung
angezeigt wird,
klicken Sie auf
Abbrechen (Cancel).
•
1. Vérifiez que l’imprimante est hors tension.
2. Allumez l’ordinateur.
3. Insérez le
CD-ROM d’installation dans le
lecteur de CD-ROM.
Si vous utilisez Windows, le programme d’installation
démarre automatiquement.
Si le programme d’installation ne se
lance pas automatiquement, double-
cliquez sur l’icône de CD-ROM dans
Ordinateur (Computer) ou Poste de
travail (My Computer). Une fois le
contenu du CD-ROM affiché, double-
cliquez sur
MSETUP4.EXE.
•
Sous Windows (autre que Windows 8)
Si le «
CD-ROM d’installation » ne s’exécute
pas automatiquement, insérez-le à nouveau
dans l’ordinateur et cliquez sur le bouton de
sélection qui s’affiche dans la fenêtre. Lorsque la
fenêtre de sélection s’affiche, double-cliquez sur
MSETUP4.EXE. Suivez les instructions à l’écran
pour continuer.
•
Sous Windows 8
Si le câble USB
est déjà branché,
débranchez-le. Si un
message apparaît
sur l’écran de
l’ordinateur, cliquez
sur
Annuler.
•
1. Make sure that the printer has turned off.
2. Turn on the computer.
3. Insert the
Setup CD-ROM into the CD-ROM
drive.
If you are using Windows, the setup program starts
automatically.
If the program does not start
automatically, double-click the CD-ROM
icon in
Computer or My Computer.
When the CD-ROM contents appear,
double-click
MSETUP4.EXE.
•
For Windows (other than Windows 8)
If the "
Setup CD-ROM" does not autorun, insert
the CD-ROM into the computer again and
click the selection button which appears in the
window. When selection window opens, double-
click the
MSETUP4.EXE. Follow the on-screen
instructions to proceed.
•
For Windows 8
If the USB cable is
already connected,
unplug it. If a
message appears on
the computer, click
Cancel.
•