Sending a view to a floating window, Closing separate windows – Milestone Smart Client 3.6 User Manual
Page 95
Milestone XProtect Smart Client 3.6; User’s Manual
view will work as usual.
To send a view to a Secondary Display, do the following:
1. In the Live or Browse tab’s Views section, right-click the required view. This will bring up a
menu.
2. In the menu, select Send View To > Secondary Display. If more than one secondary display
is available, they will be numbered.
Sending a View to a Floating Window
Sending a view to a Floating Window will show the view in a small separate window on your
main display.
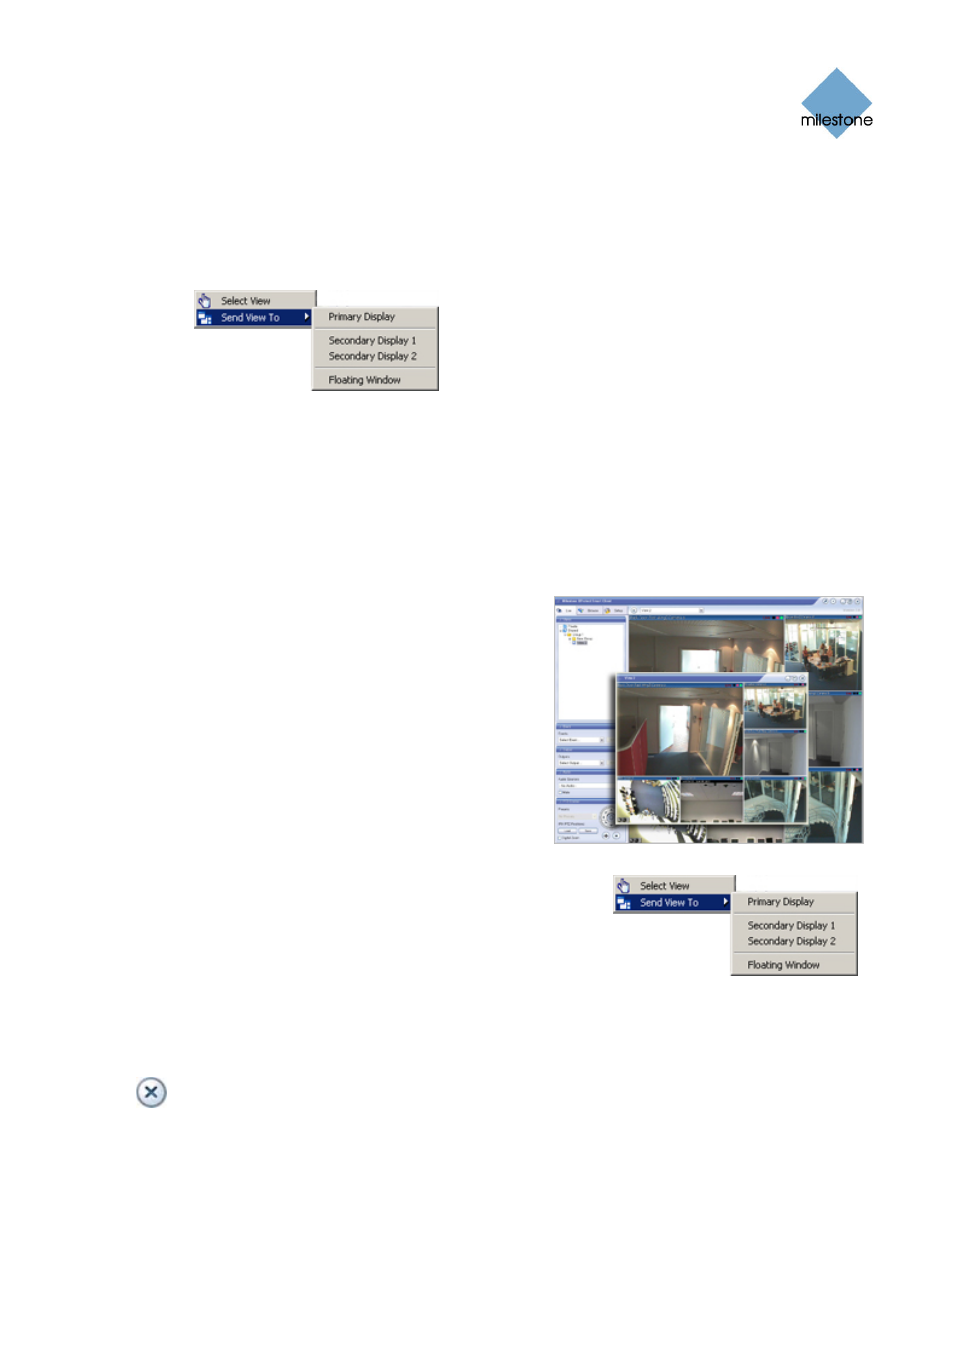
The illustration to the right provides an example of a
view sent to a Floating Window. Note that the main
Smart Client window is immediately available behind
the floating window.
The floating window will only show the selected view,
none of the Live or Browse tab’s other features. A
floating window can only show one view at a time, but
you can use any number of floating windows.
You are able to change the size of a floating window to
suit your needs. Any hotspots, carousels, Matrix
positions, still images or HTML pages included in the
view will work as usual in a floating window.
To send a view to a Floating Window, do the following:
1. In the Live or Browse tab’s Views section, right-click
the required view. This will bring up a menu.
2. In the menu, select Send View To > Floating Window.
Closing Separate Windows
To close a separate view window, regardless whether it is shown on the Primary Display, as a
floating window, or on a secondary display, simply click the Close button in the right corner
of the window’s blue top bar.
In order to allow the maximum possible viewing area, the blue top bar of a view sent to Primary
Display or a Secondary Display is hidden. To show the top bar, and get access to the Close button,
simply move your mouse pointer to the very top of the view.
www.milestonesys.com Page
95
Using Multiple Windows