Programming, Overview, Chapter 3 – Edwards Signaling FireShield 10 Zone User Manual
Page 23
FireShield Technical Reference Manual
3.1
Chapter 3
Programming
Overview
Program options and settings
The features and functions of FireShield can be customized
through programming. To customize the panel, you choose a
program option, then choose a setting for that option. This
chapter shows you how to program the panel.
Programming methods
FireShield panels can be programmed using either of two
methods.
First, you can use the panel’s LEDs and switches, with or
without an FSDACT installed.
Second, you can use a PC with an FSDACT installed. PC
programming requires an optional software package, the
FireShield Configuration Utility (model number FSCU). Refer
to the FSCU online help system for complete programming
instructions.
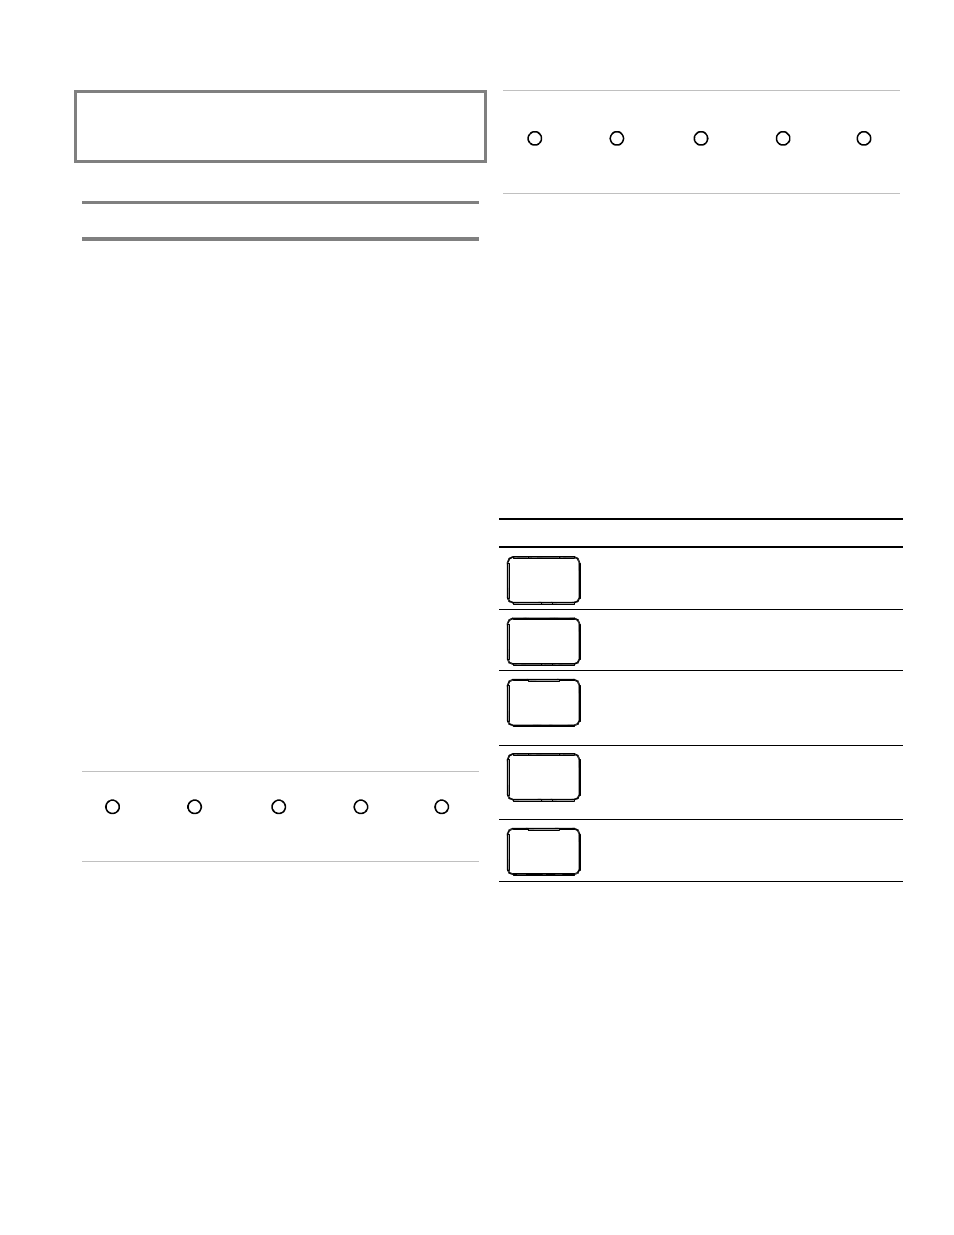
Programming LEDs
In programming mode, the top row of panel LEDs indicates
which program option is selected. Each LED is assigned a
binary number, and the total value of the top row equals the
option number. If you are not familiar with binary numbers,
you can simply match the pattern of the LEDs with the
programming instructions.
ALARM
SUP
TROUBLE
POWER
DISABLE
16
8
4
2
1
Binary numbers
Top row of LEDs
Each option has a number of possible settings. The bottom
row of panel LEDs indicates which setting is selected for the
current option. The settings are detailed below in “Custom
programming the panel.” Again, each LED is assigned a
binary number, and the total value of the bottom row equals
the setting number.
The values of all LEDs lit on a single row are added to
determine the option or setting number. For example, if the
Gnd Fault, Walk Test, and Signal Silenced LEDs are lit, the
value is 7 (4+2+1). This means that setting seven for the
current option is selected.
SIGNAL
SILENCED
WALK
TEST
GND
FAULT
BATT
TROUBLE
ANNUN
TROUBLE
16
8
4
2
1
Binary numbers
Bottom row of LEDs
FSDACT display
If you are using the optional FSDACT to program the panel,
each option and setting is displayed on the LCD display.
The top row of the LCD displays the program option, and the
bottom row displays the setting for that option. You can use
the programming buttons to step through the options and
select the settings you want.
Programming buttons
The panel buttons take on a different function when the panel
is in programming mode. The following table shows the
buttons and describes what they do in programming mode.
Button Description
REMOTE
DISCON-
NECT
Selects the next program option. The top
row of LEDs and the FSDACT LCD change
to show the option selected.
WALK
TEST
Selects the previous program option. The
top row of LEDs and the FSDACT LCD
change to show the option selected.
RESET
Selects the next setting for the current
option. The bottom row of LEDs and the
FSDACT LCD change to show the setting
selected.
SIGNAL
SILENCE
& DRILL
Selects the previous setting for the current
option. The bottom row of LEDs and the
FSDACT LCD change to show the setting
selected.
PANEL
SILENCE
Saves the setting you selected for the
current program option.