Luminex MAGPIX Installation and Hardware User (IVD) User Manual
Page 28
Luminex IVD MAGPIX Hardware Installation and User Manual
16
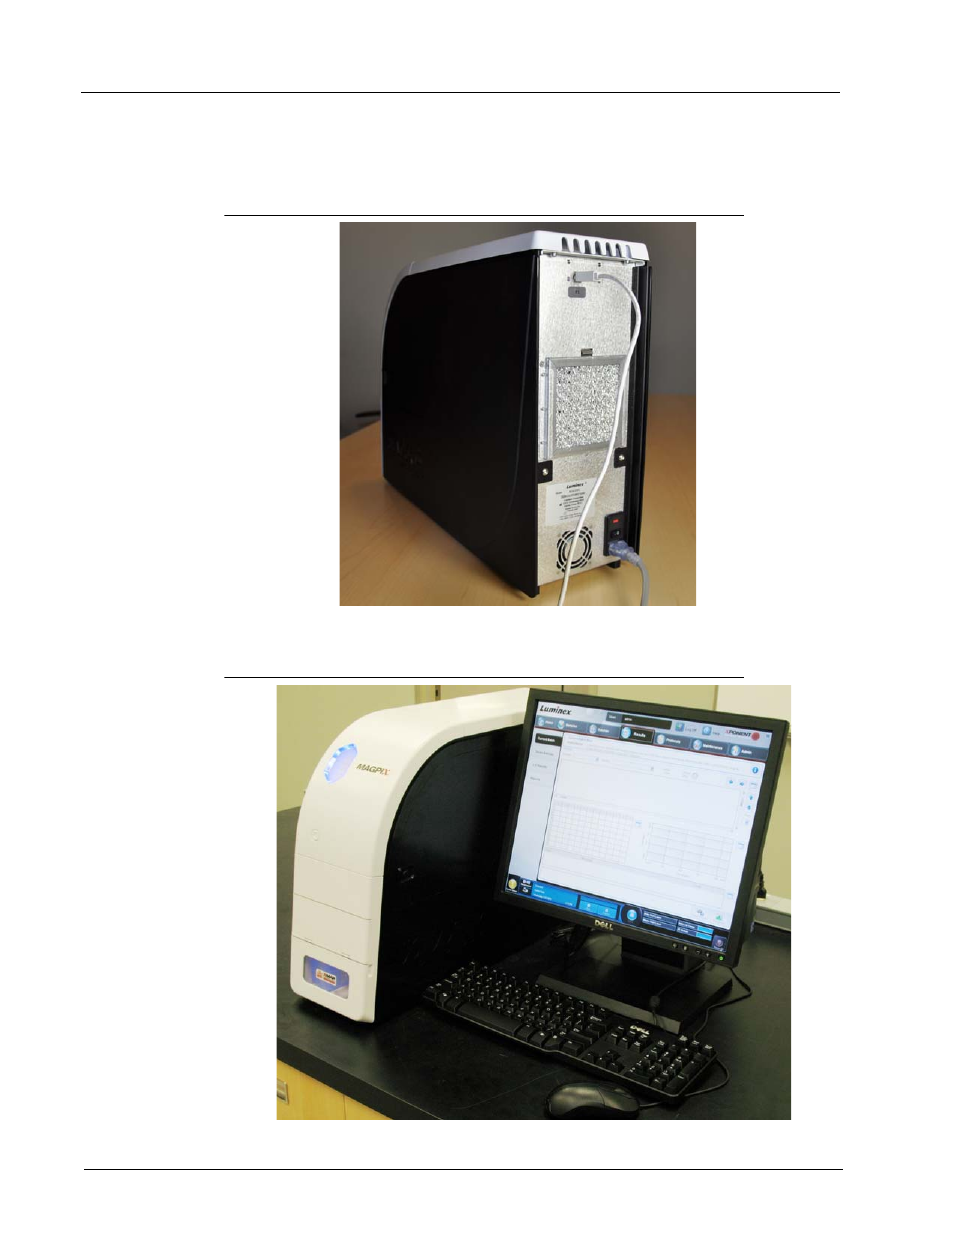
2. Plug the power cord into the back of the instrument.
3. Connect the USB cable to the PC and to the connector labeled P1 on the back of
MAGPIX. Use the top right USB port on the PC.
FIGURE 17.
Power Cord and USB Cable Connected
4. Connect the barcode scanner (if ordered) to the computer.
FIGURE 18.
All Components Connected
See also other documents in the category Luminex Equipment:
- FLEXMAP 3D User Manual (86 pages)
- MAGPIX Hardware and Installation Manual (104 pages)
- MAGPIX User Quick Guide (29 pages)
- xMAP Antibody Coupling Kit (24 pages)
- xMAP AbC (2 pages)
- Salmonella Analysis Tool (8 pages)
- 200 Hardware User Manual (70 pages)
- FLEXMAP 3D Hardware User Manual (72 pages)
- 100E Hardware User Manual (38 pages)
- 200 System User Manual (63 pages)
- 100 IS 2.2 User Installation Guide (10 pages)
- 200 Installation Guide (52 pages)
- 100 IS 2.1 User Installation Guide (10 pages)
- No Top Plate (NTP) Swivel Base Installation and User Manual (18 pages)
- 100 IS 2.3 User Installation Guide (10 pages)
- PC Installation Instructions (2 pages)
- BioPlex XYP, LX200 User Manual (supplied by BioRad) (51 pages)
- 100 IS User Manual, Version 2.1 (184 pages)
- 100 IS User Manual, Version 2.1 (188 pages)
- 100 IS User Manual, Version 2.3 (228 pages)
- 100 IS Version 2.1 (84 pages)
- 100 IS Version 2.3 (230 pages)
- 100 IS Version 2.2 (96 pages)
- 100 IS Version 2.2 (246 pages)
- 100 IS Developer Workbench Guide Version 2.3 (74 pages)
- IS Version 2.3 (120 pages)
- IS Version 2.3 (IVD) (116 pages)
- 100 User Manual Version 1.7 (146 pages)
- 200 User Manual with LDS 1.7 Software (154 pages)
- 200 LDS User Manual Update (10 pages)
- Flock Monitor Quick Guide (2 pages)
- 200 User Manual with IS 2.3 Software (64 pages)
- 100 User Manual Addendum Version 1.7 (12 pages)
- 100 IS User Manual Addendum Version 2.3 (58 pages)