Chapter 1 – Printronix Online Data Validator User Manual
Page 24
Chapter 1
Installation and Removal
24
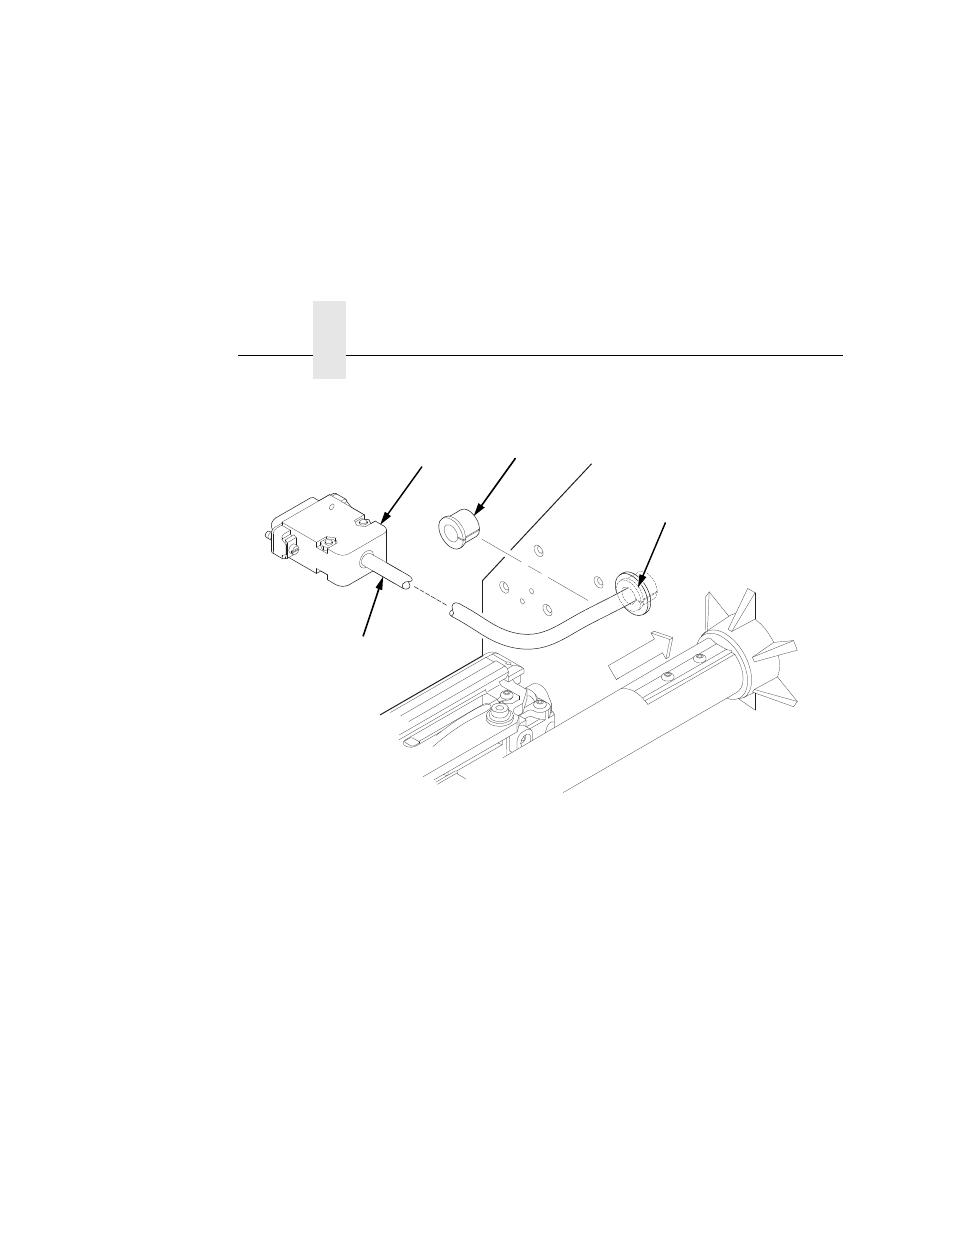
Figure 8. Adding the Grommet to the Power/Data Cable
13. On the media side of the printer, slide the split grommet onto
the power/data cable and insert it into the frame opening.
(Figure 8.)
14. Inspect the power/data cable to ensure approximately
17 inches of cable is exposed from the grommet to connect it to
the validator.
NOTE:
You will plug the power/data cable into the validator later.
183460a
Split
Grommet
Power/Data Cable
(approximately
17 inches exposed)
Inserted Split
Grommet
(media side)
DB15
Connector