Fan mode switch 36, Installation 36, Installing wall mounted con – Trane LO User Manual
Page 36: Trols 36, Installing wall mounted controls, Fan mode switch installation
36
UNT-IOM-6
Installing Wall Mounted Controls
Wall mounted controls, which include the fan mode switch and the
zone sensor module, ship loose inside the unit accessory bag.
Position the controller on an inside wall 3 to 5 feet above the floor and
and at least 18 inches from the nearest outside wall. Installing the
controller at a lower height may give the advantage of monitoring the
temperature closer to the zone, but it also exposes the controller to
airflow obstructions. Ensure that air flows freely over the controller.
Avoid mounting the controller in an area subject to the following
conditions:
· Dead spots such as behind doors or in corners that do not allow
free air circulation.
· Air drafts from stairwells, outside doors, or unsectioned hollow
walls.
· Radiant heat from the sun, fireplaces, appliances, etc.
· Airflow from adjacent zones or other units.
· Unheated or uncooled spaces behind the control, such as outside
walls or unoccupied spaces.
· Concealed pipes, air ducts, or chimneys in partition spaces behind
the controller.
The fan mode switch ships loose inside the unit accessory bag.
Follow the steps below to install the fan mode switch.
Items needed:
2 x 4 electrical junction box
1.Remove the brown wire if not using a field-supplied damper.
Remove the terminals, cut and strip wires as required for installation.
2.Level and position a 2 x 4 electrical junction box. Follow the
instructions given in the Interconnection Wiring section and route the
wires as shown in the wiring diagram. Refer to the typical wiring
diagram on page 101 or to the unit specific diagram on the unit.
3.Position the fan mode switch over the junction box with the two
screws supplied.
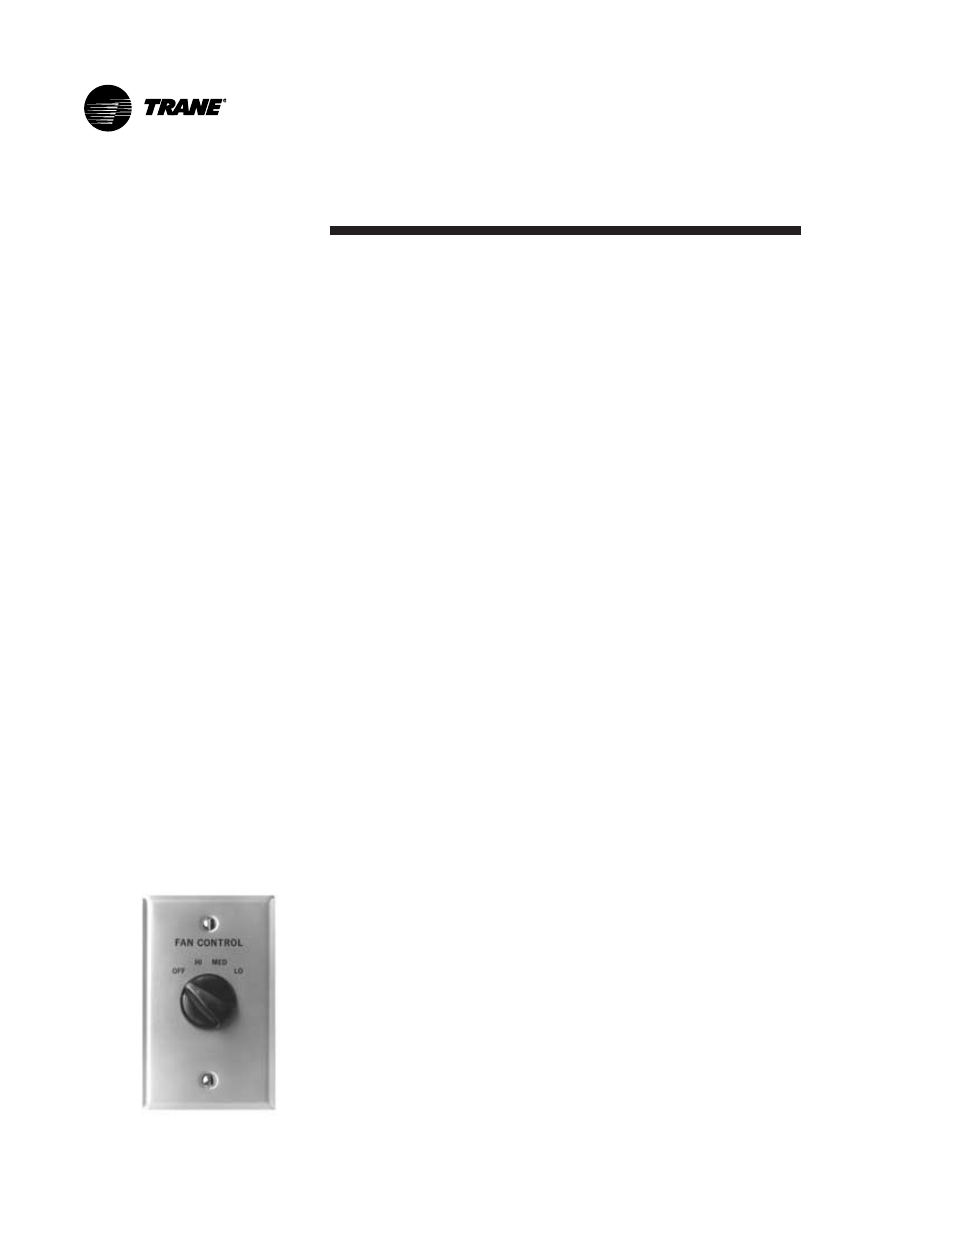
Fan Mode Switch
Installation
Figure 24. Fan Mode Switch