Omega Vehicle Security OMP-MODL User Manual
Page 156
10... H
YPER
T
RACK
™ R
EAL
-T
IME
D
ATA
D
ISPLAY
U
SING THE
OMP-MODL
10-7
Saved HyperTrack Nets should only be used for real-time tracking with
OMP-MODLs configured with Program Nets that contain matching Probe
Point icons. If mismatched nets are used, channels may be incorrectly titled
and displayed in incorrect sequence.
For example: A HyperTrack Net is developed and saved
for use with a OMP-MODL Program Net that includes 3
Probe Point icons labeled A, B, and C. Accidently, the
HyperTrack Net is used with a OMP-MODL running a
Program Net that contains only 2 Probe Point icons
labeled X and Y. The resulting HyperTrack Net data
display will result in two channels labeled A (displaying X
data) and B (displaying Y data) and a third channel
labeled C that just displays 0.
To avoid this confusion, check the correlation between
the HyperTrack Net and the OMP-MODL Program Net
before Tracking.
S
TARTING A
H
YPER
T
RACK
S
ESSION
Initiation of a HyperTrack session is handled from within the HyperTrack window.
Before starting a session, the following conditions must be met:
♦
The OMP-MODL must be programmed with a Program Net
including Probe Point icons
♦
A serial connection between the OMP-MODL and the PC must
be established
♦
A compatible HyperTrack Net must be loaded and displayed on
the HyperTrack window of HyperWare
♦
All File icons included within the HyperTrack Net must have
filenames provided
♦
The OMP-MODL must be Enabled
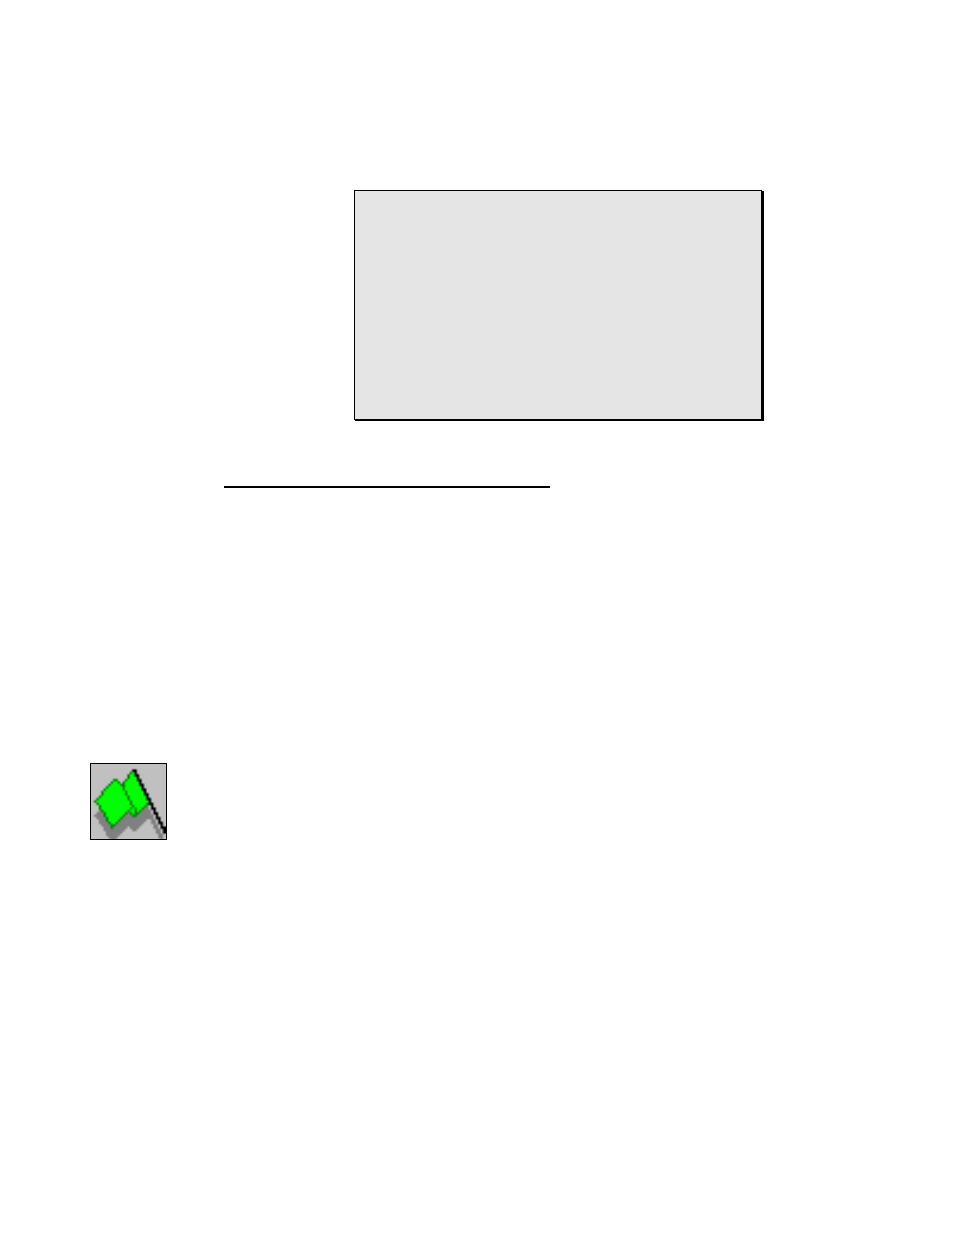
To start tracking, click on the Green Start button. Clicking on this button commands
the connected OMP-MODL to start sending out the Probe Point icon values, which
are in turn processed by the HyperTrack Net on the PC. The Scrolling Display
window(s) will automatically open and begin displaying data. Any Destination File
icons will create the specified filenames and begin recording to that file.
HyperTrack Scrolling Display Window
During real-time tracking, data from the signals connected to the Scrolling
Display icon is displayed in a columnar format in the pop-up Scrolling
Display window.
Channel Display Order
The order of display (left to right) of inputs is set by the order of
connection of signals to the Scrolling Display icon. The top
connection is displayed on the left and the bottom connection is
displayed on the right.
Up to 8 channels can be displayed in the Scrolling Display window.
Utilize the slide bar at the bottom of the window to view channels
that are out of the window to the left or right.
Figure 10... -
11: Start
Tracking
button