Press the 4 button while the setting is displayed, Press the 4 button, Press the shutter release button halfway – Pentax Optio X User Manual
Page 71: Press the shutter release button fully
69
4
Tak
ing Pi
cture
s
3
Press the 4 button while the
setting is displayed.
The Auto Bracket options screen appears.
4
Use the four-way controller (23)
to choose the shooting
conditions.
5
Press the four-way controller (5) to choose the Auto
Bracket settings for a or b.
A pull-down menu appears.
6
Use the four-way controller (23) to choose the
bracketing steps.
7
Press the 4 button.
The camera is ready to take pictures.
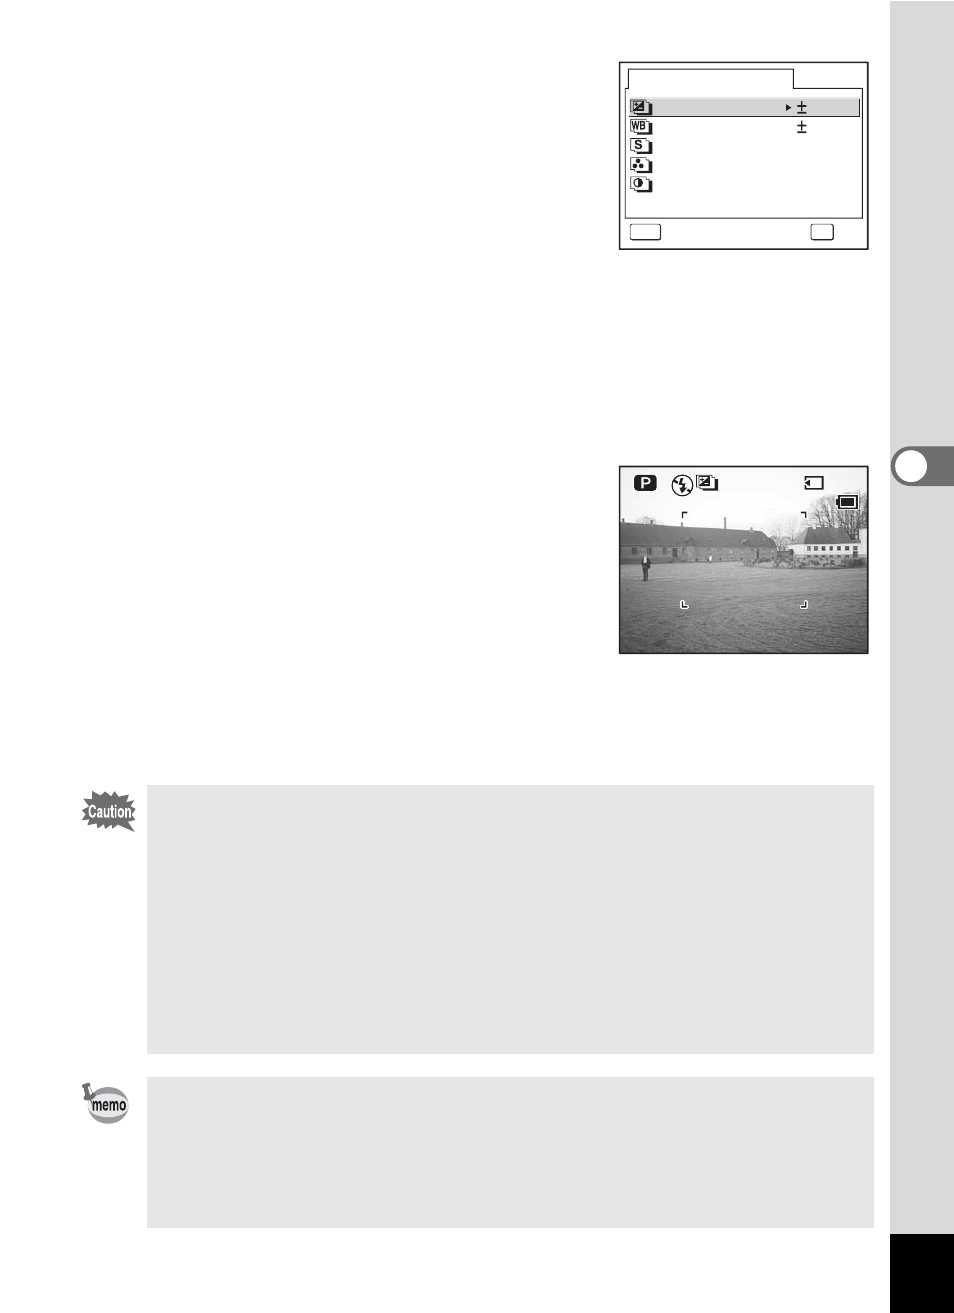
The function chosen for auto bracketing
appears on the LCD monitor.
8
Press the shutter release button
halfway.
The focus frame turns green if the subject is
in focus.
9
Press the shutter release button fully.
• Three pictures are taken in succession when a is selected and
the shutter release button is pressed down fully in Step 9.
• Only one picture is taken when any other auto bracket option is
selected and the shutter release button is pressed down fully in
Step 9, and the camera creates the series of three shots internally.
• Auto bracketing is not possible in F, C or ^ mode.
• The flash will not discharge in Auto Bracket mode.
• When recorded pixels is set to [2048×1536] and above, images are
taken at [D (Better)] despite quality level set at [C (Best)].
• The Auto Bracket options screen in Step 3 above can also be
displayed from the [A Rec. Mode] menu.
• With the exception of the shooting conditions selected for auto
bracketing, the second and third pictures are taken under the
same conditions as the first picture.
E x p o s u r e
A u t o B r a c k e t
MENU
C a n c e l
OK
O K
W h i t e B a l a n c e
S h a r p n e s s
S a t u r a t i o n
C o n t r a s t
0 . 3 E V
1
3 8
3 8
3 8
1 4
1 4 : 2 5
: 2 5
1 4 : 2 5
0 9 / 2 5 / 2 0 0 4
0 9 / 2 5 / 2 0 0 4
0 9 / 2 5 / 2 0 0 4