Mount the touch screen – Crestron electronic 7" Room Scheduling Touchscreen with Light Bar for Rooms (Black Smooth) User Manual
Page 65
Product Manual — Doc. 8745H
TSS-70 Series • 61
Observe the following when connecting the touch screen:
l
Power and data connection is provided to the touch screen by a single Ethernet cable. A Crestron
PoE (Power over Ethernet) power supply, such as the
, or a PoE-capable network
switch is recommended (neither included).
l
The USB ports are used to connect compatible Crestron LED accessories to the touch screen.
NOTE: The TSS-770 may use either PoE or PoE+ to supply power to compatible LED
accessories over USB; the TSS-1070 requires at minimum PoE+ to supply power to LED
accessories over USB.
l
Apply power after all connections have been made.
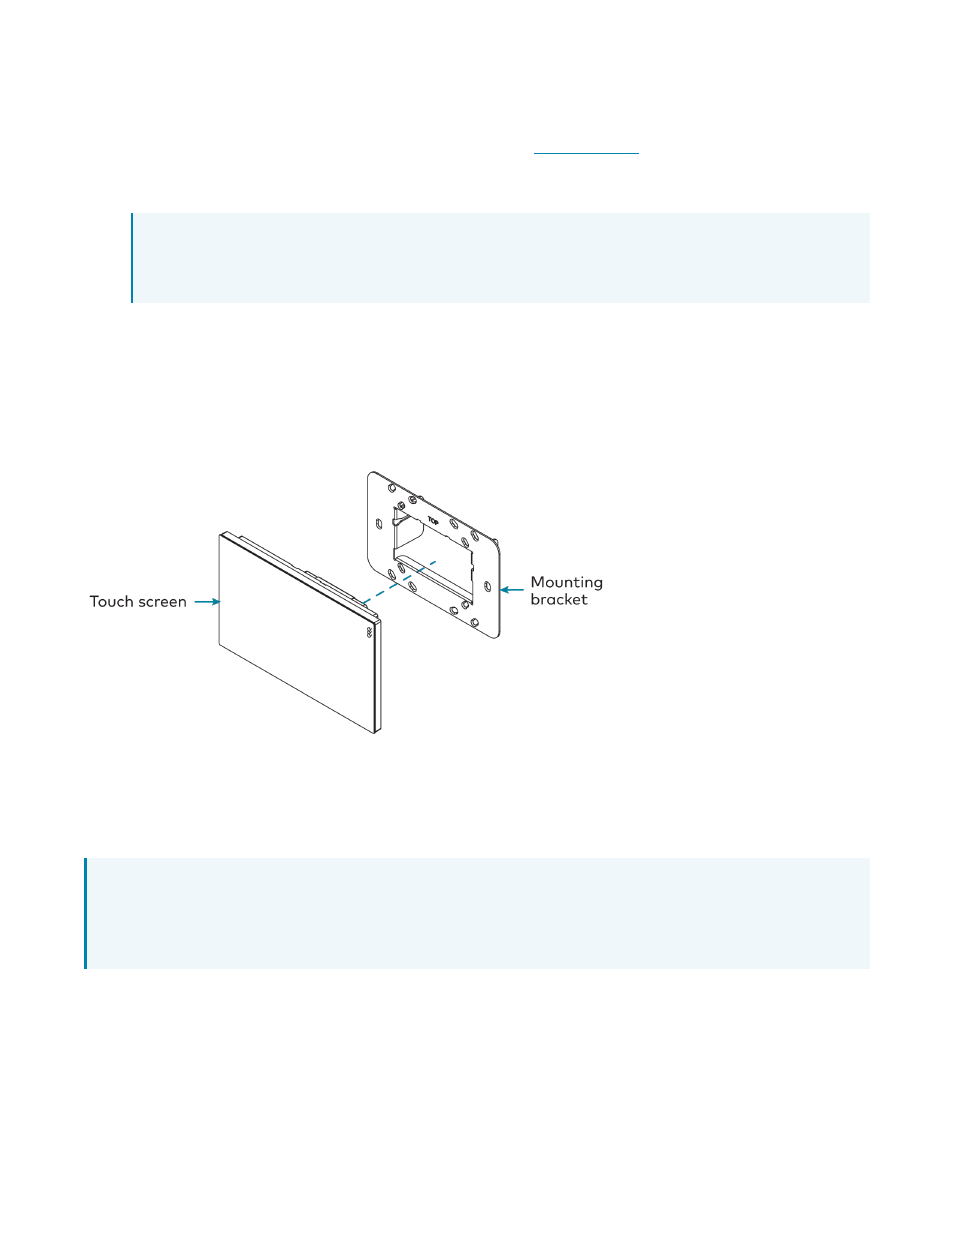
Mount the Touch Screen
After all connections have been made, push the touch screen gently into the mounting bracket so that
its rear housing is secured within the center opening of the mounting bracket.
If the touch screen is not level after installation, pull it out of the mounting bracket and loosen the
screws holding the bracket into place. This procedure allows the mounting bracket to be rotated slightly.
Once the mounting bracket has been repositioned, retighten the screws, reinstall the touch screen into
the bracket, and ensure that the touch screen is now level.
NOTE: To clean or disinfect a touch screen display, use a soft, clean, damp (not wet) cloth with any
commercially available non-ammonia glass cleaner or disinfectant cleaner. Bezels do not provide a
complete watertight seal, so apply cleaning solution to the cloth rather than the surface of the
touch screen. Wipe the touch screen clean and avoid ingress of moisture beneath the bezels.