2) modifying and deleting, 2) modifying and deleting -24, 6hfwlrq fax operation (other functions) – TA Triumph-Adler FAX 950 User Manual
Page 96
(2) Modifying and Deleting
* If a program key that has been used to schedule a communication
which has not yet begun is selected for modification or deletion,
“USED AS MEMORY FILE” will appear in the message display and
it will not be possible to modify or delete that key.
* To cancel the procedure part way through, press the STOP key.
The message display will revert to the initial mode.
* If Restricted access is turned ON, it is first necessary to enter the
registered management password and then press the ENTER
FUNCTION key. Refer to “(5) Entering Your Access Code”, page 7-28.
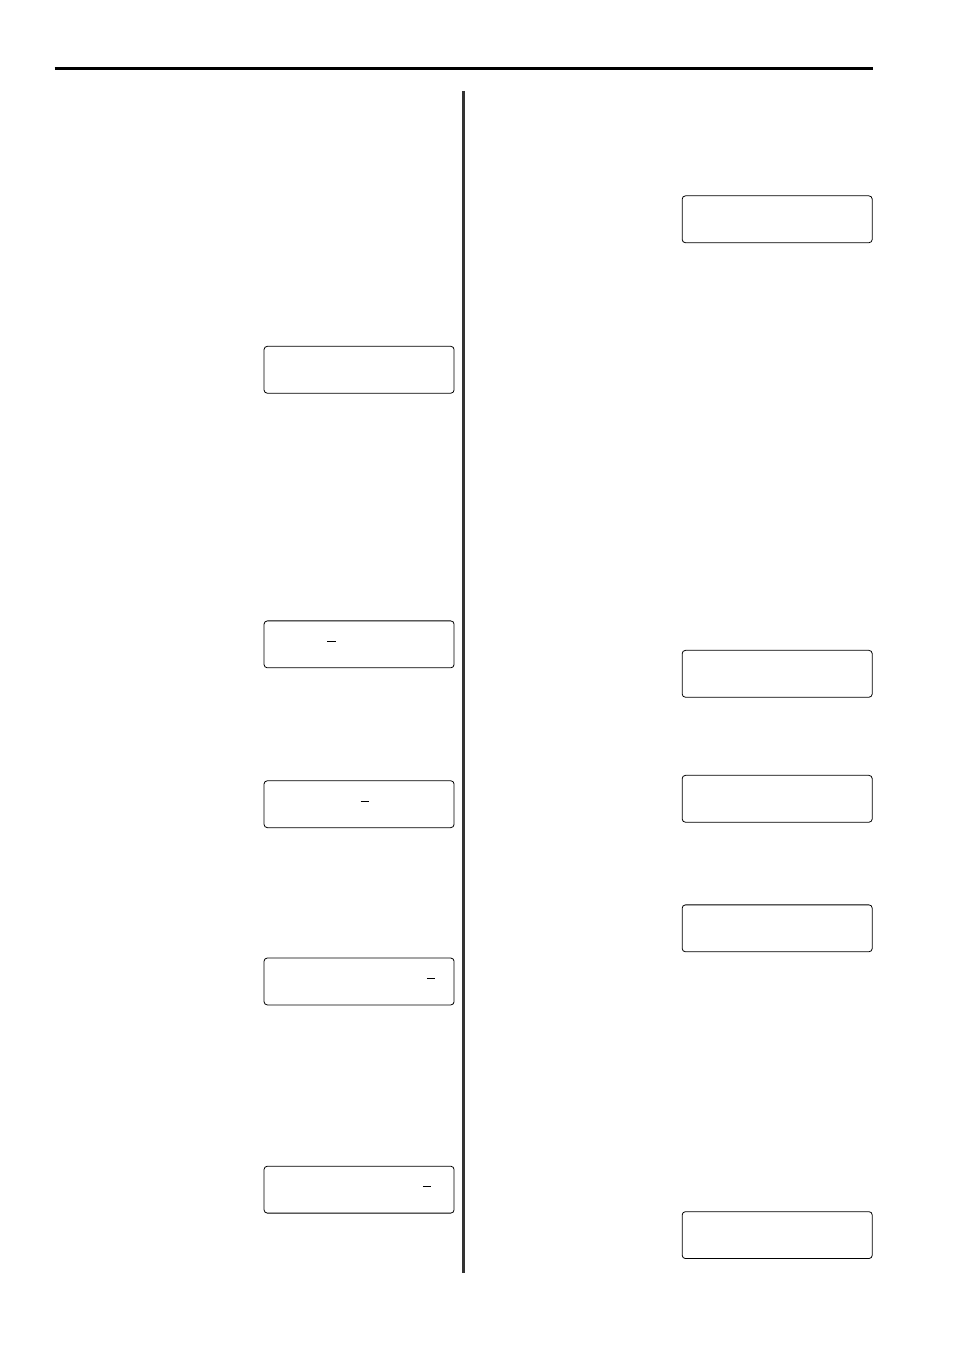
1. Press the FUNCTION key.
2. Press the (
씱
) cursor key until the following message appears in
the message display.
3. Press the ENTER FUNCTION key.
4. Press the (
씰
) cursor key until the following message appears in
the message display.
5. Press the ENTER FUNCTION key.
6. Press the (
씱
) cursor key until the type of communication that is
registered under the program key to be modified or deleted
appears in the message display. (Refer to step 6, page 7-21.)
7. Press the ENTER FUNCTION key.
8. Press the program key containing the information to be modified or
deleted.
* To delete the registered information, proceed to “
●
Deleting”.
To modify information, proceed to “
●
Modifying”.
●
Deleting
9. Press the CLEAR/ON-HOOK key.
7-24
6HFWLRQ
Fax operation (Other functions)
18. Use the cursor keys (
씱
) (
씰
) to enter the desired amount of time
between polling cycles.
* The time interval can be set to any amount between
0 - 90 minutes in 10 minute increments.
* If the time interval is set to “00”, the next polling cycle will begin
about 1 minute after the previous cycle is complete.
19. Press the ENTER FUNCTION key.
20. Registration for that program key is complete. Use the cursor
keys (
씱
) (
씰
) to select whether or not you want to continue
registering program keys.
21. Press the ENTER FUNCTION key.
* If you chose to continue registering program keys, return to
step 6, page 7-21. If you chose NOT to continue, the message
display will revert to the initial mode.
3'(/(7(
6(7 '2&80(17
)81&7,21
5(*,67(5 63((' ',$/
5(*,67(5 63((' ',$/
5(* 352*5$0 ',$/
●
Continuous polling reception
(Continued from step 7, page 7-21)
8. Press an unregistered one-touch key.
9. Press the ENTER FUNCTION key.
10. Enter the fax number of the transmitting party.
To receive documents from multiple fax machines, repeat steps
1
and
2
below until all desired fax numbers have been entered.
* The fax numbers can be entered with the keypad, abbreviated
numbers or one-touch keys.
* If “EXCEEDS MAX. DEST” appears in the message display, the
number of fax numbers entered exceeds the acceptable limit.
1
Enter a fax number.
2
Check the display and press the ENTER FUNCTION key.
11. Press the ENTER FUNCTION key.
12. Enter the desired name for the program key.
(Max. 16 characters)
* Refer to “
Entering Characters”, page 2-21, for more detailed
information on entering characters.
13. Press the ENTER FUNCTION key.
14. If you want to designate a time for the reception to begin, use the
keypad to enter the start time.
To have the reception begin immediately after the program key is
pressed, proceed to step 15.
* The time should be set on a 24-hour time basis (00:00 - 23:59).
15. Press the ENTER FUNCTION key.
16. If you want to designate a time for the reception to end, use the
keypad to enter the time.
If you do NOT want to designate a time for the reception to end,
proceed to step 17.
* The time should be set on a 24-hour time basis (00:00 - 23:59).
* If you choose NOT to designate a time for the reception to end,
the operation will continue indefinitely.
17. Press the ENTER FUNCTION key.
31(: ',$/
1$0($%&
7,0(
67237,0(
,17(59$/0,1
20. Press the ENTER FUNCTION key.
21. Registration for that program key is complete. Use the cursor
keys (
씱
) (
씰
) to select whether or not you want to continue
registering program keys.
22. Press the ENTER FUNCTION key.
* If you chose to continue registering program keys, return to
step 6, page 7-21. If you chose NOT to continue, the message
display will revert to the initial mode.