14 programming examples – HEIDENHAIN TNC 620 (340 56x-02) Cycle programming User Manual
Page 408

408
Touch Probe Cycles: Automatic Workpiece Inspection
16.14 Pr
ogr
amming Examples
16.14 Programming Examples
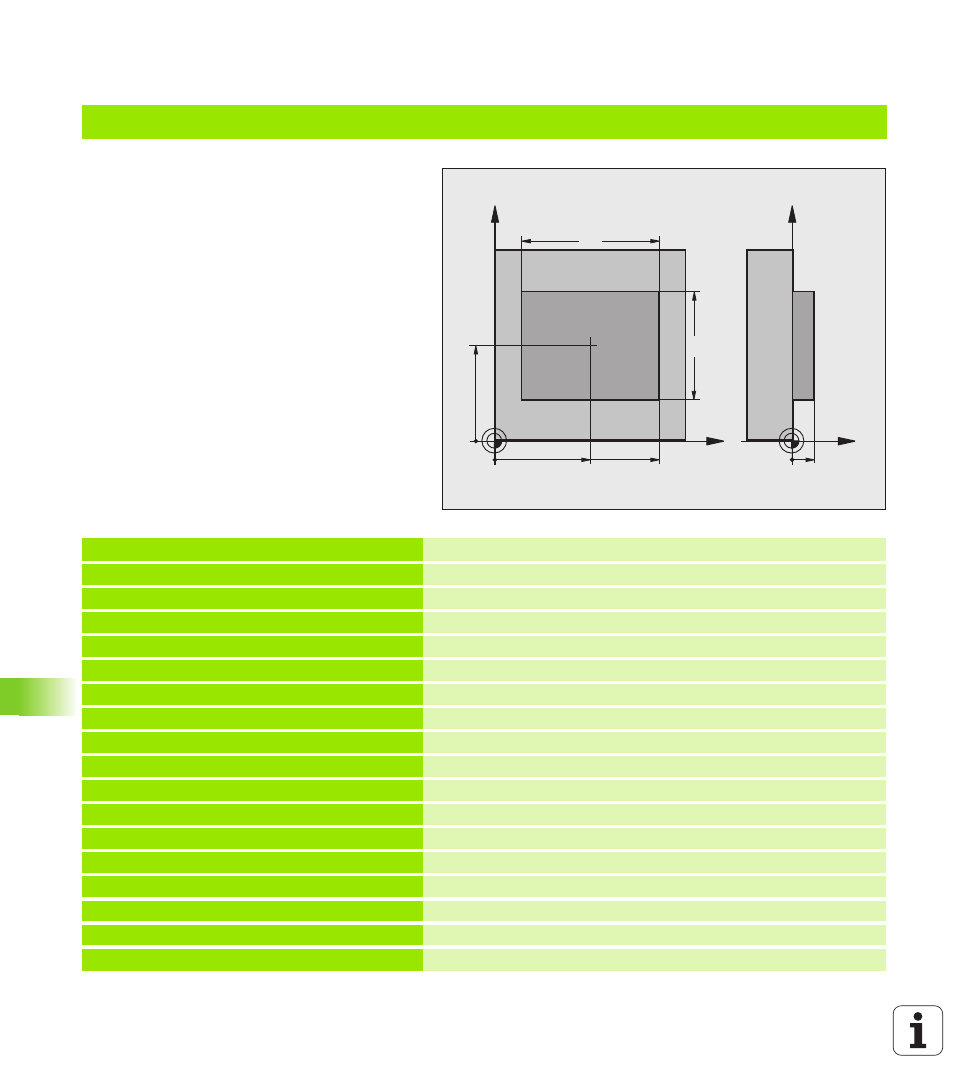
Example: Measuring and reworking a rectangular stud
Program sequence:
Roughing with 0.5 mm finishing allowance
Measuring
Rectangular stud finishing in accordance with
the measured values
0 BEGIN PGM BEAMS MM
1 TOOL CALL 69 Z
Prepare tool call
2 L Z+100 R0 FMAX
Retract the tool
3 FN 0: Q1 = +81
Pocket length in X (roughing dimension)
4 FN 0: Q2 = +61
Pocket length in Y (roughing dimension)
5 CALL LBL 1
Call subprogram for machining
6 L Z+100 R0 FMAX
Retract the tool, change the tool
7 TOOL CALL 99 Z
Call the touch probe
8 TCH PROBE 424 MEAS. RECTAN. OUTS.
Measure the rough-milled rectangle
Q273=+50
;CENTER IN 1ST AXIS
Q274=+50
;CENTER IN 2ND AXIS
Q282=80
;FIRST SIDE LENGTH
Nominal length in X (final dimension)
Q283=60
;2ND SIDE LENGTH
Nominal length in Y (final dimension)
Q261=-5
;MEASURING HEIGHT
Q320=0
;SETUP CLEARANCE
Q260=+30
;CLEARANCE HEIGHT
Q301=0
;MOVE TO CLEARANCE
Q284=0
;MAX. LIMIT 1ST SIDE
Input values for tolerance checking not required
X
Y
50
50
80
Z
Y
10
60
