1 fundamentals, Overview, 1 f undamentals 16.1 fundamentals – HEIDENHAIN TNC 620 (340 56x-02) Cycle programming User Manual
Page 364

364
Touch Probe Cycles: Automatic Workpiece Inspection
16.1 F
undamentals
16.1 Fundamentals
Overview
The TNC offers twelve cycles for measuring workpieces
automatically.
Danger of collision!
When running touch probe cycles, no cycles must be
active for coordinate transformation (Cycle 7 DATUM,
Cycle 8 MIRROR IMAGE, Cycle 10 ROTATION, Cycles 11
and 26 SCALING and Cycle 19 WORKING PLANE or 3D-
ROT).
The TNC must be specially prepared by the machine tool
builder for the use of a 3-D touch probe.
The touch probe cycles are available only with the Touch
probe function software option (option number #17).
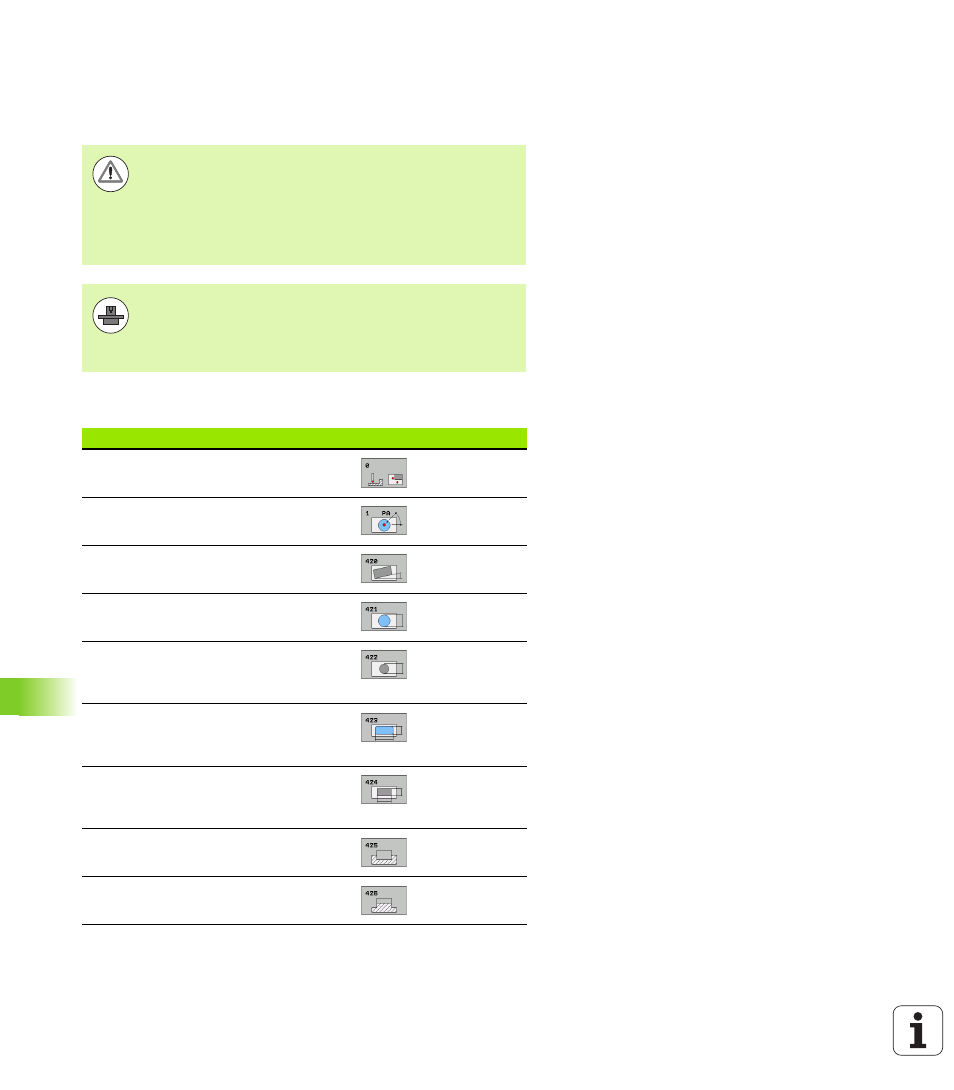
Cycle
Soft key
Page
0 REFERENCE PLANE Measuring a
coordinate in a selectable axis
1 POLAR DATUM PLANE Measuring a
point in a probing direction
420 MEASURE ANGLE Measuring an
angle in the working plane
421 MEASURE HOLE Measuring the
position and diameter of a hole
422 MEAS. CIRCLE OUTSIDE
Measuring the position and diameter of
a circular stud
423 MEAS. RECTAN. INSIDE Measuring
the position, length and width of a
rectangular pocket
424 MEAS. RECTAN. OUTSIDE
Measuring the position, length and
width of a rectangular stud
425 MEASURE INSIDE WIDTH (2nd
soft-key row) Measuring slot width
426 MEASURE RIDGE WIDTH (2nd soft-
key row) Measuring the width of a ridge
