Datum setting – HEIDENHAIN ND 720 v.3 User Manual
Page 10
10
Datum Setting
If you want to save the datum points in nonvolatile
memory, you must first cross over the reference
marks.
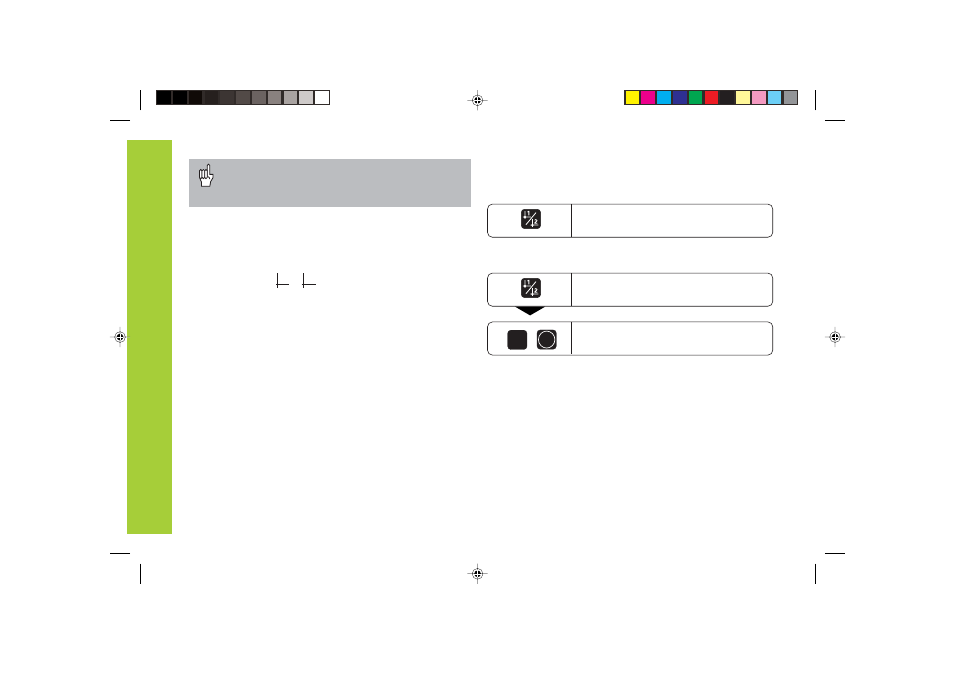
Press the datum key (d starts
blinking).
Datum Setting
In P70, you can select:
Two datum points: The selected datum point
is displayed via 1 or 2
Nine datum points: The selected datum point
is displayed in the lowest axis via d1 to d9.
Touch the workpiece with the tool and then set the desired
datum (see example). You can also touch two edges and set
the centerline between them as a datum. The dimensions of
the tool used for this are automatically accounted for (see
Tool Compensation).
Probe the workpiece with the edge finder and then set the
desired datum. You can also probe two edges and set the
centerline between them as a datum, or touch the inside of a
circle and set the circle center as a datum (see examples).
The stylus radius and length are automatically accounted for
if they have been entered in parameters P25 and P26,
respectively (see Operating Parameters).
Enter a datum number (1 to 9).
1
ENT
Only after crossing over the reference marks can you set
new datums or activate existing ones.
There are two ways to set datums:
To call a datum you have set, proceed as follows:
Select datum 1 or 2.
You have set two datum points in P70:
You have set nine datum points in P70:
Bateil1.pm6
07.11.2001, 10:36
10