Grass Valley Maestro Master Control v.1.7 User Manual
Page 74

70
Maestro — Channel Branding User Guide
Section 4 — Branding Tools
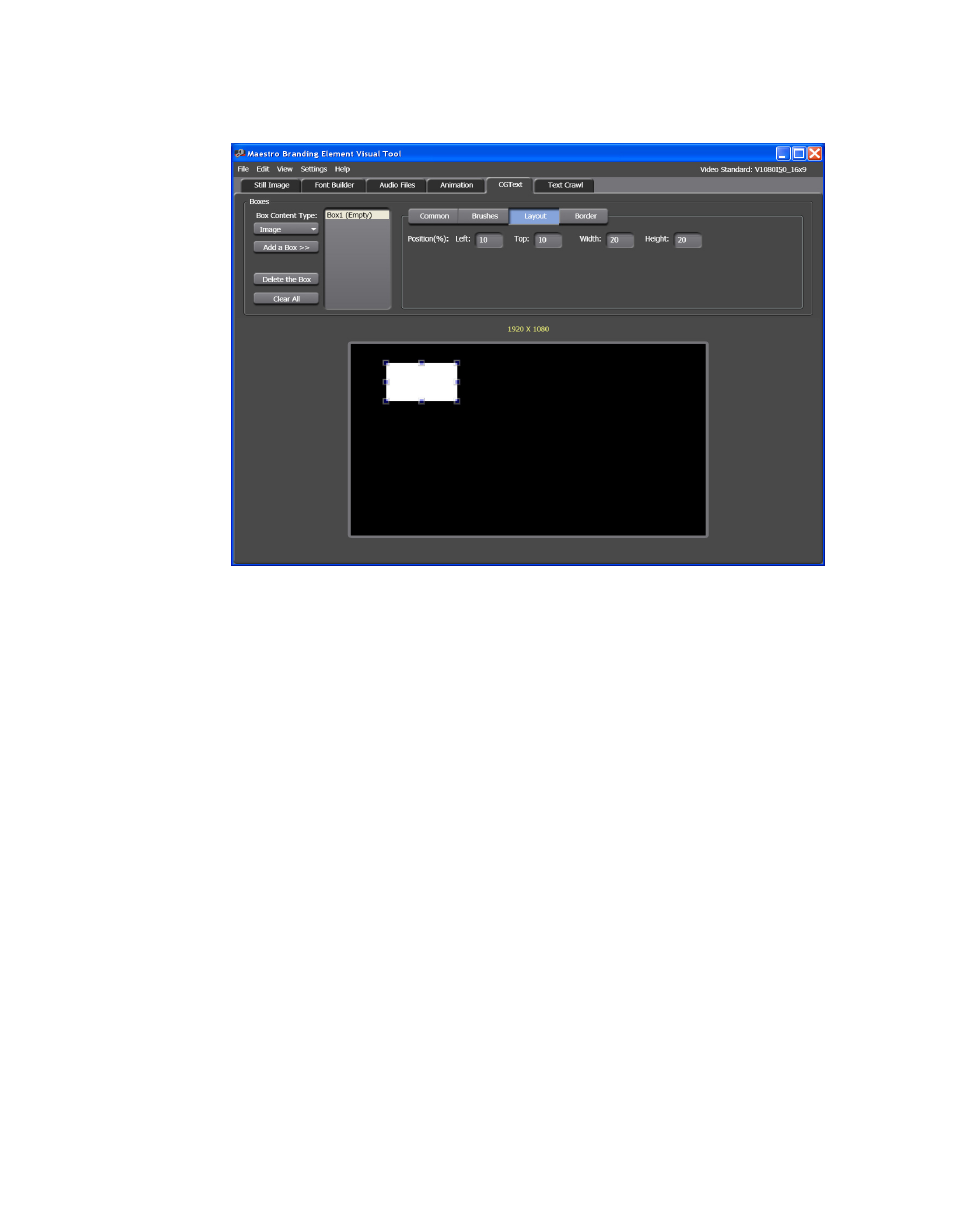
Figure 38. Branding Element Visual Tool - Box Layout Configuration Section
7.
Drag the box to the location that you prefer. The information in the
Position% section will change to show the current position of the box.
You can also change the position by entering the information in the Left
and Top fields.
8.
Change the size of the box by clicking on a corner and dragging. The
information in the Position% section will change to show the current
size of the box. You can also change the size by entering the information
in the Width and Height fields.
The result of these changes can be seen in
. The numbers
reflect the position of the Empty box’s top and left edge from the top
and left edges of the Display area. For example, in
the box has
been stretched to the left edge so the value in the Left field is zero (0).
The height of the box is 20% of the Display area, so the Top field shows
80.03, which means the top of the box is about 80% away from the top
of the Display area.
