Changing an ip address on windows xp, Step 3: xedit installation, Us (see – Grass Valley Kaleido-Modular-X v.7.70 User Manual
Page 42: Step 3: xedit, Installation
38
Setting Up Your Kaleido-Modular-X System
XEdit Installation
Changing an IP Address on Windows XP
To change the IP address of a client PC that has Windows XP
1 On the Start menu, point to Control Panel, right-click Network Connections, and then
click Open on the menu.
2 In Network Connections, right-click Local Area Connection, and then click Properties
on the shortcut menu.
3 In Local Area connection Properties, select Internet Protocol (TCP/IP) from the list on
the General tab, and then click Properties.
The Internet Protocol (TCP/IP) Properties window opens.
4 On the General tab, click Use the following IP address.
5 Type an IP address in the same range as the multiviewer’s current IP address.
For example, if the multiviewer’s IP address is 10.0.3.70, then the IP address of your
client PC could be 10.0.3.123. If you are unsure, contact your network administrator.
6 Type a subnet mask in the same range as that of the multiviewer.
7 Click OK.
8 In Local Area Connection Properties, click Close.
Step 3: XEdit Installation
XEdit is a client application used to create layouts for the monitor wall, and to configure
your multiviewer system, from your PC or laptop. When the computer with XEdit is
connected to the multiviewer through a TCP/IP network, you can use XEdit to modify
layouts and settings directly on the multiviewer, or you can work locally on the computer
and then export your changes to the multiviewer.
To install XEdit from your multiviewer’s home page
1 From a workstation on the same subnet as the multiviewer, open a Web browser
window and type the multiviewer’s IP address in the address bar.
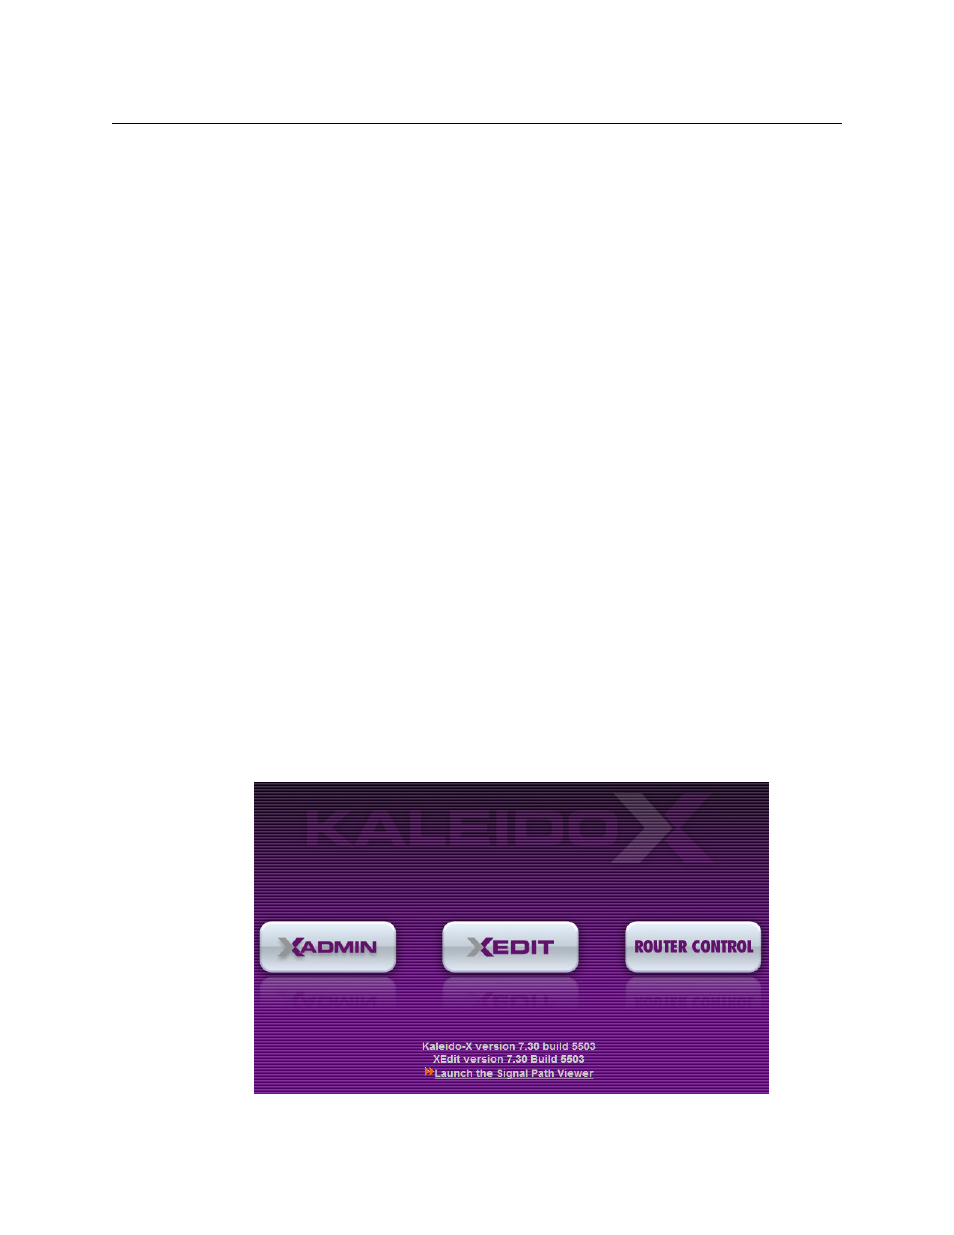
The multiviewer’s home page appears.
2 Click the XEdit button.
- Kaleido-Modular-X Jun 11 2014 Kaleido-MX 4K (1RU) Quick Start v.7.80 Kaleido-MX 4K (3RU) Quick Start v.7.80 Kaleido-MX (1RU) Quick Start v.7.80 Kaleido-MX (1RU) Quick Start v.7.70 Kaleido-MX (1RU) Quick Start Jul 16 2014 Kaleido-MX (3RU) Quick Start v.7.80 Kaleido-MX (1RU) Quick Start Dec 17 2014 Kaleido-MX (3RU) Quick Start v.7.70 Kaleido-MX (3RU) Quick Start Jul 16 2014 Kaleido-MX (3RU) Quick Start Dec 17 2014