Grass Valley Kaleido-Modular-X v.7.70 User Manual
Page 32
28
Setting Up Your Kaleido-Modular-X System
Networking Setup
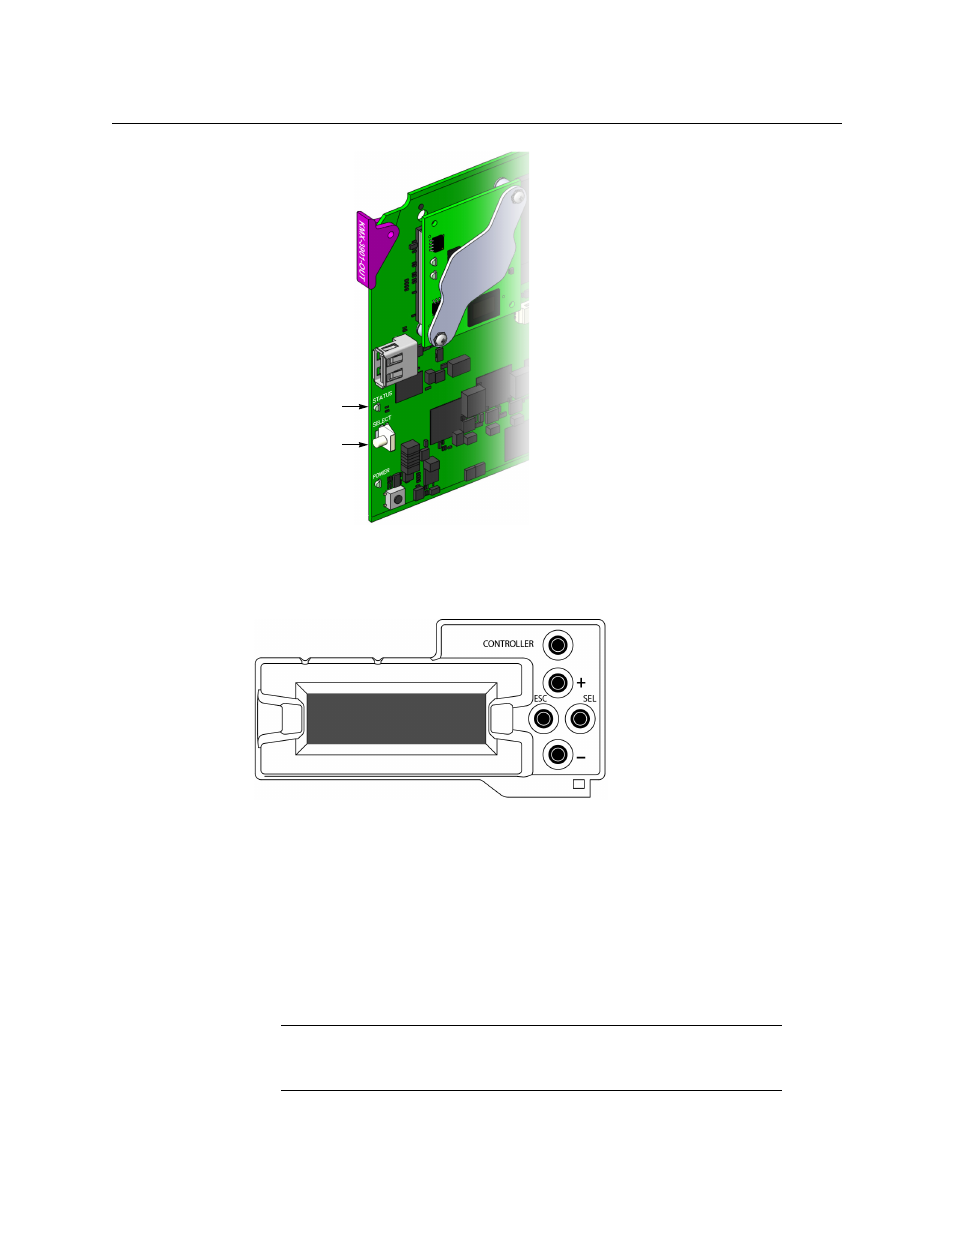
The Status LED on the selected card flashes orange, and the associated control menu
appears on the display of the Densité frame’s local control panel.
2 On the local control panel, press the [–] button repeatedly until NETWORK SETTINGS
appears on the display, and then press the SEL button.
FRAME IP ADDRESS EDIT appears on the display.
3 Press the SEL button again.
The current value appears on the display.
• Press the [+] and [–] buttons, to change the digit at the current input position.
• Press SEL to move one position to the right.
• Press ESC to move one position to the left.
4 When the display shows the desired value, press SEL repeatedly until you reach the last
position (if needed), and then press SEL once more to save your changes and return to
the previous menu level.
Note:
Pressing ESC when the input focus is in the first position returns to
the previous menu level. Pressing SEL when the input focus is in the last
position saves the changes and returns to the previous menu level.
Select button
Status LED
- Kaleido-Modular-X Jun 11 2014 Kaleido-MX 4K (1RU) Quick Start v.7.80 Kaleido-MX 4K (3RU) Quick Start v.7.80 Kaleido-MX (1RU) Quick Start v.7.80 Kaleido-MX (1RU) Quick Start v.7.70 Kaleido-MX (1RU) Quick Start Jul 16 2014 Kaleido-MX (3RU) Quick Start v.7.80 Kaleido-MX (1RU) Quick Start Dec 17 2014 Kaleido-MX (3RU) Quick Start v.7.70 Kaleido-MX (3RU) Quick Start Jul 16 2014 Kaleido-MX (3RU) Quick Start Dec 17 2014