Using the kaleido-rcp2 with default settings – Grass Valley Kaleido-Modular-X v.7.70 User Manual
Page 37
33
Kaleido-Modular-X
Quick Start Guide
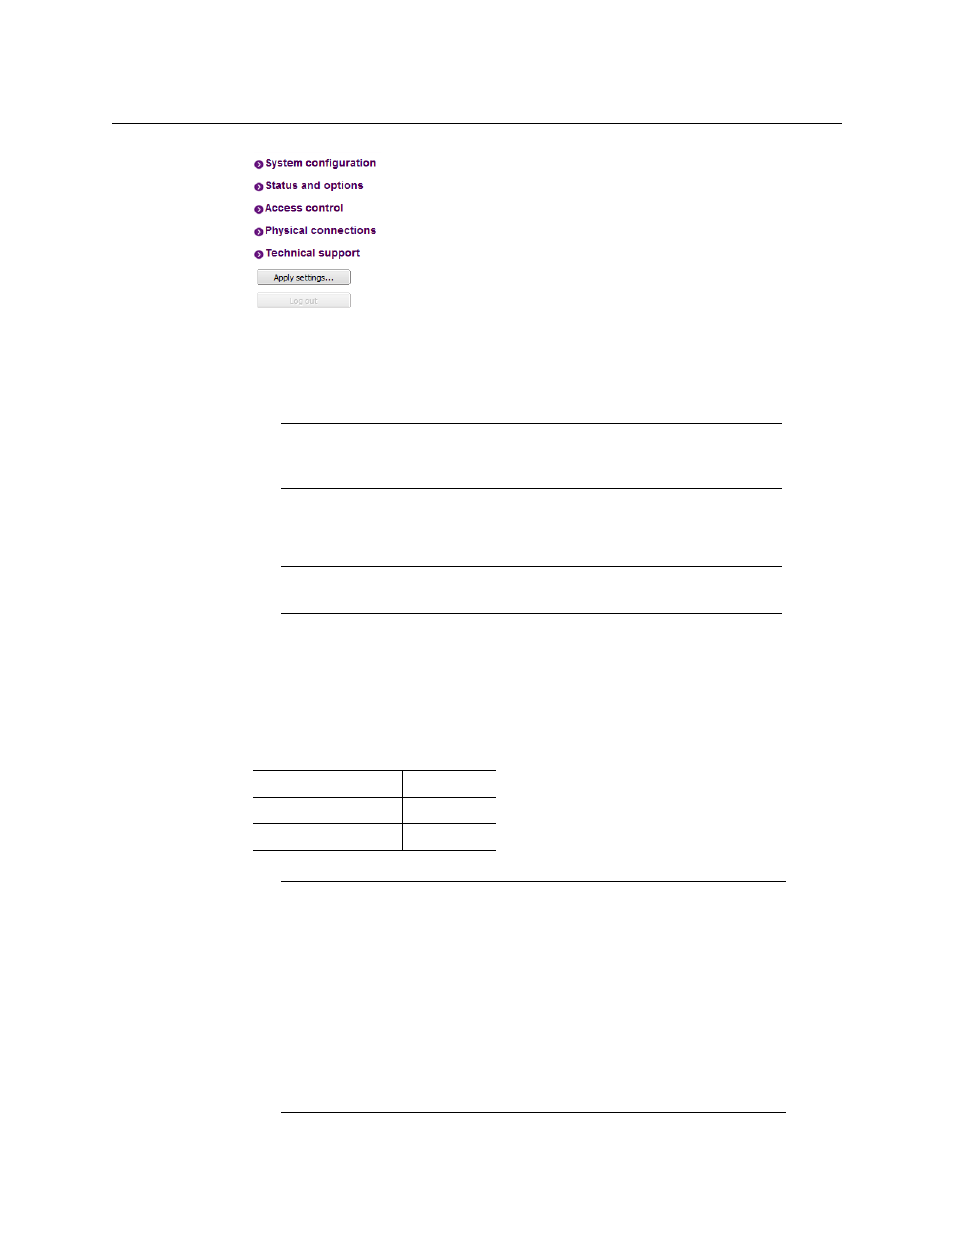
12 Click Apply settings.
The multiviewer must restart for changes to the network configuration to take effect. A
message appears prompting you to restart the system immediately.
13 Click OK.
Using the Kaleido-RCP2 with Default Settings
To start using the Kaleido-RCP2 with its default settings
1 Physically connect the Kaleido-RCP2 unit to the network using an Ethernet cable.
By default, the Kaleido-RCP2 is configured with DHCP enabled, so it will automatically
be assigned an IP address by a DHCP server. If no DHCP server can be found, the
Kaleido-RCP2 will fall back to its default static IP address, subnet mask, and gateway
settings:
Note:
Settings cannot be applied to a multiviewer system while an
upgrade is in progress. If the multiviewer does not restart after 10 seconds
or so, try clicking Apply settings again after a minute or two.
Note:
The Kaleido-RCP2 unit is optional and is not included in the standard
Kaleido-Modular-X package.
Default IP address
10.0.3.191
Default subnet mask
255.255.0.0
Default gateway
0.0.0.0
Notes
• If you need to operate with a fixed IP address, you must use the
Configuration menu to disable DHCP and set up the correct IP address,
Network Mask, and Gateway (see Enabling or Disabling DHCP, and Setting
an IP Address, Subnet Mask and Gateway, in the Kaleido-RCP2 Guide to
Installation and Operation, available on the DVD that shipped with your
system.)
• To access rooms located in other subnets, the Kaleido-RCP2 must be
configured with the appropriate unicast IP addresses (see Configuring
Unicast IP Addresses, in the Kaleido-RCP2 Guide to Installation and
Operation, available on the DVD that shipped with your system.)
- Kaleido-Modular-X Jun 11 2014 Kaleido-MX 4K (1RU) Quick Start v.7.80 Kaleido-MX 4K (3RU) Quick Start v.7.80 Kaleido-MX (1RU) Quick Start v.7.80 Kaleido-MX (1RU) Quick Start v.7.70 Kaleido-MX (1RU) Quick Start Jul 16 2014 Kaleido-MX (3RU) Quick Start v.7.80 Kaleido-MX (1RU) Quick Start Dec 17 2014 Kaleido-MX (3RU) Quick Start v.7.70 Kaleido-MX (3RU) Quick Start Jul 16 2014 Kaleido-MX (3RU) Quick Start Dec 17 2014