Step 2: networking setup, Ng setup (see – Grass Valley Kaleido-Modular-X v.7.70 User Manual
Page 25
21
Kaleido-Modular-X
Quick Start Guide
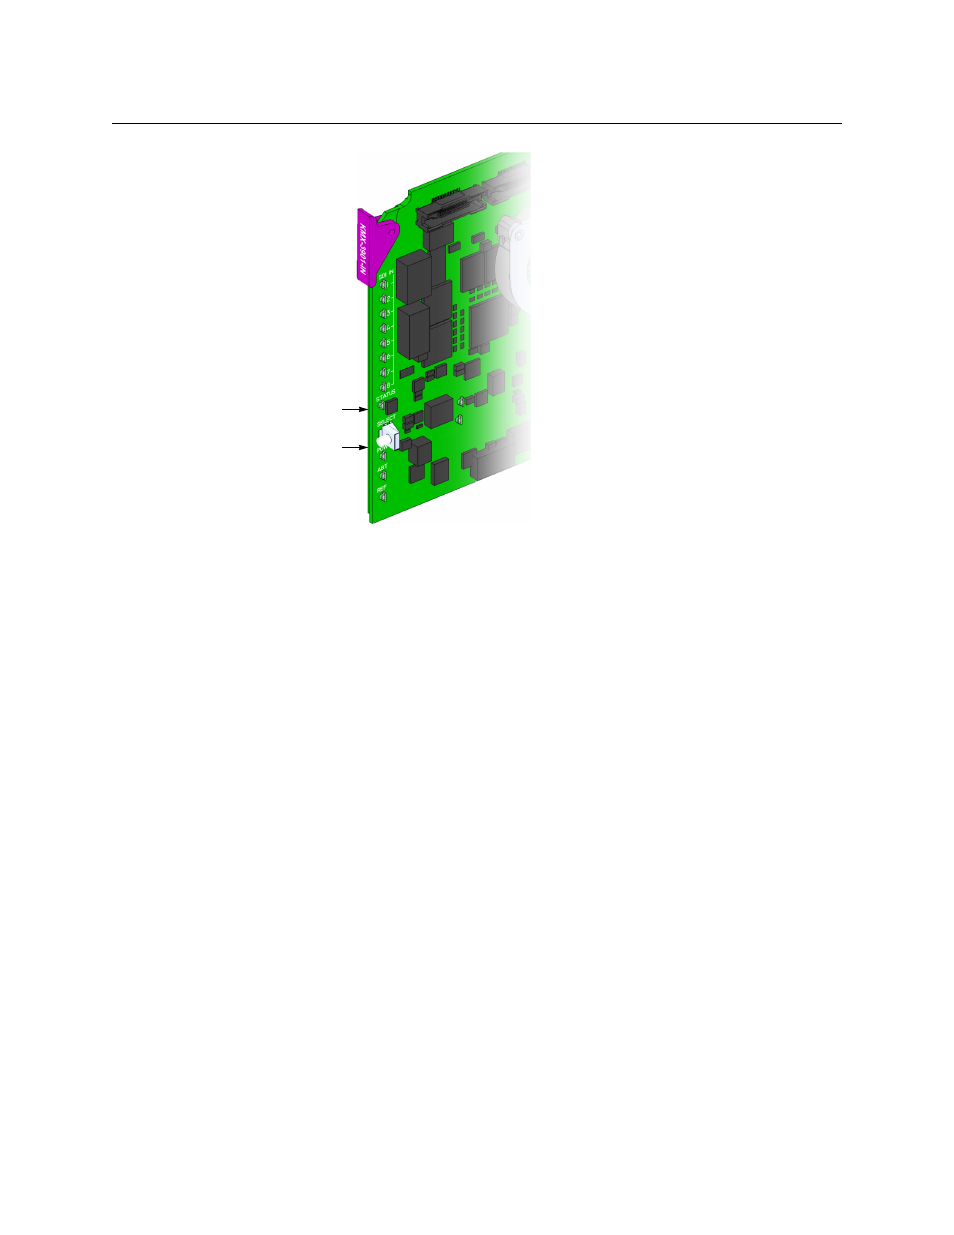
The Status LED on the selected card flashes orange, and the associated control menu
appears on the LCD display of the Densité frame’s local control panel.
2 On the local control panel, press the [–] button.
CONFIG appears on the LCD display.
3 Press the SEL button.
4K UHD PRESCALER appears on the LCD display.
4 Press the SEL button.
5 Press the [+] or [–] buttons, if needed, until ENABLE appears on the LCD display.
6 Press the SEL button.
ENABLE appears on the top line of the LCD display, and then, after 10 seconds, a
message appears on the second line to let you know that the card will restart in 20
seconds.
7 After the card has restarted, notice that the SDI LEDs 3, 4, 7, 8, 11, 12, 15, and 16 are not
lit.
This indicates that the card is now configured as a 4K UHD prescaler.
Step 2: Networking Setup
For the Kaleido-Modular-X multiviewer to join a TCP/IP network, it must be configured with
a system name, appropriate IP addresses, network mask, and gateway settings. You may
also need to configure the Densité CPU-ETH2 networking parameters (if your housing
frames were not already in operation), any new Kaleido-RCP2 and Audio Bridge Terminal
units you ordered, and a client PC to communicate with the multiviewer and its peripheral
devices (see
A quad-head Kaleido-Modular-X multiviewer system requires three IP addresses (one for
each output card, one for the system), while a dual- or single-head requires only one (the
Select button
Status LED
- Kaleido-Modular-X Jun 11 2014 Kaleido-MX 4K (1RU) Quick Start v.7.80 Kaleido-MX 4K (3RU) Quick Start v.7.80 Kaleido-MX (1RU) Quick Start v.7.80 Kaleido-MX (1RU) Quick Start v.7.70 Kaleido-MX (1RU) Quick Start Jul 16 2014 Kaleido-MX (3RU) Quick Start v.7.80 Kaleido-MX (1RU) Quick Start Dec 17 2014 Kaleido-MX (3RU) Quick Start v.7.70 Kaleido-MX (3RU) Quick Start Jul 16 2014 Kaleido-MX (3RU) Quick Start Dec 17 2014