Exporting to tape, Exporting to hdv device (generic hdv), Exporting files with hdv exporter – Grass Valley EDIUS Pro v.7.0 User Manual
Page 130: Printing exported file to tape, P122
Other Convenient Functions
122
EDIUS -
User Guide
Exporting to Tape
Exporting to HDV Device (Generic HDV)
Convert the edited clip to a format to be exported to an HDV device (MPEG-TS format), and export the converted file to
the HDV device.
1
Note
• Before exporting, make sure to save your project.
Exporting Files with HDV Exporter
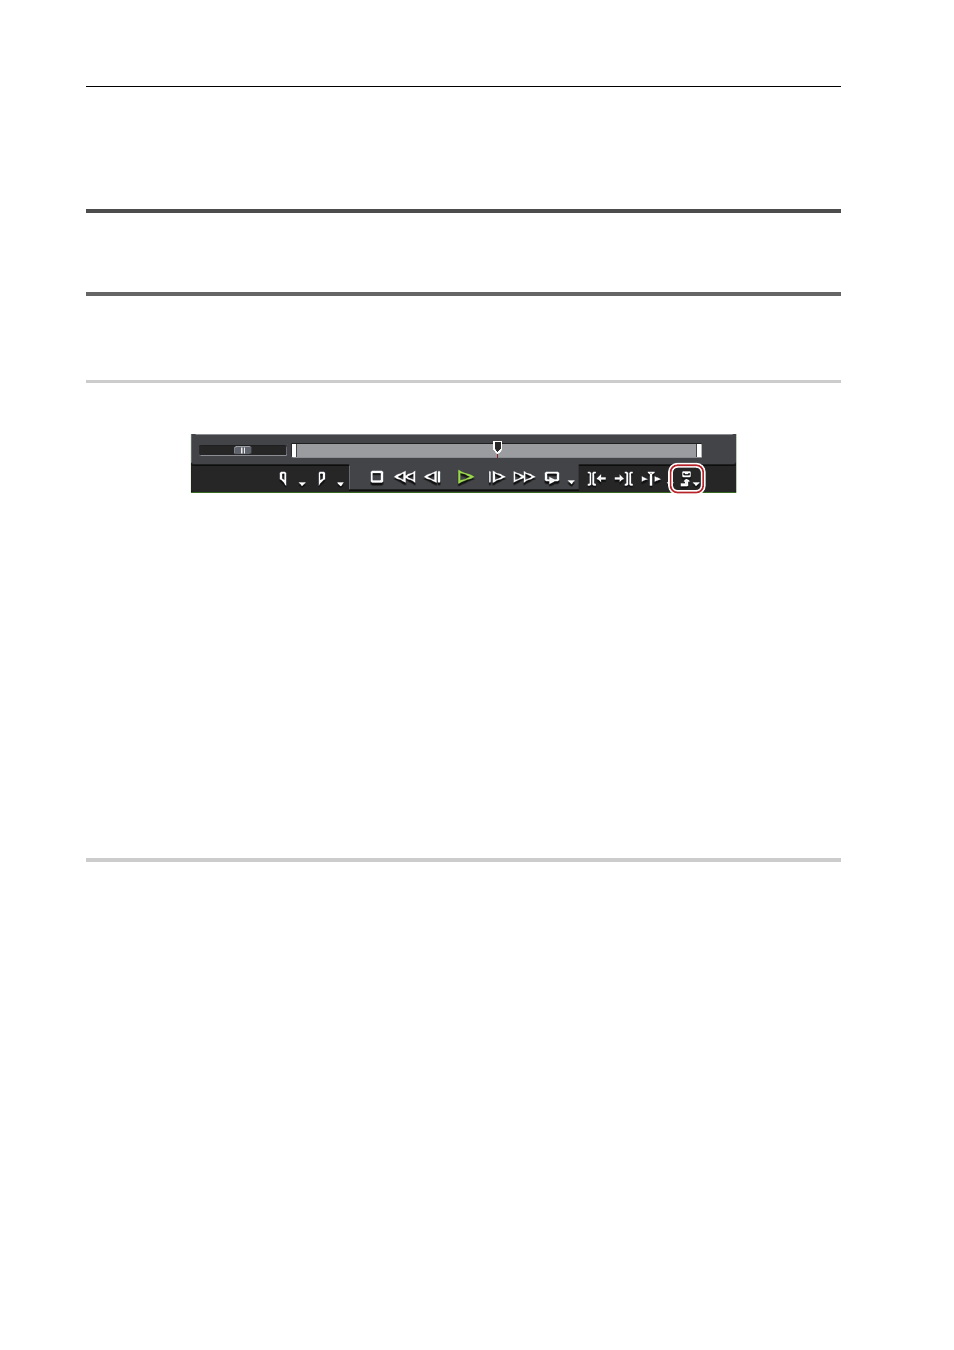
1 Click [Export] on the Recorder.
2 Click [Print to File].
The [Print to File] dialog box appears.
Exporting in File Formats
3 Click [HDV] on the category tree.
4 Click [HDV] in the exporter/preset list, and click [Export].
The [HDV] dialog box appears.
5 Check [Segment Encode], and select the quality of the file to be output from the [Quality/Speed] list.
Checking [Segment Encode] exports clips with raw sources without re-encoding. This increases the output speed. For
[Quality/Speed], select the quality of the part to be encoded from the list. Higher quality takes longer time for encoding.
6 Enter a file name and specify the file export destination.
7 Click [Save].
A file is generated and registered in the bin.
Printing Exported File to Tape
1 Connect the PC IEEE1394 terminal to the HDV device with a DV cable.
Set the HDV device to video mode (PLAY/EDIT, etc.).
3
•
If your HDV device supports the HDV mode, set the device to the HDV mode. For more information on settings,
see the instruction manual for your HDV device.
2 Click [Tools] on the menu bar, and click [MPEG TS Writer].
The [MPEG TS Writer] dialog box appears.