Exporting to media, Exporting to p2 card, Exporting to disc – Grass Valley EDIUS Pro v.7.0 User Manual
Page 109: Exporting to dvd or bd, P101

101
Export
EDIUS -
User Guide
4 Click [WindowsMediaVideo] in the exporter/preset list, and click [Export].
The [WindowsMediaVideo] dialog box appears.
5 Configure the export settings.
6 Enter a file name, select the saving destination, and click [Save].
3
•
After step 4, the procedure differs according to the selected exporter. Perform operations following the
on-screen instructions.
Exporting to Media
You can export a project to a P2 card or SxS memory card. Files can also be exported to the PC hard disk. The
following procedure explains how to export to a P2 card as an example.
Exporting to P2 Card
0
1
Note
• Make sure that the P2 device driver is already installed.
• Audio will be exported in 16-bit format audio, even if the project preset is set to 24-bit format audio.
1 Connect your PC and P2 device.
Make sure that the P2 device is powered on and a P2 card is inserted into the slot. For more information on connection
methods, see the manuals of your PC or P2 device.
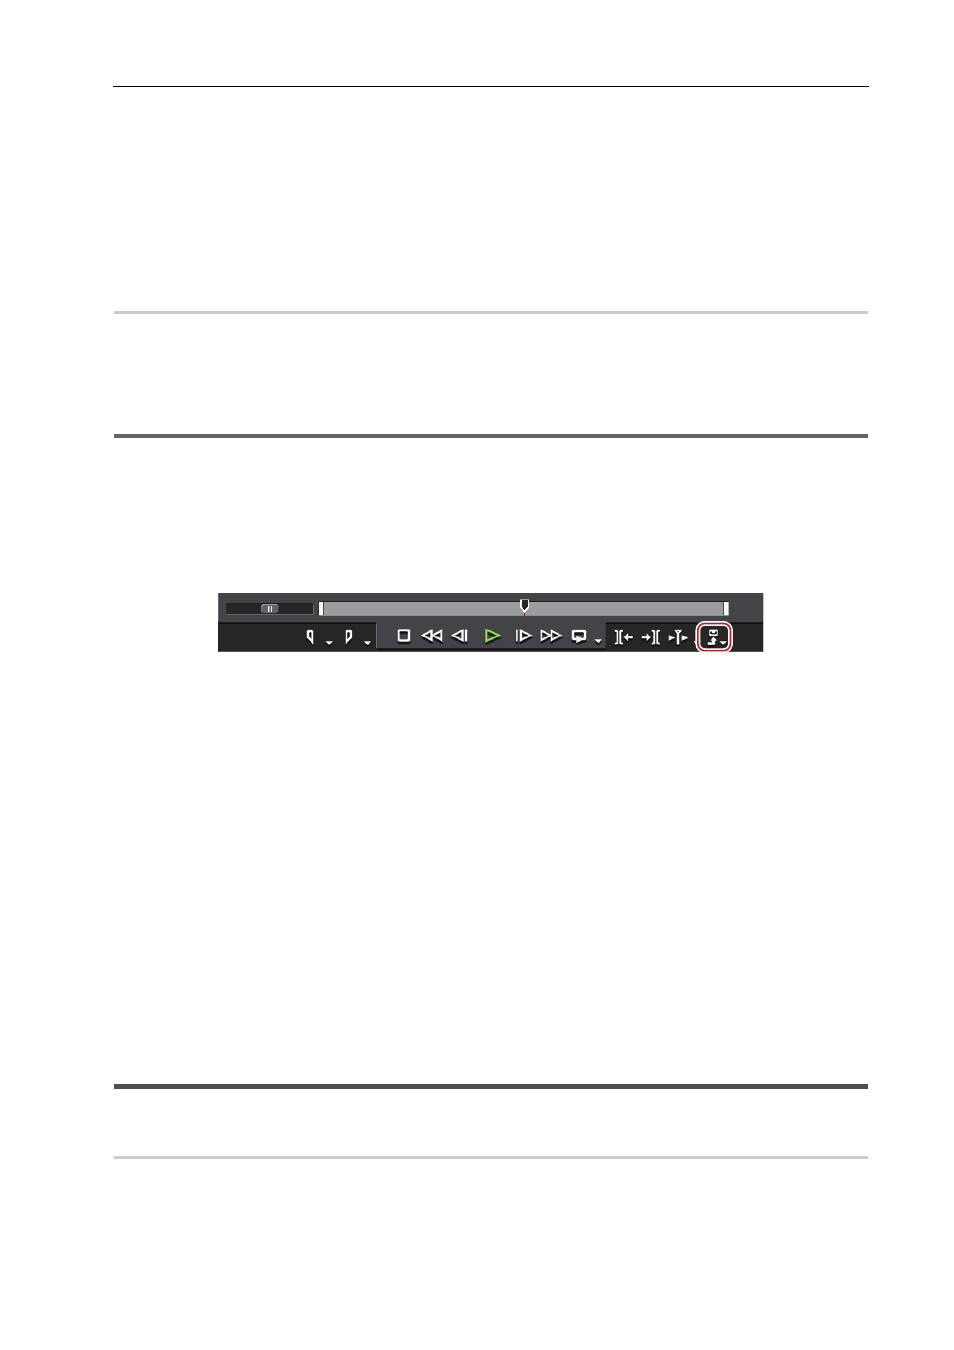
2 Click [Export] on the Recorder.
3 Click [Print to File].
The [Print to File] dialog box appears.
Exporting in File Formats
4 Click [P2] in the [Print to File] dialog box category tree.
5 Select an exporter, and click [Export].
Select either one of [P2 Clip], [HD P2 Clip], or [HD P2 3D Clip] as the exporter. Exporters that do not support the project
settings will not be displayed. If a P2 card is not connected to the PC, the [Browse For Folder] dialog box will appear.
Specify a file export destination and click [OK].
6 Set export destination, user name, clip name, codec, etc.
The setting items differ depending on the exporter.
3
•
If there is no more free space on the export destination, or if clips consist of files exceeding 4 GB, they will be
split and exported. If [Automatically select the next card when card is full.] is checked, when the clip is split, a P2
card drive with free space will be selected automatically to be exported to. If it is unchecked, when the clip is
split, a dialog box will appear to select the export destination.
7 Click [OK].
Export starts.
Exporting to Disc
Exporting to DVD or BD
You can export a project as a disc image file to be written to DVD or BD. You can create title and chapter menus, as
well as set the background of the menu screen and buttons displayed on the screen.
