20 setting a priority channel – Alinco DJ-X2000 User Manual
Page 47
46
2
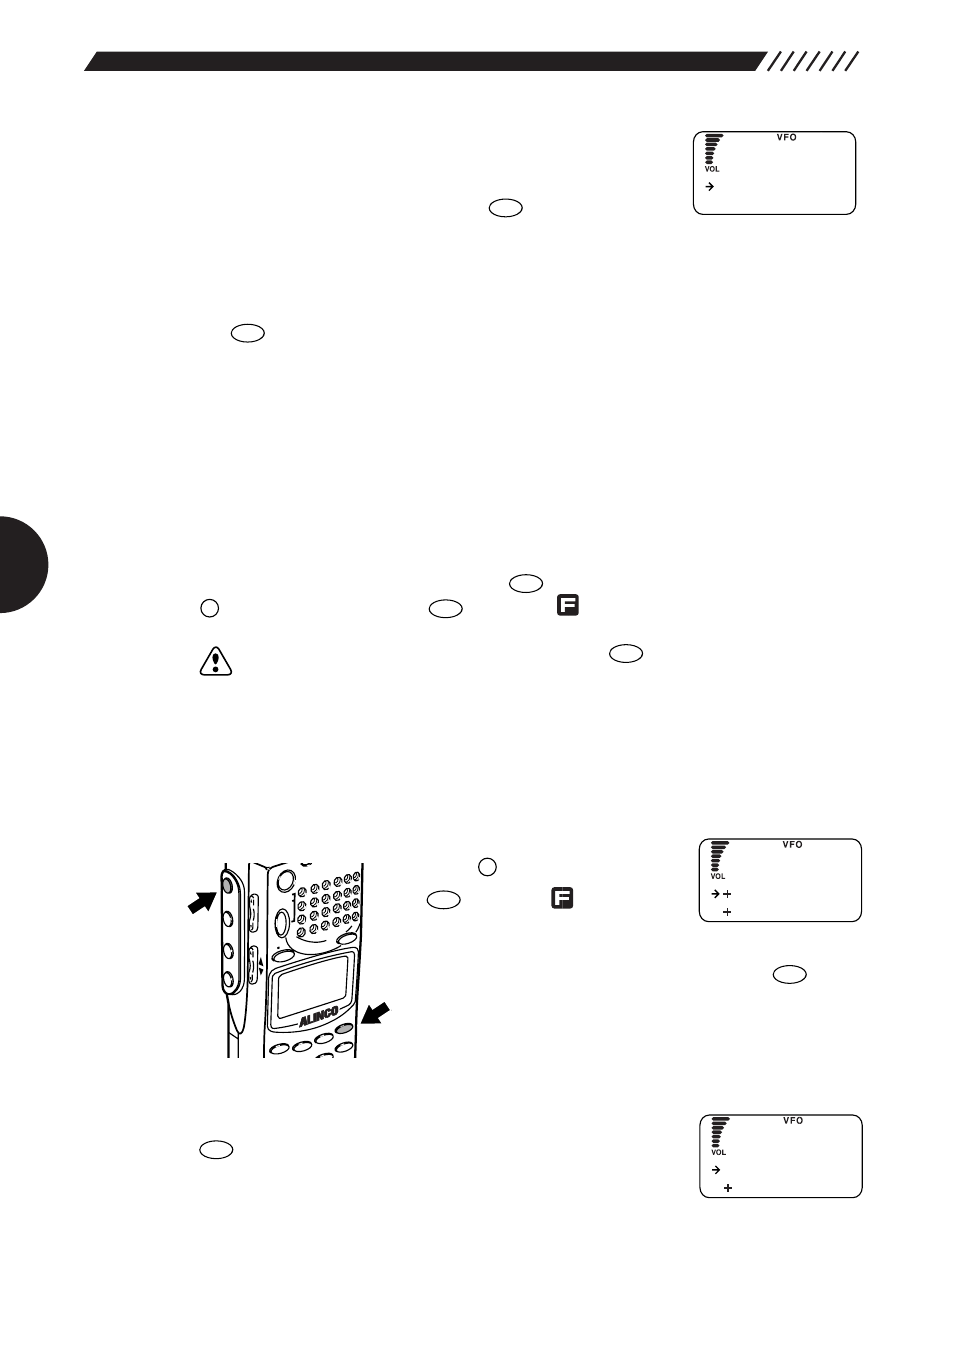
Call up the PRI MODE screen.
Point the arrow at
+PRI MODE
using the dial or
UP/DOWN
key, and then press the
key.
The PRI MODE screen will appear.
3
Select a priority option.
Select a priority option using the dial or
UP/DOWN
key, and then press
the
key. The available options are listed below (the initial setting is
STOP
).
BUSY
When signal is received on the priority channel, the DJ-X2000
stays on the priority frequency until ithe signal vanishes.
STOP
When signal is received on the priority channel, the DJ-X2000
stays on the priority frequency even after the signal vanishes.
TIMER
Once signals are received on the priority channel, they will be
received for a given interval. For specifying this interval, see
“3.1.21 Specifying a priority interval” (page 47).
The display will return to the PRIO menu. Point the arrow at END using the dial
or UP/DOWN key, and then press the
key (Alternatively, you may press the
key, and then press the
key while
is shown on the display).
Note:
If you exit the PRIO menu by pressing the
key, the changed setting is
canceled.
3.1.20 Setting a priority channel
This setting allots a memory channel for the priority scan. The priority scan must
be ON for this setting to be effective.
1
Call up the PRIO menu.
Press the
key, and then press
the key
while
is
shown
on the display.
The MENU will appear. Point the arrow at
+PRIO
using
the dial or
UP/DOWN
key, and then press the
key.
The PRIO menu will appear.
2
Call up the PRIO FREQ menu.
Point the arrow at
+PRIO FREQ
and then press the
key.
The PRIO FREQ menu will appear.
ENT
TF
ENT
TF
HELP
SET
F
MODE
AUTO MW
MIC
A-B S
M NAME
STEP
ATT
SET
POW
ER
PMS
VFO
MR M
W
A B
SET
KL
3
6
2
1
RF C
HELP
MONI
F
SRCH
LAMP
SQL VOL
DOWN UP
CLR
SKIP
F
ENT
TF
ENT
TF
ENT
TF
ENT
TF
PR I
F REQ
PR I MODE
PR I O
N o w F REQ
MEMORY
PR I FREQ
S T O P
T I MER
PR I MODE