Installation, Installing the ld2000, Connecting the seahawk leak detection cable – RLE LD2000 User Manual
Page 21: Nstallation
www.rletech.com
21
970.484.6510
C
H A P T E R
C
HAPTER
0
I
NSTALLATION
3.1.
Installing the LD2000
The LD2000 is a wall mounted device. The four mounting holes on the sides of the unit are
spaced 7.5 inches (.19m) apart. Use drywall anchors if securing the unit to drywall.
3.2.
Connecting the SeaHawk Leak Detection Cable
The LD2000 is shipped with a 15-foot (4.57m) leader cable. One end of this leader cable
connects to the LD2000 controller, and the other end connects to the SeaHawk leak detection
cable (sensing cable). Connect each end of the leader cable as follows:
1
With the screws of the terminal block connector on the LD2000 facing up, connect the four
stripped, bare wires of the leader cable to the terminals in this order, from left to right:
white, black, green, red.
Note
If the terminal connector is removed from the end of the cable, make sure the wires are in
this same order when the connector is reapplied.
2
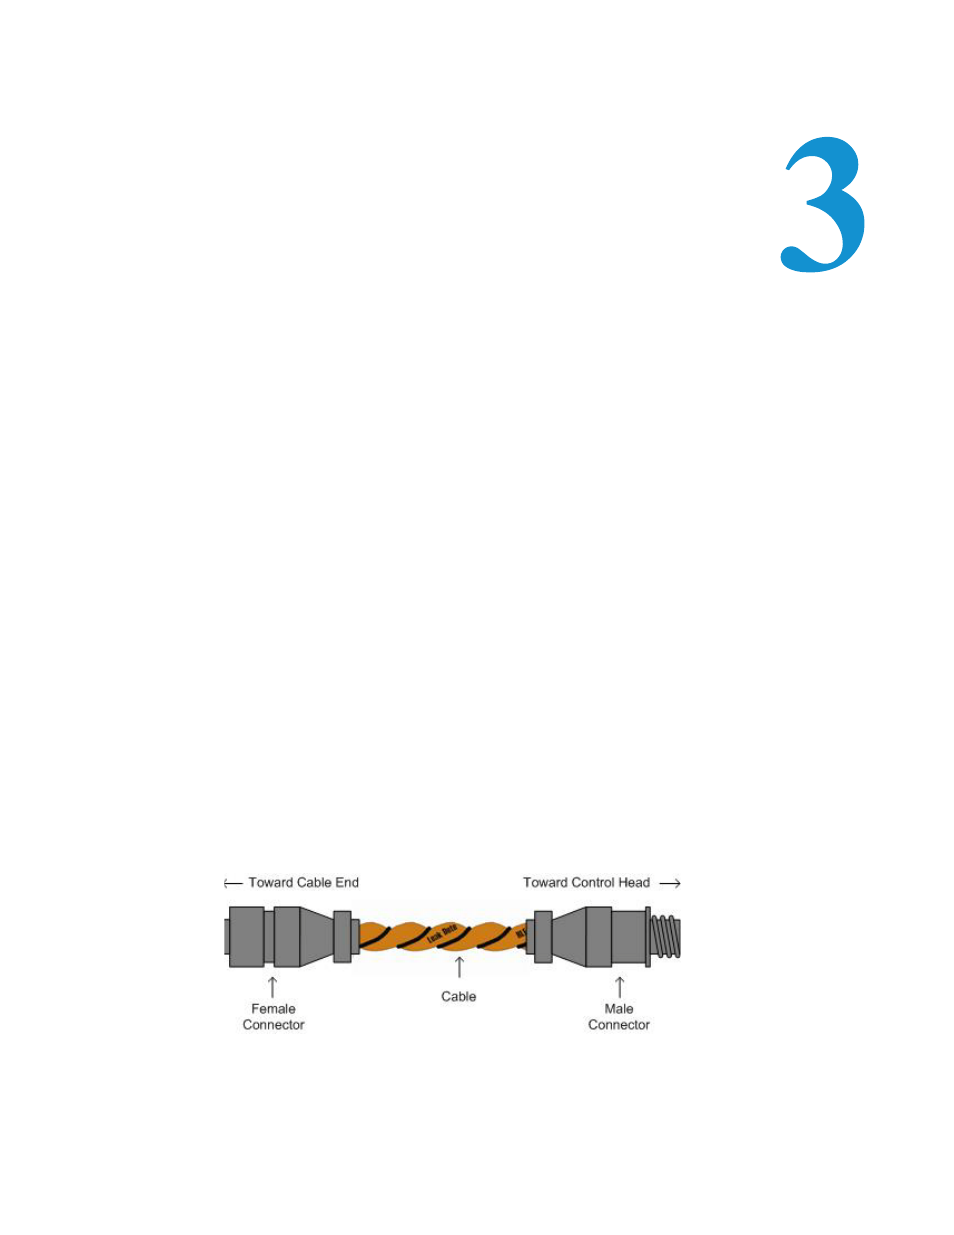
Unscrew the end-of-line (EOL) terminator from the other end of the leader cable.
3
Attach the first length of leak detection cable (sensing cable) to the leader cable.
Figure 3.1 SeaHawk Water Leak Detection Cable (Sensing Cable)