Greenheck AMD-xx-TD Transmitter User Manual
Page 15
15
5.9 – DISPLAY CONFIGURATION (con’t)
1. While in Operator Menu, use UP or DN to scroll to:
2. Press ENT to enter Display Configuration menu. Display will indicate:
3. Press ENT and display will indicate current setting of the filter [0 (None), 1 (Minimum), 2, 3, 4, or 5 (Maximum)].
4. Use UP or DN to change setting. Once desired setting is displayed, press ENT, new setting will be stored in
memory and display will return to Display Configuration menu as in Step 2.
Note: If user desires not to change the setting and return to the Display Configuration menu, press
ESC. Unit will
remain programmed as it was originally.
5. Use UP and display will indicate:
6. Press ENT and display will indicate current parameter selected to display on Line 2 (VELOCITY, TEMPERATURE,
or CUSTOM TEXT).
7. Use UP or DN to scroll to desired parameter. Press ENT, and parameter will be stored in memory and display will
indicate as in Step 5.
Note: If user desires not to change the setting and return to the Setup menu, press
ESC. Unit will remain
programmed as it was originally.
8. If CUSTOM TEXT was selected and ENT pressed in Step 7, proceed to Step 13. For other parameters, continue
with Step 9.
9. Press UP and display will indicate:
10. Repeat Steps 6 through 8 for Line 3. The only differences being the change of Line # in the display.
11. After Line 3 has been set, Step 9 will yield a display:
12. Press ENT to return to Main Menu.
13. If Custom Text was selected and ENT pressed in Step 7 (or for Line 3), press UP and display will indicate:
14. Press ENT and display will indicate:
15. Use UP or DN to scroll through available characters (see ASCII Chart at the end of this Section for available
characters).
16. When desired character is displayed, press ENT, character will be stored and cursor will advance one position to
the right.
17. Repeat Steps 15 and 16 for all 20 positions. When position 20 is entered, user will be exited back to display as in
Step 13.
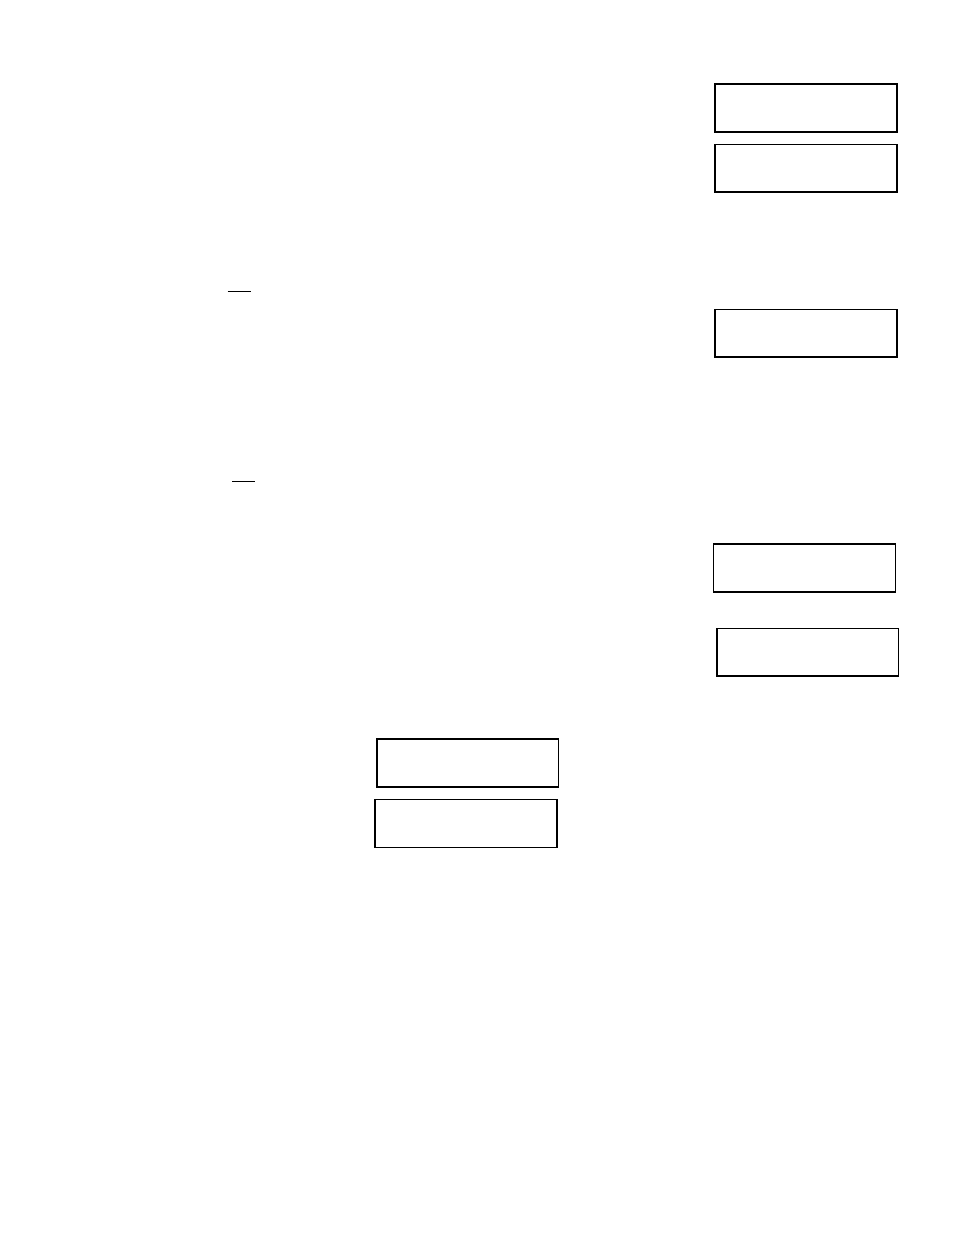
Display
Configuration
Display Filter
Selection
Line 2 Parameter
Selection
Line 3 Parameter
Selection
Return to
MAIN MENU
Line 2 Custom Text
Selection
Line 2 Custom Text
Cursor indicates position to be set.
There are 20 positions available to
hold custom text.