Charge air cooler install, A bumper cover and splash pan, Charge air cooler installation – Paxton Superchargers Shelby Mustang GT User Manual
Page 29: Bumper cover and splash pan
P/N: 4809660
©2007 Paxton Automotive
All Rights Reserved, Intl. Copr. Secured
27FEB07 v1.0 05-07ShelbyMusGT(4809660v4.0)
17
A.
BUMPER COVER AND SPLASH PAN
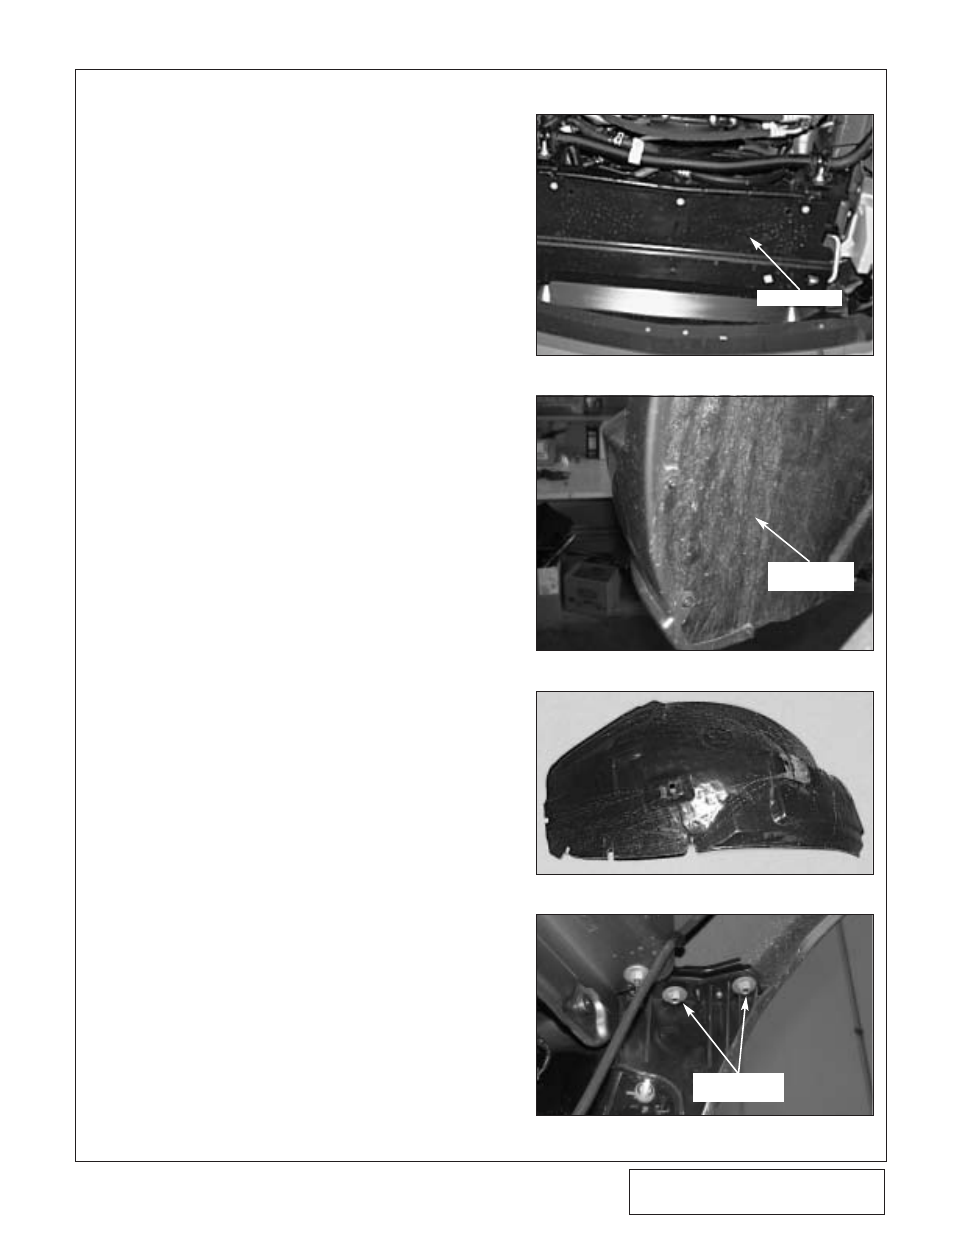
1.
Raise the vehicle with a floor jack and set on
jack stands.
2.
Remove the seven 5.5mm headed screws
retaining the lower splash panel. (See Fig.
8A-a.)
3.
Remove the six Phillips-head screws (three on
each side) from the lower portions of the plas-
tic innner fender liners. (See Fig. 8A-b.)
4.
Remove the five plastic clips retaining the
front portion of the fender liner. Both sides
need to be removed. (See Fig. 8A-c.)
5.
Remove the four 10mm nuts (two on each
side) retaining the bumper cover to the fend-
ers. (See Fig. 8A-d.)
8.
CHARGE AIR COOLER INSTALLATION
Fig. 8A-a
Fig. 8A-b
Fig. 8A-c
Fig. 8A-d
10mm HEADED
BOLTS
SPLASH PANEL
INNER FENDER
LINER