Eurocom X8 User Manual
Page 294
Troubleshooting
8 - 24 Problems and Possible Solutions
8
6. Start-up your notebook computer and press
7. Go to the Boot menu, select UEFI Setting and press
8. Set UEFI Boot to “Enabled”.
9. Press
10. Select SATA Mode (see page
), press
11. You will then receive the warning message (see
) that changing the SATA mode will
result in needing to reinstall the operating system; press OK to confirm the change.
12. Press
the DVD drive, as the computer starts up it will automatically boot from the Windows 8 OS DVD (you will be
prompted to press a key to boot from the DVD).
13. Press
14. Select the DVD drive containing the Windows 8.1 OS DVD and press
15. Press a key at system startup to begin installing Windows from your Microsoft Windows 8.1 disc.
16. Click Next > Install Now to continue installing the operating system.
17. When the Windows system prompts you for “Which type of installation do you want?” press the Shift + F10
keys.
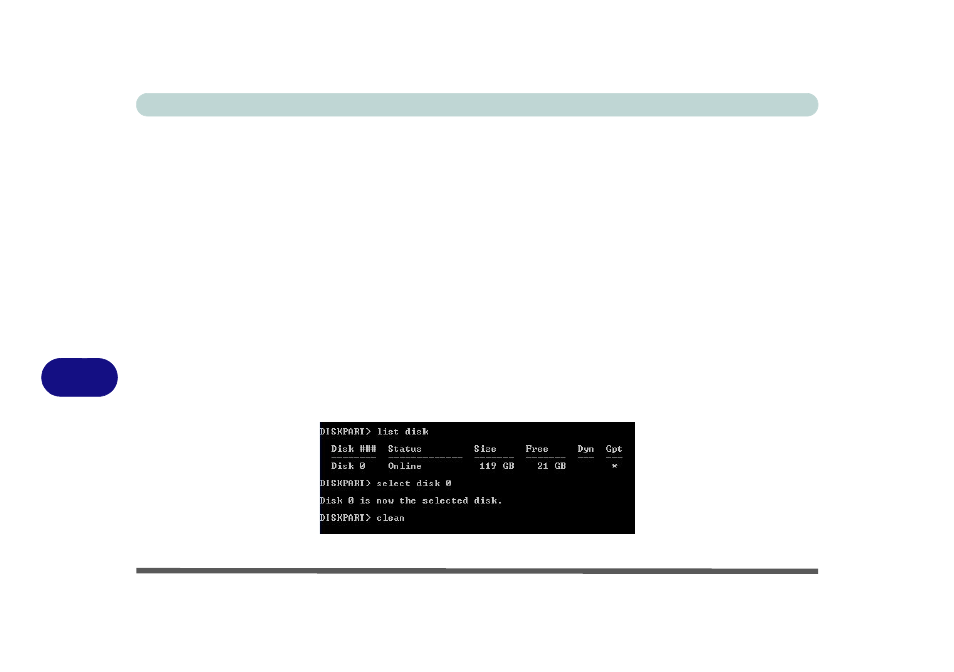
18. When the command prompt pops up type “diskpart” and press
19. Type “list disk” and press
Figure 8 - 9 - Diskpart