Top Flite TOPA0410 User Manual
Page 33
- 33 -
❏ 9. Fit and glue a second lower fuse sheet to the other side.
❏ 10. Fit a third lower fuse sheet in place from the middle
of the first stringer to the middle of the bottom stringer.
Start by gluing the sheet at the center of the first stringer
and working toward the ends. It again, will be necessary
to wet the outer surface of the sheet to permit bending.
❏ 11. Fit and glue the fourth lower fuse sheet to the other side.
❏ 12. Trim and sand the lower fuse sheeting flush with
former F-10B
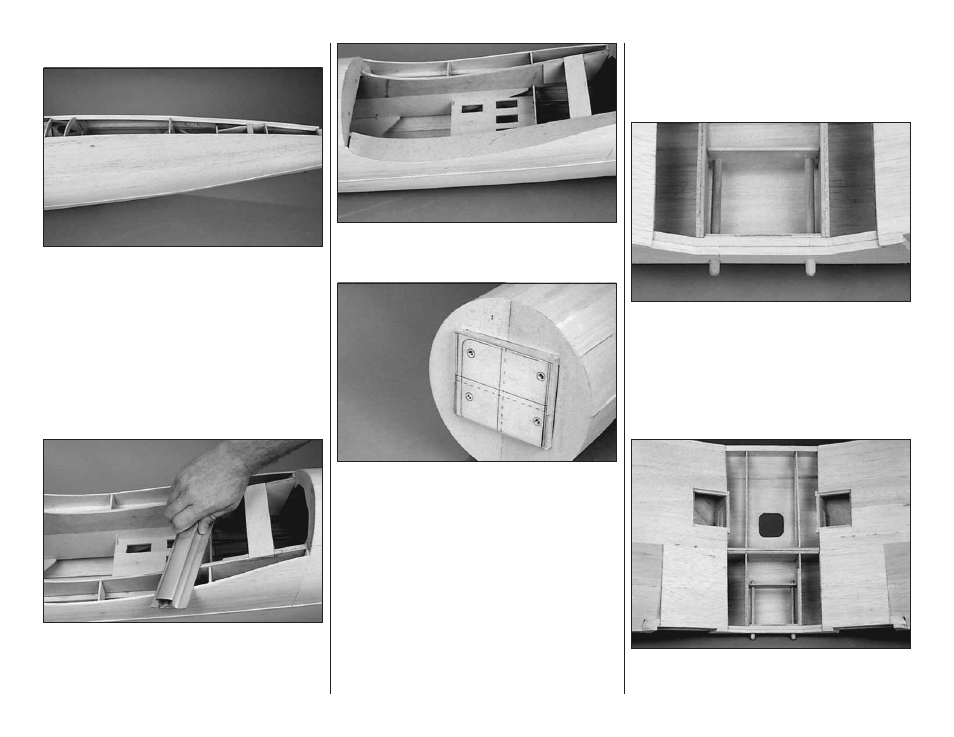
❏ 13. Place a strip of masking tape over the plywood wing
saddle edges to prevent them from being inadvertently
altered. Use a sanding bar to carefully sand the bottom
fuse sheeting to the same height as the wing saddle. Also,
sand the sheeting flush with formers F-3B and F-6D.
❏ 14. Sheet the wing saddle area with 1/64" x 2" x 24"
plywood sheeting. Trim and sand the edges of the sheeting
flush with the fuse sides and the lower fuse crutch.
❏ 15. Sand the face of formers F-2 and F-2B flat and
even. Test fit the die-cut 1/8" [3.2mm] plywood formers F-1
on the front of F-2. Notice that the joint between the F-1
formers is vertical. When satisfied with the fit, use
30-minute epoxy to glue F-1 to F-2 and the crutch. Use
masking tape to hold F-1 tight against F-2. Wipe off any
excess epoxy with a paper towel dampened in isopropyl
alcohol, before the epoxy cures.
MOUNT THE WING ON THE FUSE
❏ 1. Set the wing in the wing saddle. Sand a slight radius
on the LE of the center section to match the shape of the
wing saddle.
❏ 2. Round the ends of the 5/16" x 4-1/2" [7.9mm x
114.3mm] hardwood wing dowels and install them into
the holes in the LE of the wing. Trial fit the wing onto the
fuse, making any necessary adjustments to the wing and
fuse for a good fit. If the dowel alignment is interfering with
the wing fit, “elongate" the hole in the LE slightly.
❏ 3. Using epoxy, glue the two wing dowels into the wing
so that they protrude about 1/2" forward of the LE.
❏ 4. For later access to the servo wires and air lines,
carefully cut an opening in the top center sheeting, in line
with the flap servo hatch openings.