6 mounting the 5104 cabinet, 1 preventing water damage, 7 mounting the 5104 pc board – SilentKnight 5104 Digital Alarm Communicator Transmitter 6 Zone User Manual
Page 17: Mounting the 5104 cabinet -9, 1 preventing water damage -9, Mounting the 5104 pc board -9
Installation
151053-L8
3-9
3.6
Mounting the 5104 Cabinet
Read the environmental specifications in Section 3.2 before mounting the 5104 cabinet. This will ensure that you
select a suitable location.
The panel should be accessible to main drop wiring runs. It should be mounted as close to the center of the
building as possible and located within a secured area, but should be accessible for testing and service.
When mounting on interior walls, use appropriate screw anchors in plaster. When mounting on concrete,
especially when moisture can accumulate, the enclosure shall be placed or equipped so as to prevent moisture or
water from entering and accumulating within the cabinet, and shall be mounted so there is a least 1/4” space
between the enclosure and the concrete wall surface. A piece of plywood, standoffs, or other equivalent material
can be used to space the cabinet from the concrete surface and then attach the 5104B to that spacing surface. Also
mount any other desired components to the 1/4” spacing surface.
DO NOT flush-mount the 5104B cabinet in a wall designated as a fire break.
3.6.1
Preventing Water Damage
Water damage to the fire system can be caused by moisture entering the cabinet through the conduits. Conduits
that are installed to enter the top of the cabinet are most likely to cause water problems. Installers should take
reasonable precautions to prevent water from entering the cabinet. Water damage is not covered under warranty.
3.7
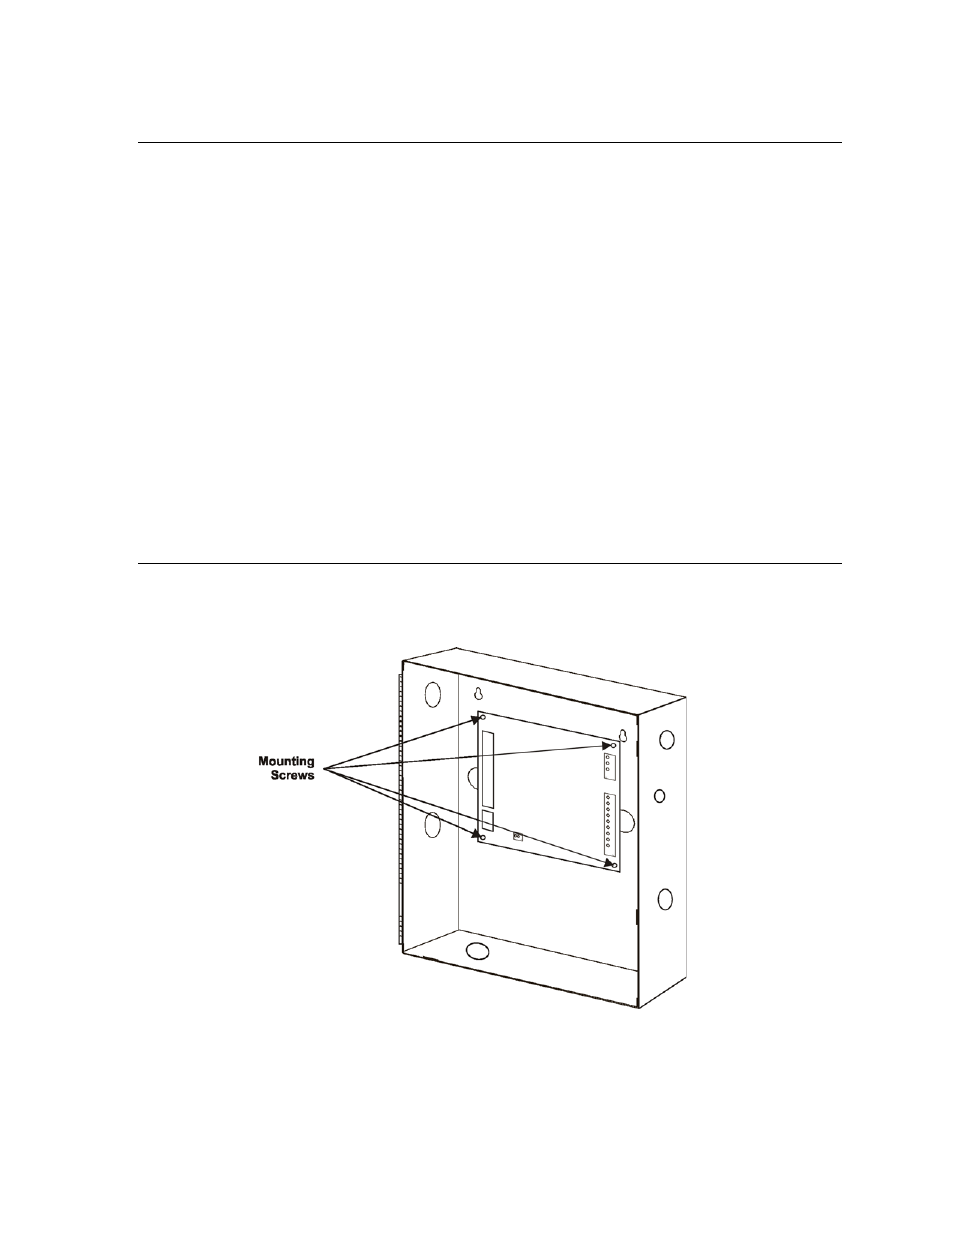
Mounting the 5104 PC Board
Since the 5104 panel ships with the PC board installed, this section is intended only for installations in which the
5104 PC board is being replaced. Line up the four PC board mounting holes with the four standoffs in the cabinet
as shown in Figure 3-3, and use four mounting screws to secure the board to the cabinet.
Figure 3-3 Mounting the 5104 PC Board