Internal timer recording, Note, Registering programs for internal timer recording – Panasonic AG-DTL1P User Manual
Page 29: Useful functions
Attention! The text in this document has been recognized automatically. To view the original document, you can use the "Original mode".
Useful functions
Internal timer recording
Recording can be started and ended at the desired
times which are set using the internal timer.
Before setting the internal timer recording, complete
the connections as well as the steps for “Setting the
date and time” (page 11) and “Setting the recording
time mode and number of cameras” (page 14).
Registering
programs
for
internal
timer
recording
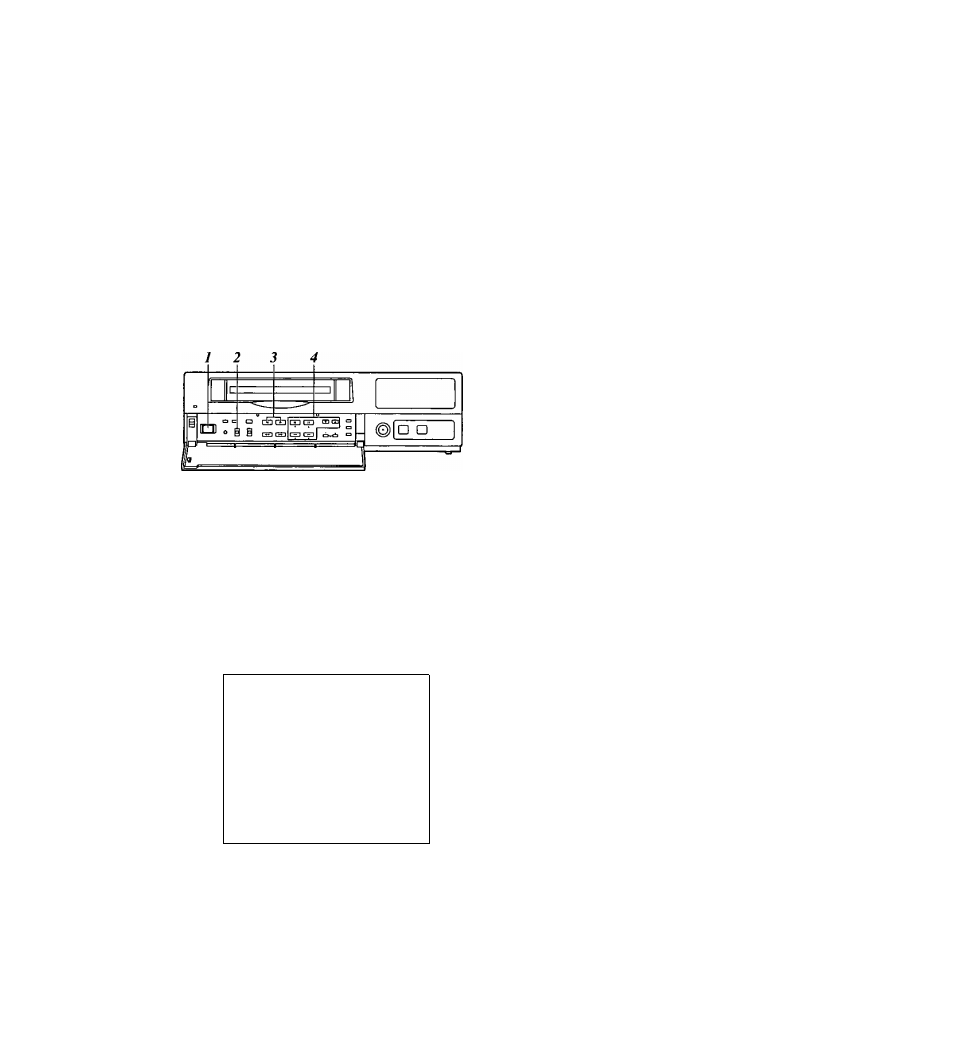
Set the POWER switch to ON, and insert the
cassette tape.
Set the PROGRAM switch to the MENU position.
The setting menu screen now appears on the TV
monitor.
Press the PAGE (+) or PAGE (-) button to display
the P8 PROGRAM TIMER screen.
The flashing items are ones that can be set.
[PROGRAM TIMER]
P8
(TIMER) START
END
REC-TYPE
PGM1
0:00
0:00
RT0(
OFF:+:16)
PGM2
0:00
0:00
RT0{
OFF+16)
PGM3
0:00
0:00
RT0{
OFF>f;16)
PGM4
0:00
0:00
RT0(
OFFRIS)
PGM5
0:00
0:00
RT0{
OFF* 16)
PGM6
0:00
0:00
RT0{
OFF* 16)
PGM7
0:00
0:00
RT0(
OFF* 16)
PGM8
0:00
0:00
RT0{
OFF* 16)
[INTERNAL WEEKLY TIMER)
(SUN MON
TUE
WED THU FRI SAT DLY)
+ + +
^ ^
(TIMER)
Register the programs (PGM1-PGM8) in this column when using
the internal timer to record them.
START
The recording start times are set in this column.
END
The recording end times are set in this column.
R EC-TYPE
The recording type (RTO to RT7) are set in this column.
Take the following steps to set the timer recording
mode.
• Use the ( T ) , ( A ) , (◄) and (►) SHIFT buttons
to move the flashing part to the item whose
setting is to be changed.
• Press the (+) and {-) SET buttons, and change
the setting.
29