Copying without borders (borderless copy) – Canon PIXMA MP250 User Manual
Page 305
Advanced Guide
>
Printing Using the Operation Panel of the Machine
>
Copying
>
Using Useful Copy Functions
>
Copying without Borders (Borderless Copy)
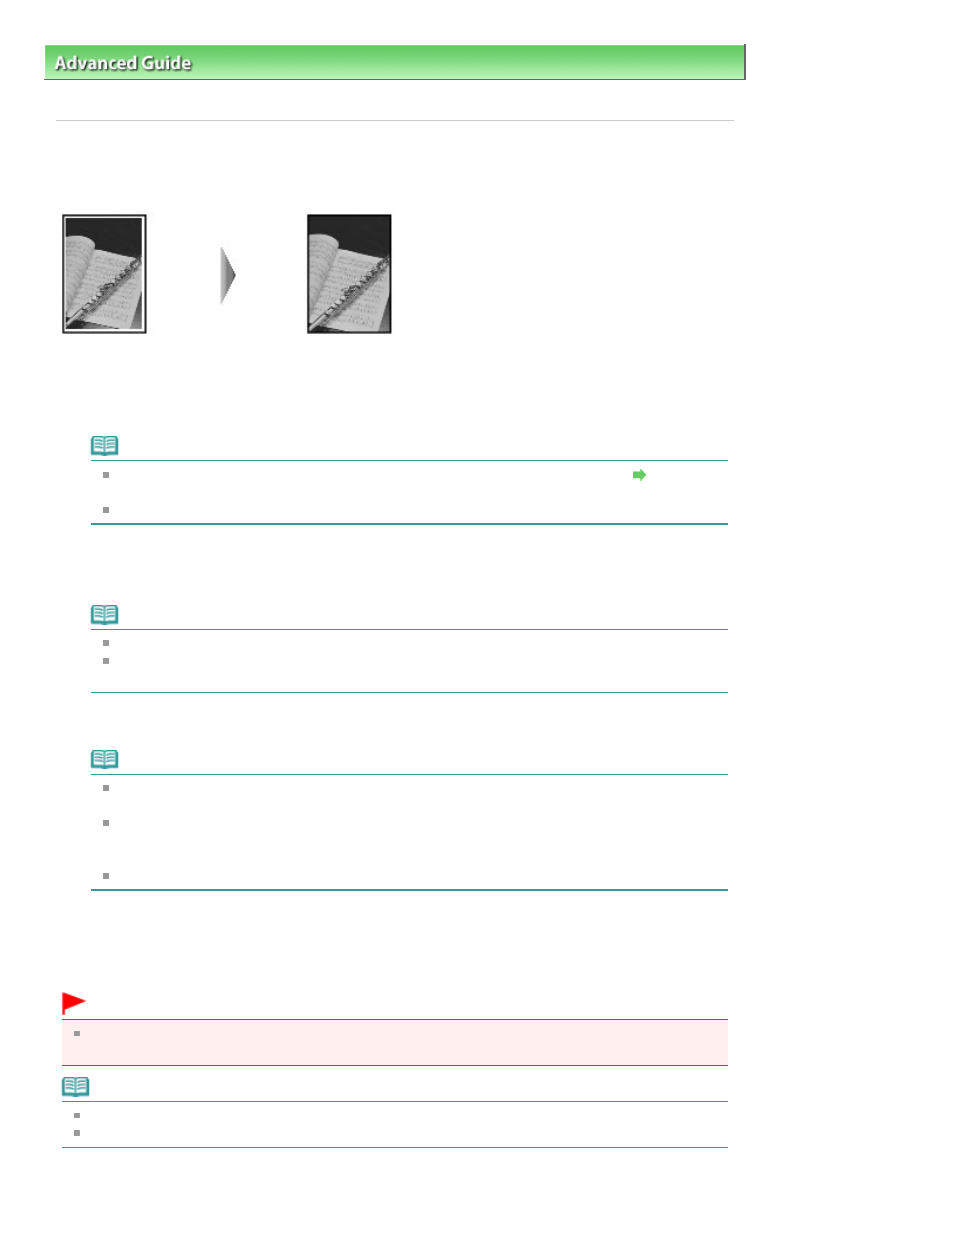
Copying without Borders (Borderless Copy)
You can copy images so that they fill the entire page without borders.
1.
Load photo paper on the Rear Tray.
2.
Press the Paper
button to select the page size you loaded on the Rear Tray.
Note
You can switch the size of paper loaded on the Rear Tray between A4 and Letter.
Switching
the Page Size between A4 and Letter
When A4 or 8.5"x11" Plain Paper is selected, borderless copying is not available.
3.
Press the Fit to Page
button.
The
Fit to Page
lamp lights up. To cancel borderless copying, press the
Fit to Page
button again.
Note
You can use the
Fit to Page
button only when you are using the copy function.
Copied images are automatically reduced or enlarged to fit the page size you select for
borderless copying.
4.
Press the
+
button repeatedly to specify the number of copies.
Note
By pressing the
+
button repeatedly, F will be displayed on the LED. The number of copies will
be set as 20.
When you want to make 10 to 19 copies, specify the number of copies to 20, then load the
same number of pieces of paper. In this case, the machine will stop copying in an error. Press
the Stop/Reset
button to release the error.
Pressing the
Stop/Reset
button returns the number of copies to 1.
5.
Press the Color
button for color copying, or the
Black
button for black & white
copying.
The machine starts borderless copying.
Important
Do not open the Document Cover or remove the original from the Platen Glass until copying is
complete.
Note
Slight cropping may occur at the edges since the copied image is enlarged to fill the whole page.
To cancel copying, press the
Stop/Reset button.
Page 305 of 678 pages
Copying without Borders (Borderless Copy)