Setting angle only measurements – CDI Torque MULTITEST Government User Manual
Page 46
3-16
Setup and Programming
3. Using up and down VALUE and left and right DIGIT,
enter the clamping torque from the fastener torque-angle
specification onto the LED display.
4. Press ENTER.
5. Press SET HIGH.
— LED display shows the previously programmed
degrees of rotation preset value.
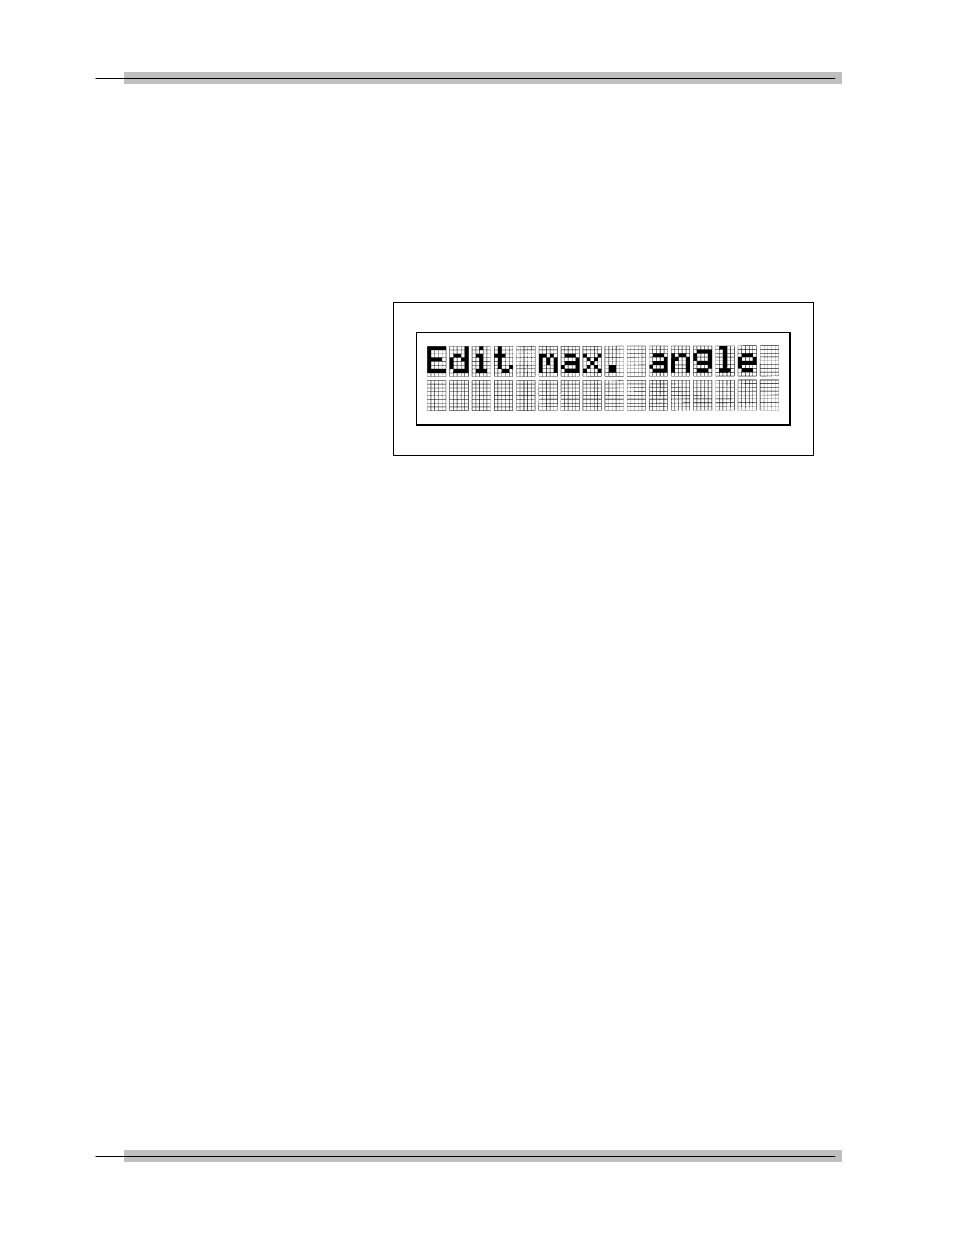
— LCD display reads:
Edit max. angle
Figure 3-9: Edit Angle Display
6. Using up and down VALUE and left and right DIGIT,
enter the degrees of rotation from the fastener torque-
angle specification onto the LED display.
7. Press ENTER to return to measurements mode.
Setting Angle Only Measurements
Certain fastener procedures involve multiple nuts or bolts to be
installed in a particular pattern. Using torque-angle
engineering, all fasteners are sequentially installed to a
specified clamping torque (sometimes two separate torques)
and then sequentially rotated a specified number of angular
degrees.
To measure angle only, use the following procedure to set SET
LOW to zero in the ANGLE mode.
1. Select ANGLE mode using MODE.
2. Press SET LOW.
— The LED displays the previously programmed
clamping torque preset value.
— The LCD display reads:
Clamping torque - upper line
[units] - lower line
3. Using up and down VALUE and left and right DIGIT,
enter zero onto the LED display.
4. Press ENTER.