As a first step, Setting the timer, 1 press menu – Sony SLV-R1000 User Manual
Page 37: Press execute, Timer recording
Attention! The text in this document has been recognized automatically. To view the original document, you can use the "Original mode".
I
Timer Recording
The timer recording function lets you preset your VCR to
record up to eight programs within a one-month period.
You’ll do this procedure from the TIMER SET/CHECK
display on your TV.
As a First Step
Before setting the timer, make sure that:
• The time and date clock is set correctly.
If you intend to put the VCR into timer-activated recording
mode without having preset the time and date, the VCR
will enter clock setting mode automatically.
(See “Setting the Time and Date" on page 19).
• The cassette is long enough to record all the programs.
• The safety tab on the cassette is intact. If you insert a
cassette with no safety tab and press TIMER REC
(ON/OFF), the cassette automatically ejects from the
VCR.
• The VCR and TV are both turned on. (TV can be turned off
after you’ve set up the VCR.)
• When you use a cable box, use Hook up 2 and set the
CABLE BOX CONTROL (See “Setting the CABLE BOX
CONTROL’’ on page 25.) Turn the cable box on.
■o
Setting The Timer
EXAMPLE: Here’s how to record a program broadcast on channel 26 from 9:00 pm to 10:55 pm on Saturday, July 10, 1993 in
EP mode:
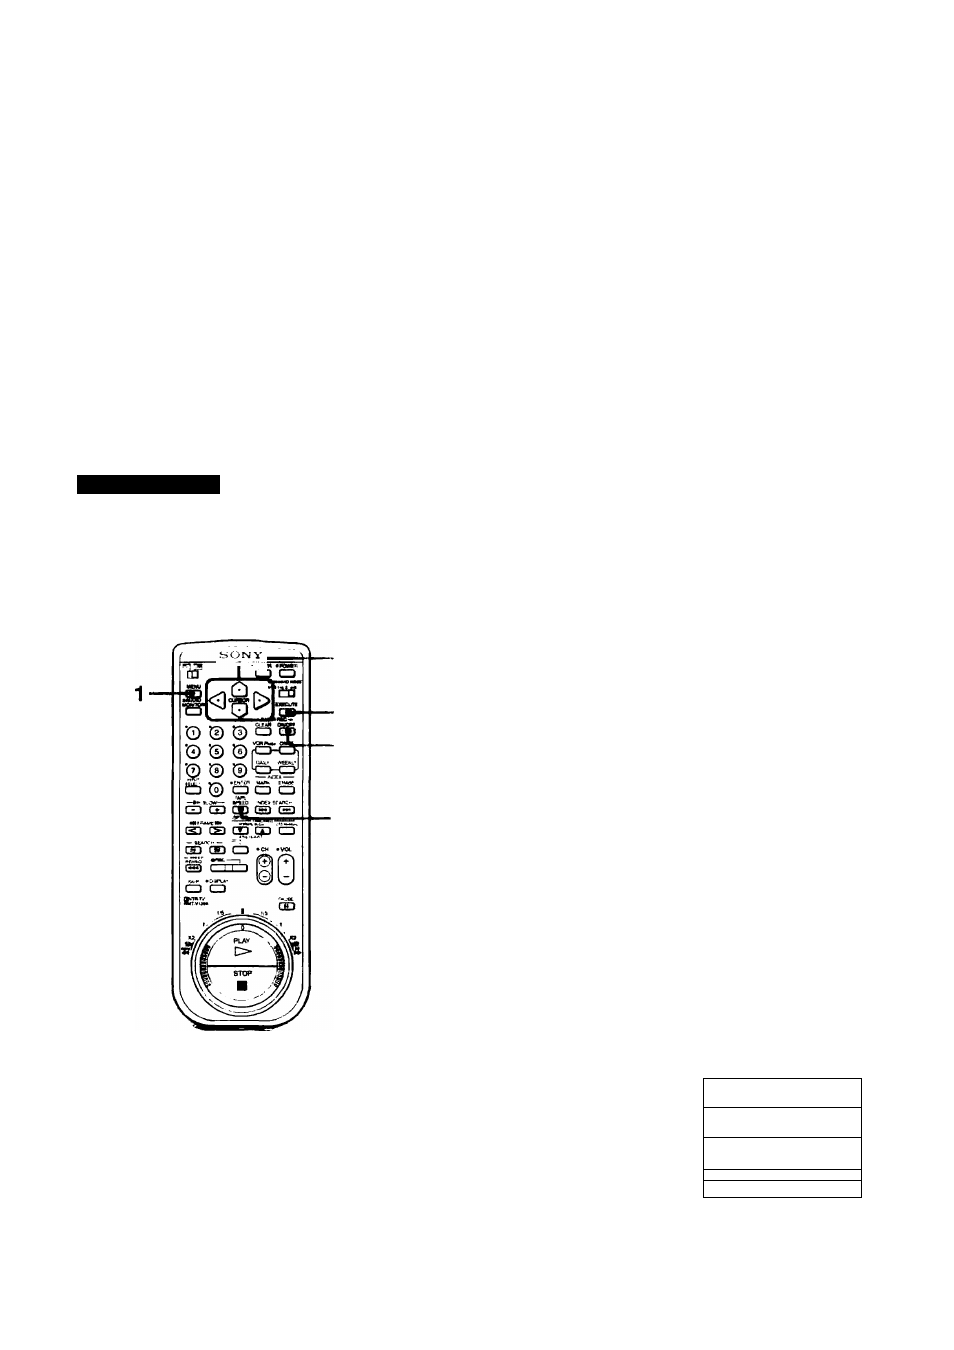
Use A and w to move the cursor.
Use < and P- to select items.
2
,
4-11
3,12
13
■TAPE SPEED
1 Press MENU.
The main MENU appears.
MENU
► TIMER SET/CHECK
SET UP MENU
TUNER PRESET
SET VCR Pk»* CHANNELS
CABLE BOX CONTROL
aOCKSET
2 Press A or V to move the
cursor (►) to TIMER SET/
CHECK.
MENU
► TIMER SET/CHECK
SET UP MENU
TUNER PRESET
SET VCR PIUS+ CHANNELS
CABLE BOX CONTROL
CLOCK SET
Press EXECUTE.
The TIMER SET/CHECK
display appears on the
screen. A short beep alerts
you if the clock is not set
properly. To reset the
clock, refer to "Setting the
Time and Date" (page 19).
TIMER SET./CHECK
DATE
START STOP CH
-
............
=
/ •.
- . - - - -
- / - -
Basic Operations
37