Installing a 3.5 inch hard-drive blank, Removing a hot-swap hard drive, Hard drives. see – Dell PowerEdge VRTX User Manual
Page 49
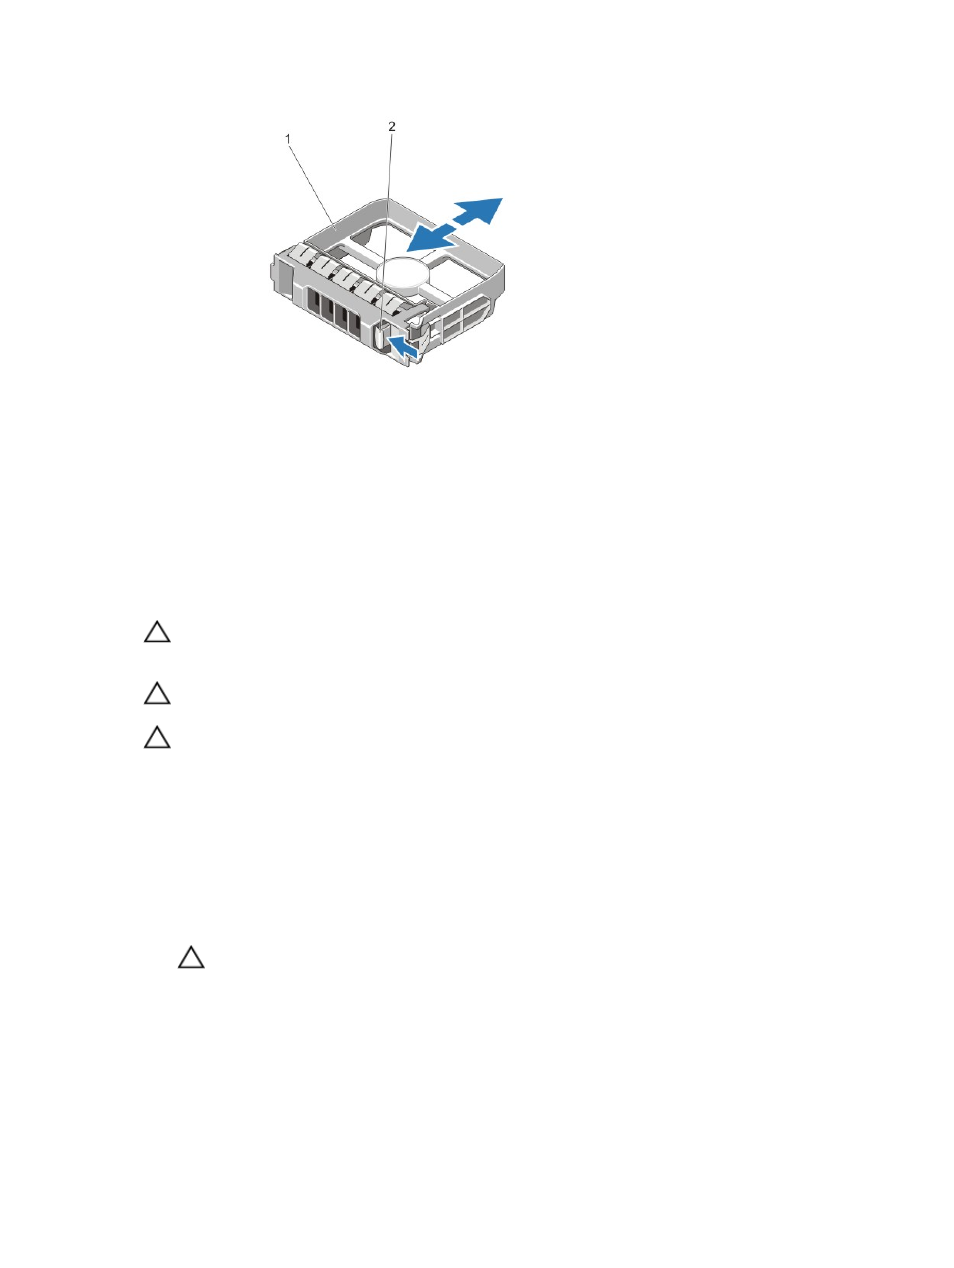
Figure 32. Removing and installing a 3.5 inch hard-drive blank
1.
hard-drive blank
2.
release button
Installing a 3.5 inch hard-drive blank
1.
If installed, remove the front bezel.
2.
Insert the hard-drive blank into the hard-drive slot until the release button clicks into place.
3.
If applicable, install the front bezel.
Removing a hot-swap hard drive
CAUTION: Before attempting to remove or install a hard drive while the system is running, see the documentation
for the storage controller card to ensure that the host adapter is configured correctly to support hot-swap hard
drive removal and insertion.
CAUTION: Do not turn off or reboot your system while the hard drive is being formatted. Doing so can cause a hard
drive failure.
CAUTION: To prevent data loss, ensure that your operating system supports hot-swap drive installation. See the
documentation supplied with your operating system.
1.
If installed, remove the front bezel.
2.
From the management software, prepare the hard drive for removal. Wait until the indicators on the hard-drive
carrier signal that the hard drive can be removed safely. For more information, see the documentation for the
storage controller.
If the hard drive is online, the green activity/fault indicator flashes as the drive is turned off. When the hard-drive
indicators are off, the hard drive is ready for removal.
3.
Press the release button to open the hard-drive carrier release handle.
4.
Slide the hard-drive carrier out until it is free of the hard-drive slot.
CAUTION: To maintain proper system cooling, all empty hard-drive slots must have hard-drive blanks
installed.
5.
Insert a hard-drive blank in the empty hard-drive slot.
49