Removing a 2.5 inch hard-drive blank, Installing a 2.5 inch hard-drive blank, Removing a 3.5 inch hard-drive blank – Dell PowerEdge VRTX User Manual
Page 48
NOTE: The following procedures apply to the hard drives in the enclosure. For server module-specific hard drives,
see the server module's Owner's Manual at dell.com/poweredgemanuals.
Removing a 2.5 inch hard-drive blank
CAUTION: To maintain proper system cooling, all empty hard-drive slots must have hard-drive blanks installed.
1.
If installed, remove the front bezel.
2.
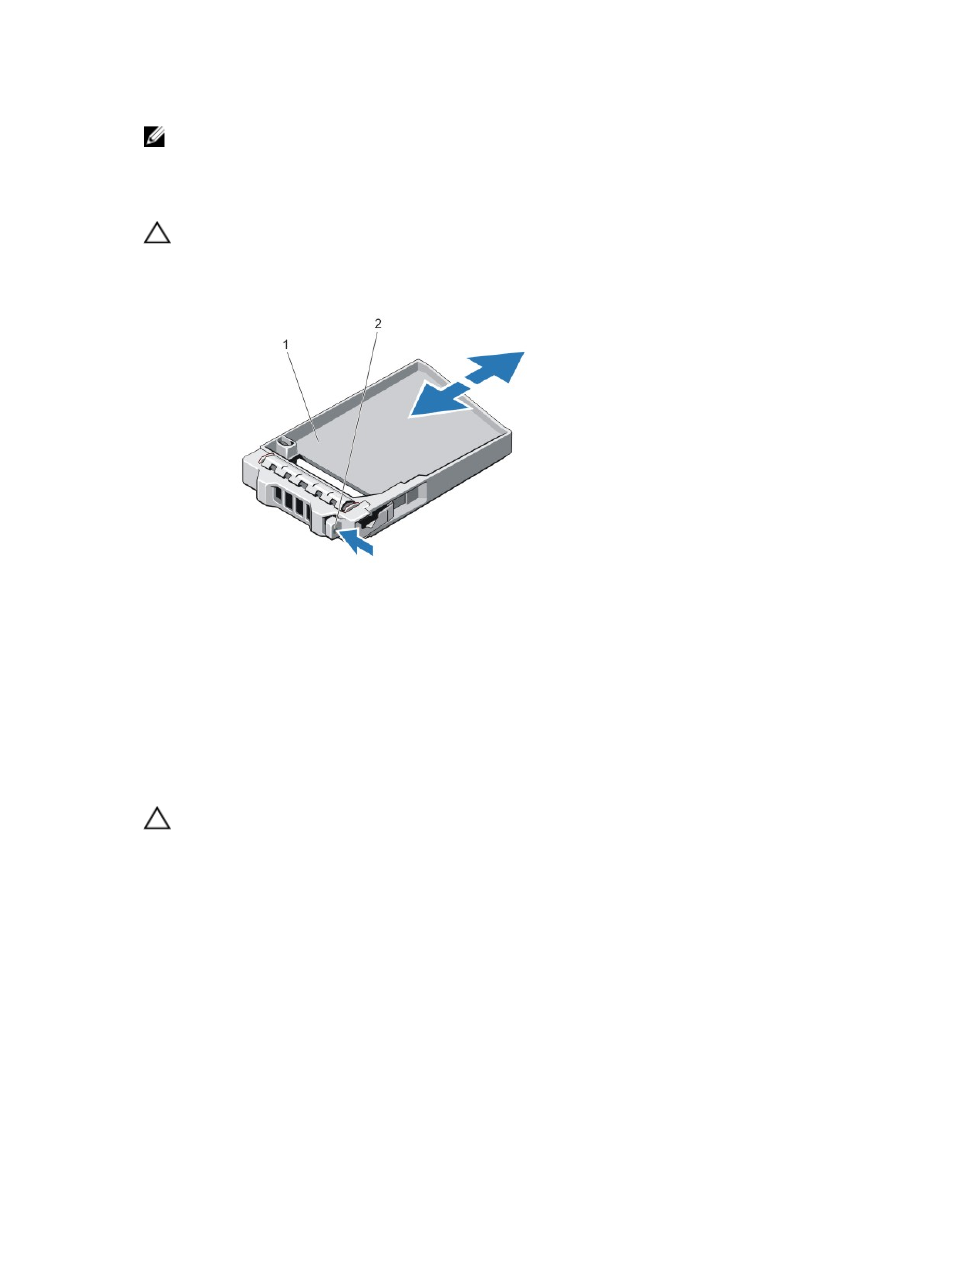
Press the release button and slide the hard-drive blank out until it is free of the hard-drive slot.
Figure 31. Removing and Installing a 2.5 Inch Hard-Drive Blank
1.
hard-drive blank
2.
release button
Installing A 2.5 Inch Hard-Drive Blank
1.
If installed, remove the front bezel.
2.
Insert the hard-drive blank into the hard-drive slot until the release button clicks into place.
3.
If applicable, install the front bezel.
Removing a 3.5 inch hard-drive blank
CAUTION: To maintain proper system cooling, all empty hard-drive slots must have drive blanks installed.
1.
If installed, remove the front bezel.
2.
Grasp the front of the hard-drive blank, press the release button and slide the blank out until it is free of the hard-
drive slot.
48