B remove the unused data cable from the computer, 3 tighten the screw securing the optical drive, 4 connect the power and data cables to the drive – Dell OptiPlex 360 (Late 2008) User Manual
Page 58
58
Drives
b
Remove the unused data cable from the computer.
c
Install a drive panel insert to cover the empty drive bay opening (see
"Installing an Optical Drive Panel Insert" on page 59).
d
Follow the procedure in "After Working on Your Computer" on
e
Update the drive configuration information in the system setup
program. For more information on using the system setup program,
see the Dell Technology Guide on your computer or at
support.dell.com.
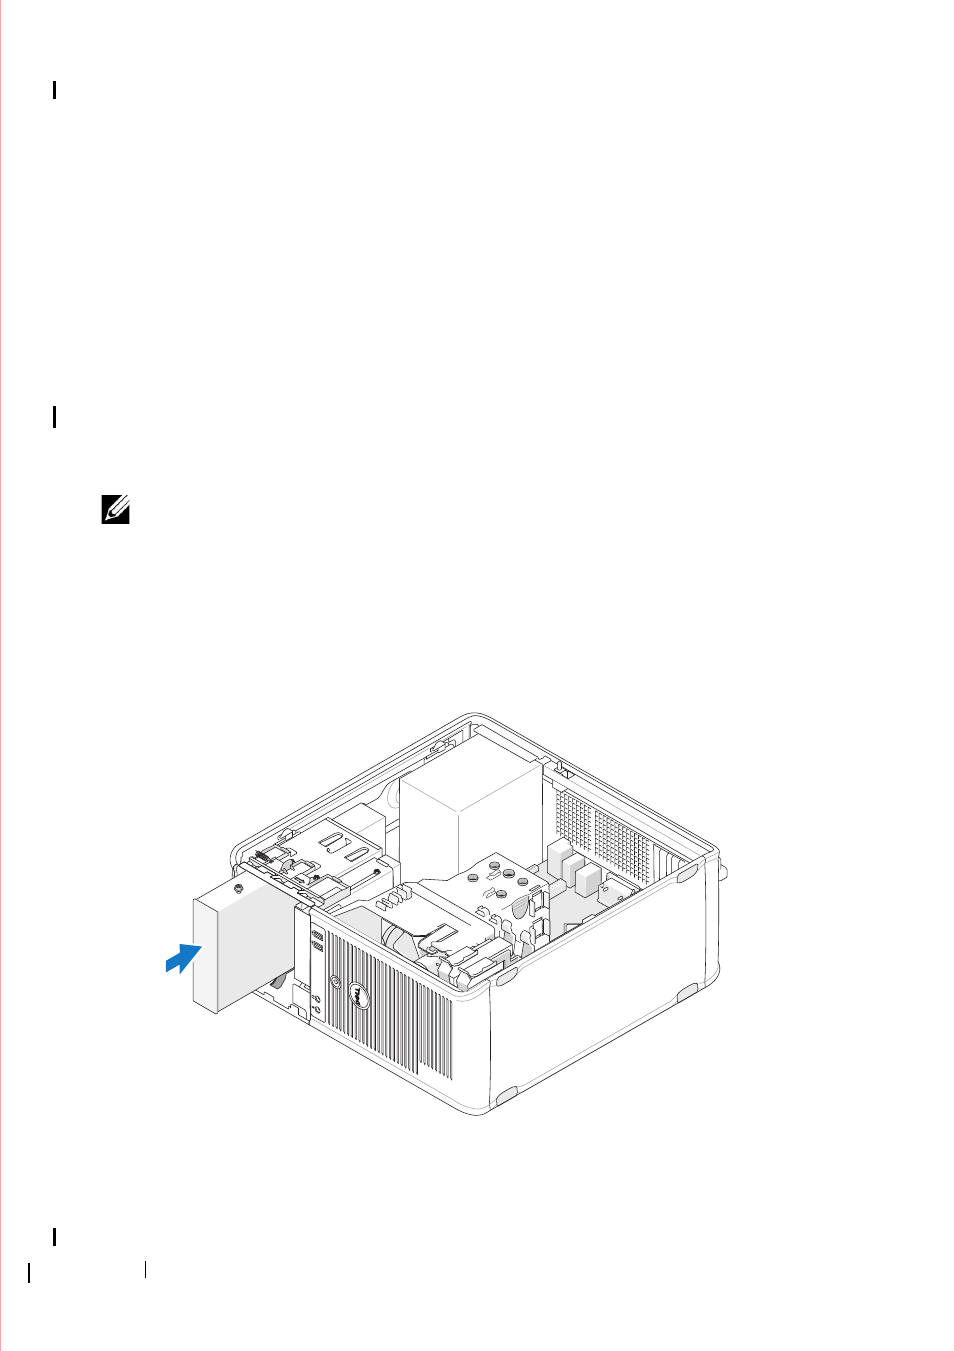
Replacing or Adding an Optical Drive in the Mini Tower Computer
NOTE:
This procedure assumes that you have completed the removal procedure
first.
1 If necessary, remove the drive panel insert (see "Removing an Optical
Drive Panel Insert" on page 59).
2 Gently slide the optical drive into place, aligning the screw holes in the
optical drive bay and optical drive.
3 Tighten the screw securing the optical drive.
4 Connect the power and data cables to the drive.