DgFlick Event Xpress User Manual
Page 37
User Manual-3.0
Page 37 of 66
Select the photos you wish to swap by keeping the ctrl key pressed. When both the photos are selected the ‘Swap’
icon appears
Click on the icon to swap the photos.
Photo Quality Indicator
The quality of photos used in the design must be good to ensure clarity in the final product. Event Xpress has an in-
built ‘Quality Indicator’, which warns you whenever the photo quality goes below the required standards. Once a
photo has been placed into the frame the indicator warns you if the resolution is inappropriate for the desired output
size. The warning symbols and their interpretations are presented in Table
Indicator and color
Interpretation
Yellow
The photo quality is not good; however, the final output will be satisfactory.
Orange
The photo quality is poor and will not yield good results on printing.
Red
The photo is unsuitable for printing.
Add Border
Click on ‘Border’ tab
on the left panel to select the border that you want for your photo.
You could select a border from the options, Event Xpress displays for you on the left panel or you could browse and
select a border of your choice from the path in which you have saved it (the previous 15 paths are available).
Double click on the border or drag and drop the border on the photo to apply to it.
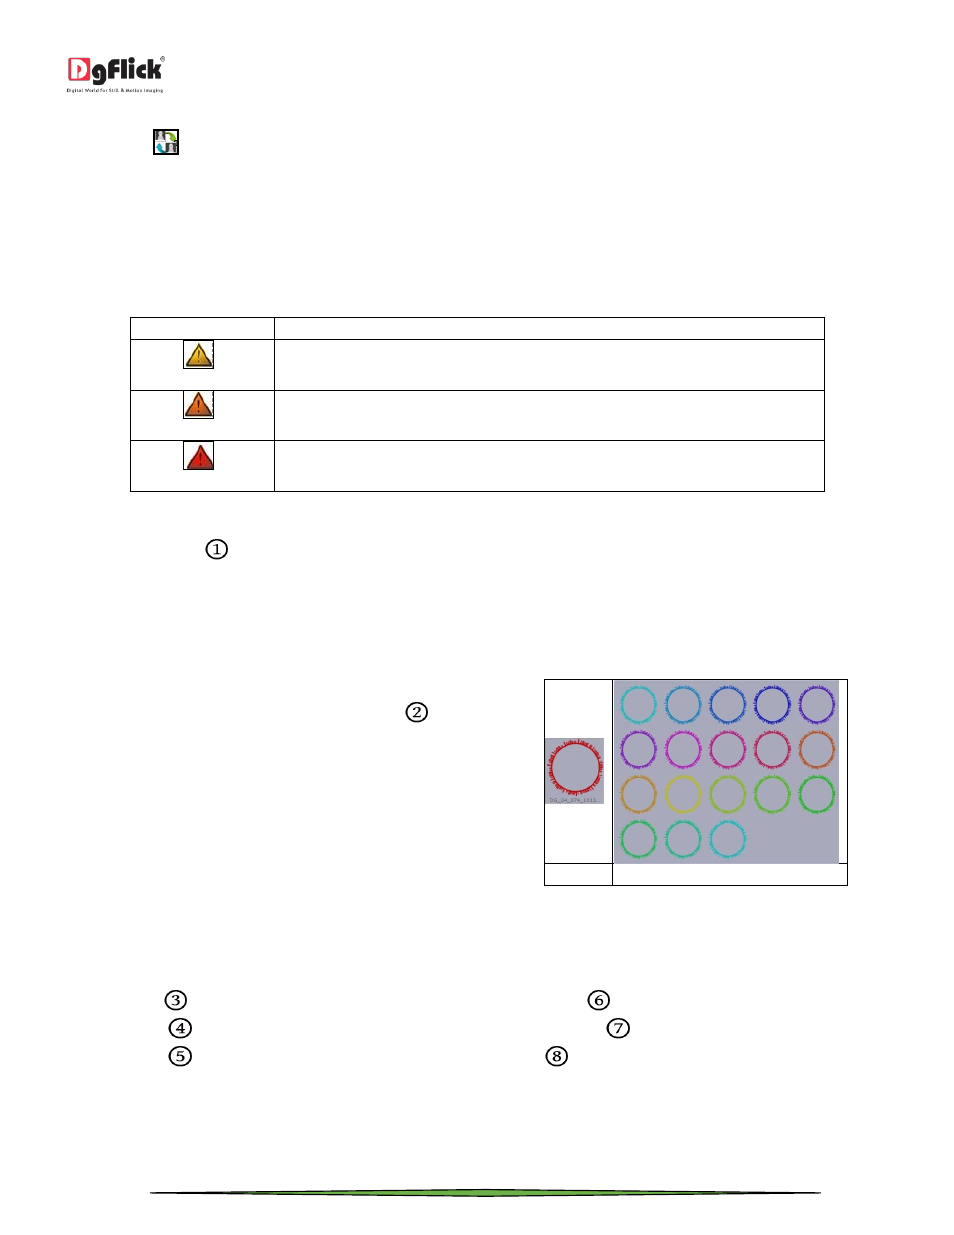
You could change the color of the border to better suit
your photo by clicking on the ‘Ready Tone’ button
.
There are 18 ready tones available for use.
(a)
(b)
(a) The Original Border; (b) Ready tone of the Border
Borders are easily transformable i.e. they are expandable.
! Additional icon on the ‘Create Design’ – Border tab:
o ‘Rotate CW90’
: To rotate the border 90 degrees.
o ‘Rotate CW180’
: To rotate the border 180 degrees.
o ‘Rotate CW270’
: To rotate the border 270 degrees.
o ‘Flip Vertical’
: To flip the border vertical.
o ‘Flip Horizontal’
: To flip the border horizontally.
o ‘Reset’
: To reset the changes.