Photo correction – DgFlick Event Xpress User Manual
Page 25
User Manual-3.0
Page 25 of 66
Once the logo is added, you can close the ‘Logo’ tab from ‘Close’ button
.
Save the altered design to the current project with the help of ‘Save’ button.
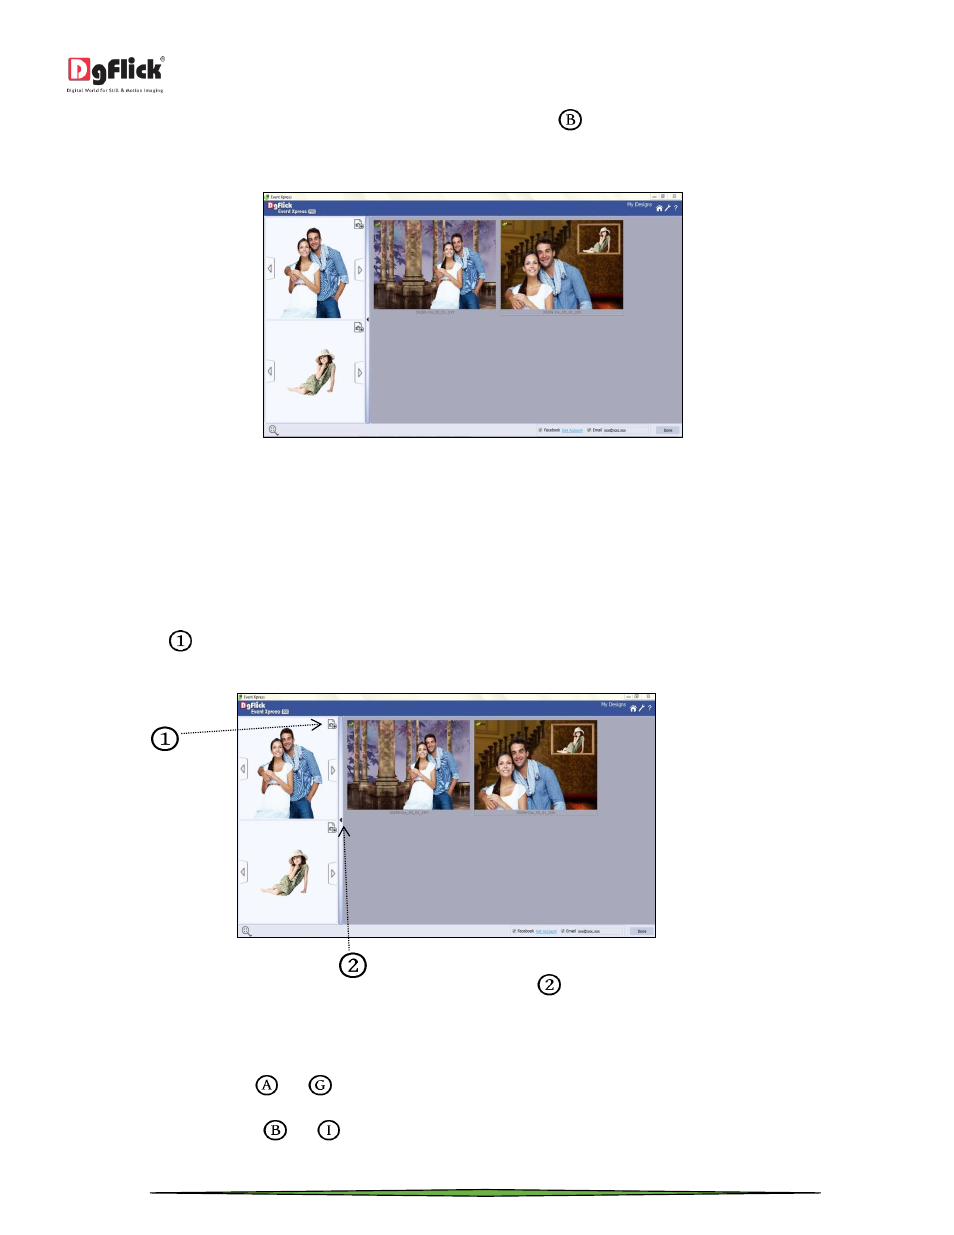
‘My Designs’ window
You will see the changed design in ‘My Designs’ window. Please remember that the changes you make to the design
are temporarily i.e. the changes are for the current process only and they will not affect your original designs.
Photo Correction
From ‘My Designs’ window, you can change the photos as well.
From the arrow
located near ‘photo’ bar, you can hide or unhide the photo panel. If you hide photo panel, you will
see a small preview of the selected photo below designs.
‘My Designs’ window
You can change the path and edit the photo from the ‘Enhance’ icon
located in the photo panel. Let’s have a look
on what the ‘Enhance’ option is about.
When you click on ‘Enhance’ icon, an option bar appears on the screen. It is as follow:
From ‘Rotate CW90’ button
and
, you can rotate the photo by 90
o
.
From ‘Rotate CW270’ button
and
, you can rotate photo by 270
o
.