Installation instructions – Brandmotion 1008-9527-V1 User Manual
Page 3
INSTALLATION INSTRUCTIONS
9527 Ford Flex Instructions 7-27-12.doc
3 of 18
Section 1: Camera Mount Preparation
1. Remove grommets from the supplied chassis
harness and camera harness. Remove tape and,
taking care not to cut the supplied wiring, cut
grommets off with a razor knife, scissors, or
wire cutters (Figure 1). Discard grommets.
Figure 1
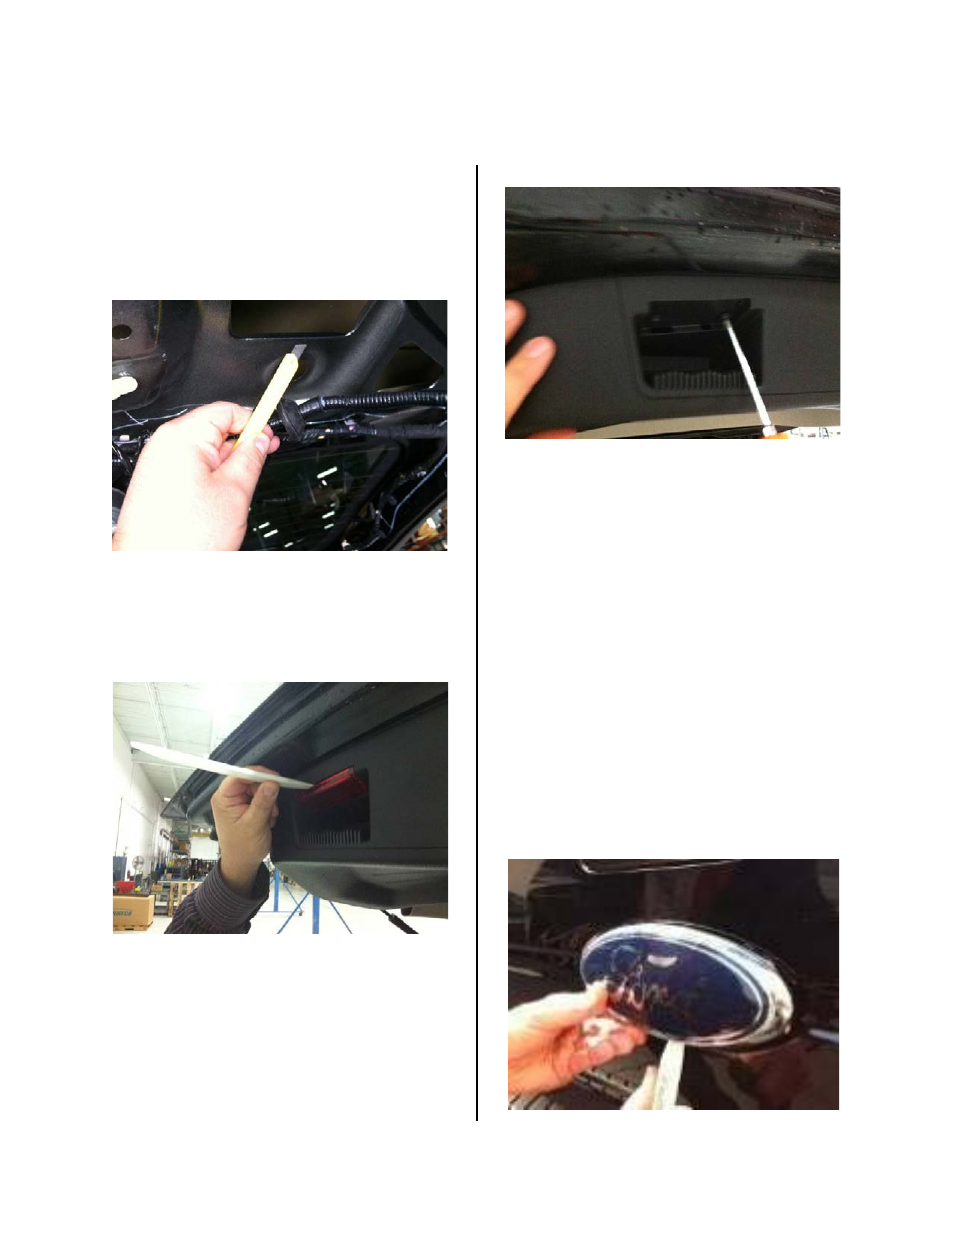
2. Raise liftgate. Using a plastic trim removal
tool, pry off the two red plastic reflectors in the
lower edge of the liftgate to expose four
retaining screws (Figure 2).
Figure 2
3. Unfasten the four screws with a Phillips
screwdriver and pry up on the edges of the
liftgate lower trim panel to release it from the
liftgate. Remove liftgate lower trim panel and
set aside (Figure 3).
Figure 3
4. Remove upper liftgate trim and set aside.
5. If equipped with power liftgate opener,
remove the top end of the power gas strut by
prying off the bolt cover with a plastic trim tool
to access one 10mm bolt. Use a 10mm socket to
remove and push free end of strut aside.
6. From the inside of the liftgate, verify whether
two square mounting holes and a central
camera pass through opening are present
behind the factory emblem. If not, it will be
necessary to drill and square two holes for
camera mount retainers and a cut an opening
for the camera and harness (Steps 10 & 11).
7. Close the liftgate. Taking care not to damage
the body panel, insert plastic trim removal tool
into the base of existing emblem to pry it off
(Figure 4).
Figure 4